SendGrid integration
Register SendGrid
1. Create an account
https://sendgrid.com/partners/wordpress/

2. Register Username, Password and Email Address.
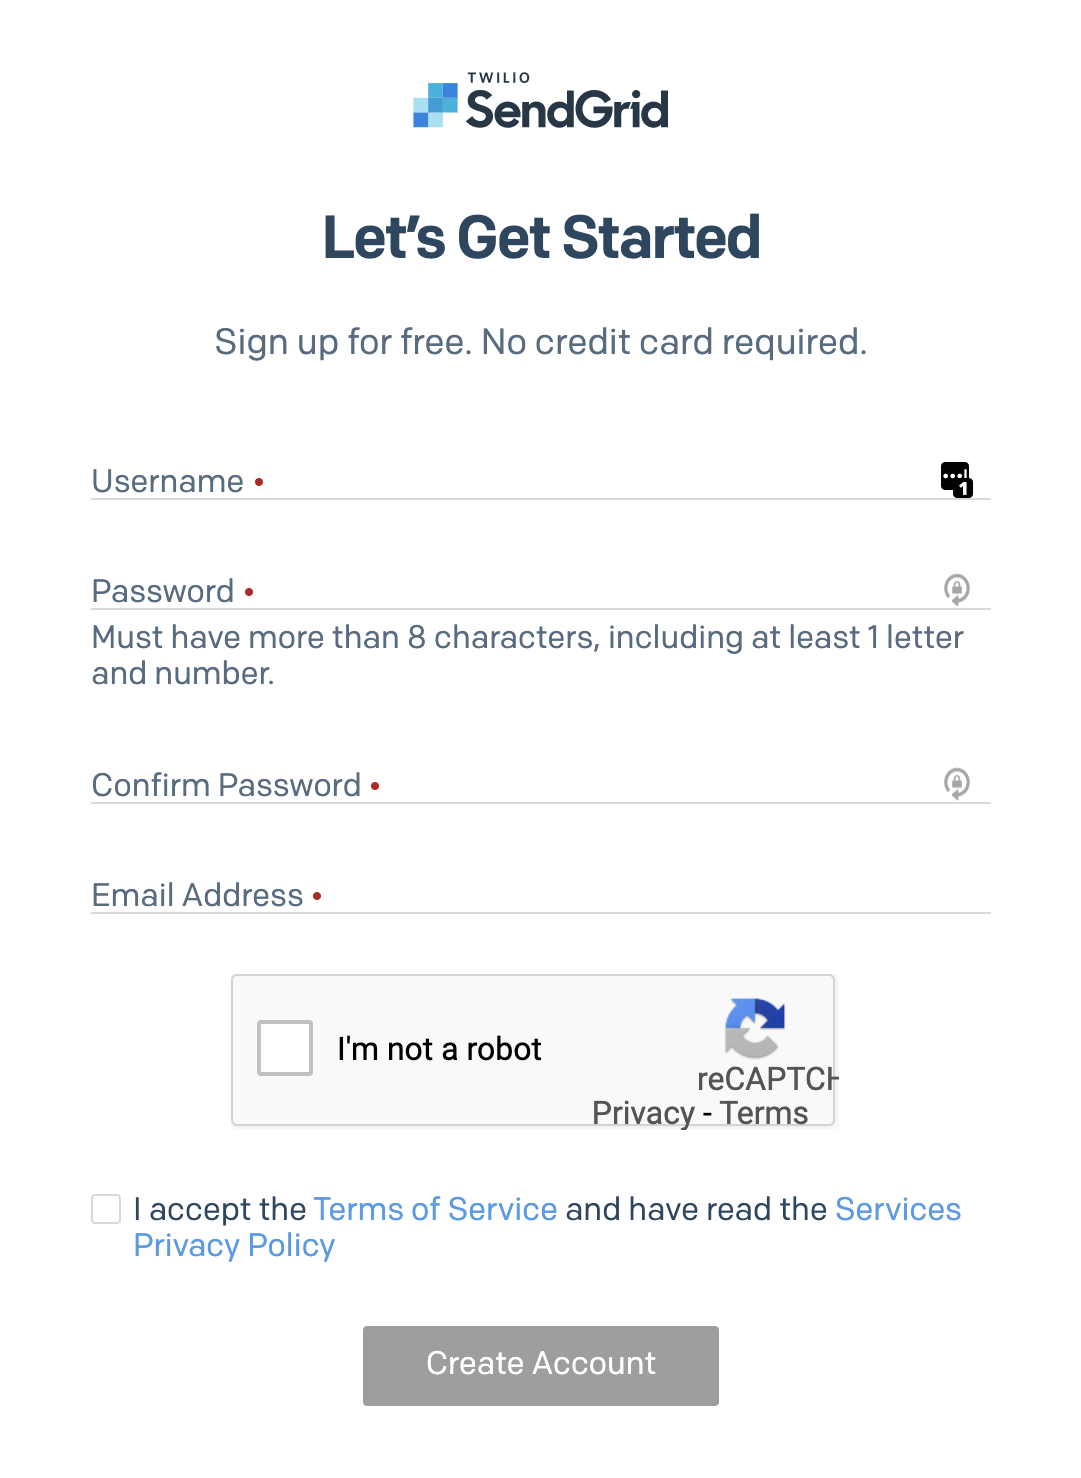
Register and authenticate sender domain name
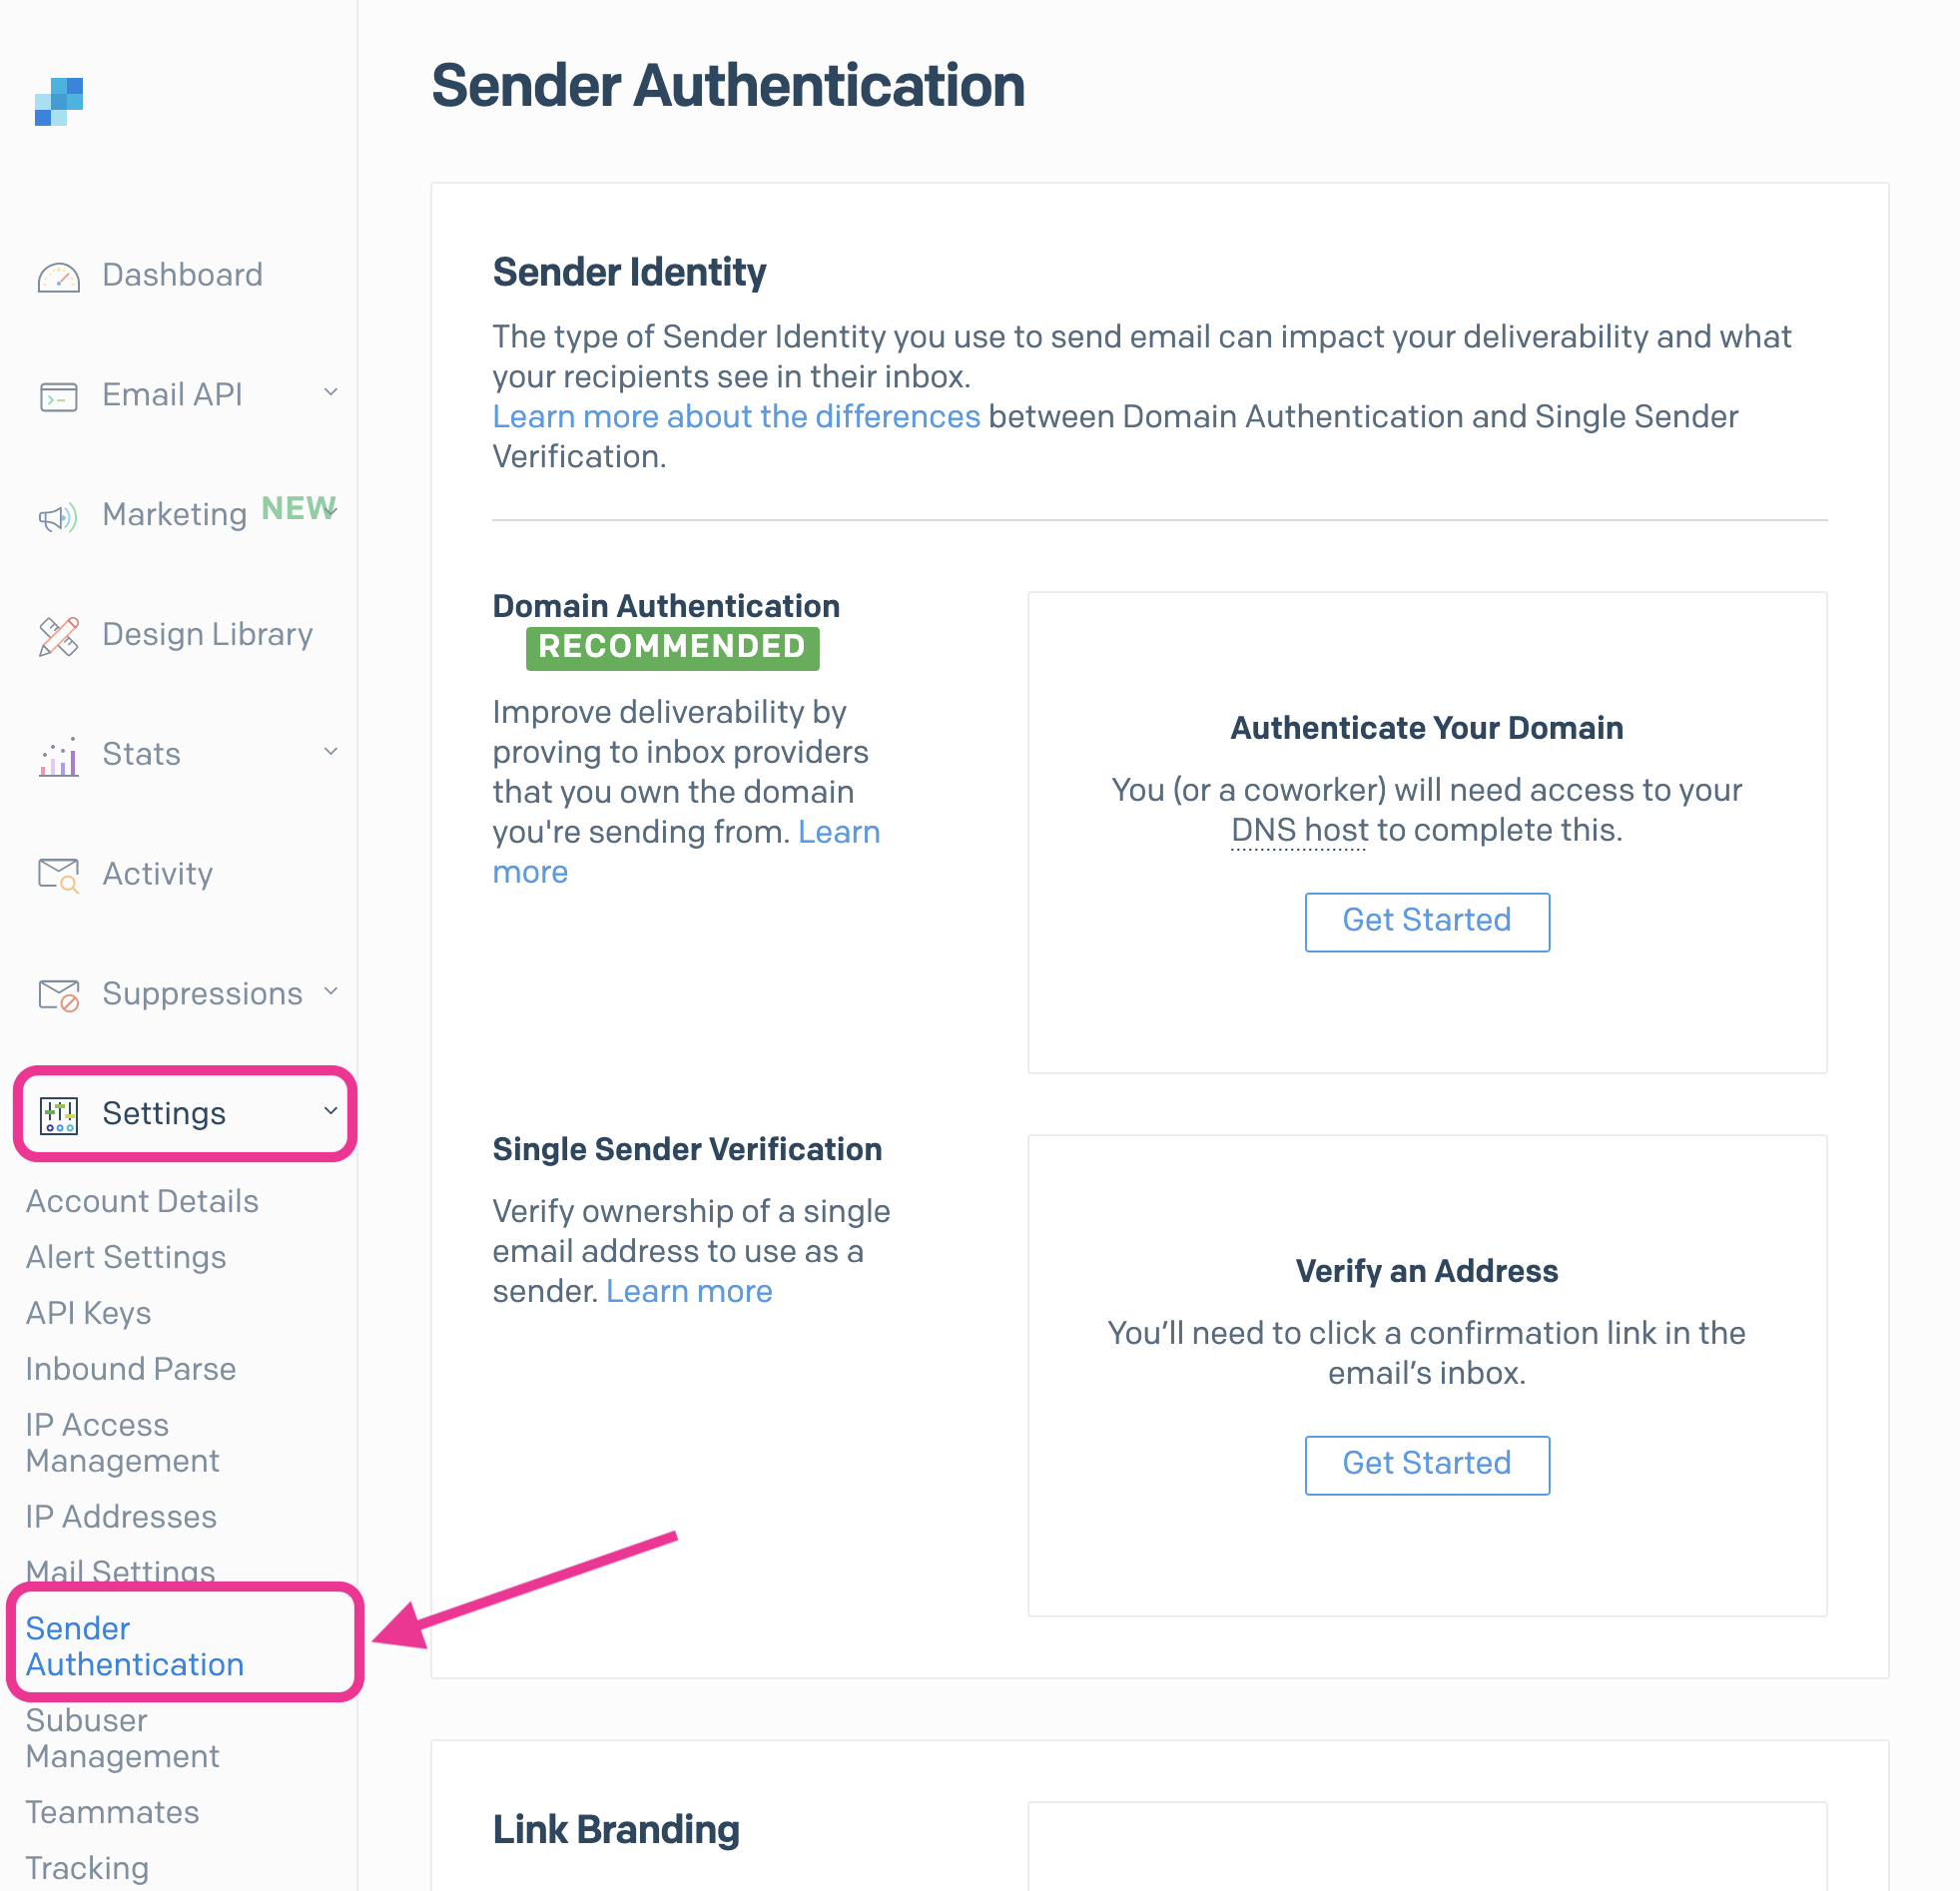
3. Authenticate sender domain name
Click [Settings], then [Sender Authentication] menu
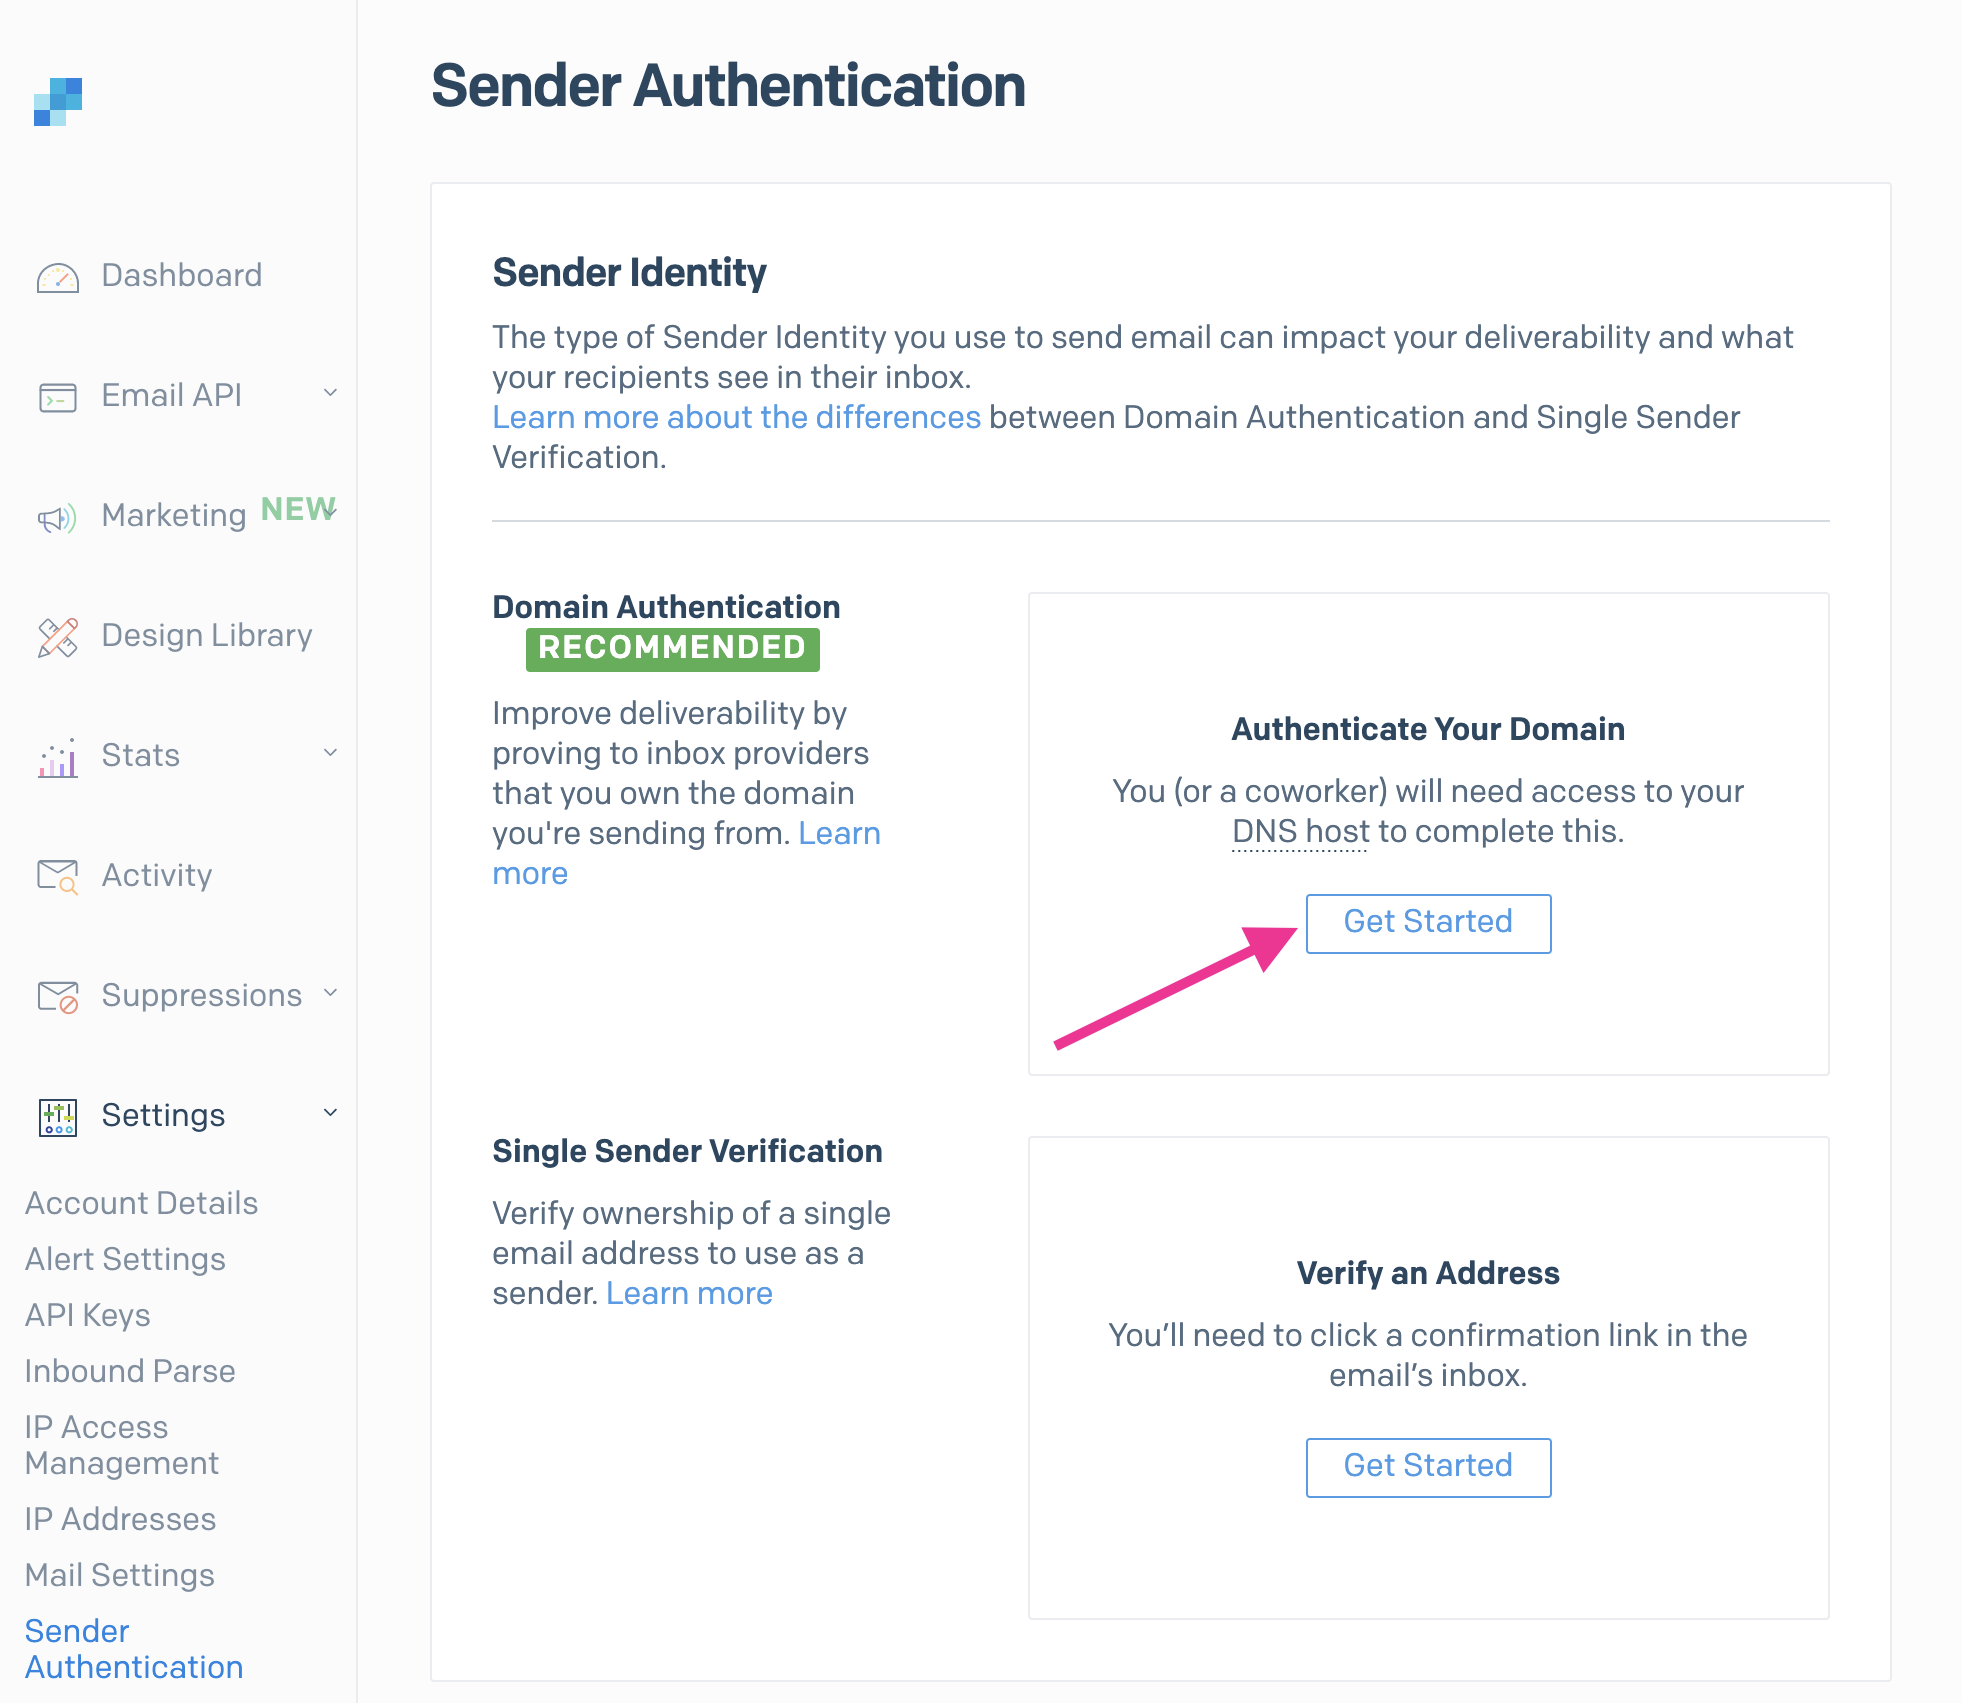
4. Click [Get Started] under "Authenticate Your Domain"
5. Choose DNS host
Choose DNS provider and click [Next]
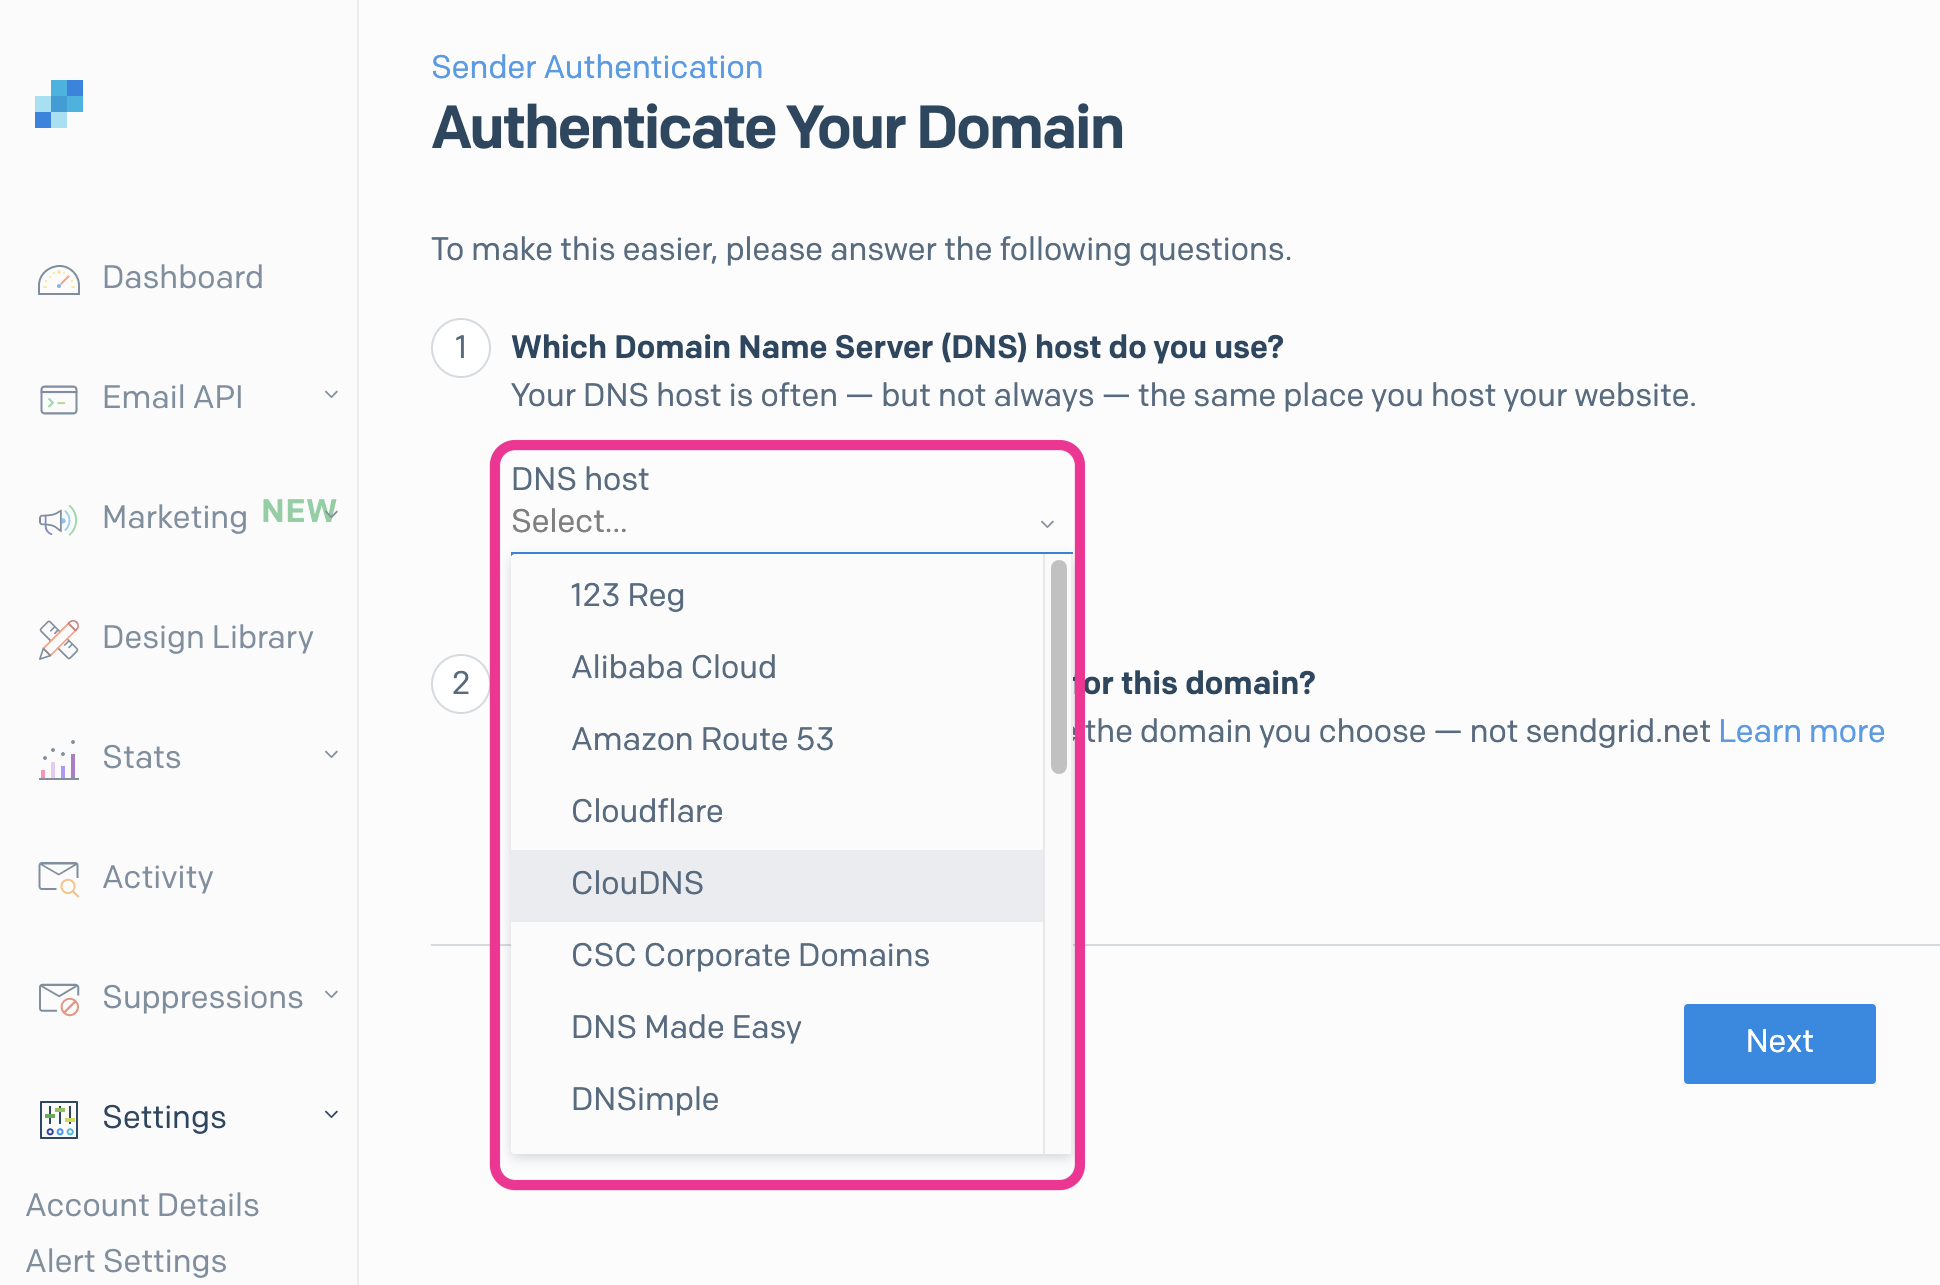
In this document we'll use Amazon Route 53 for example.
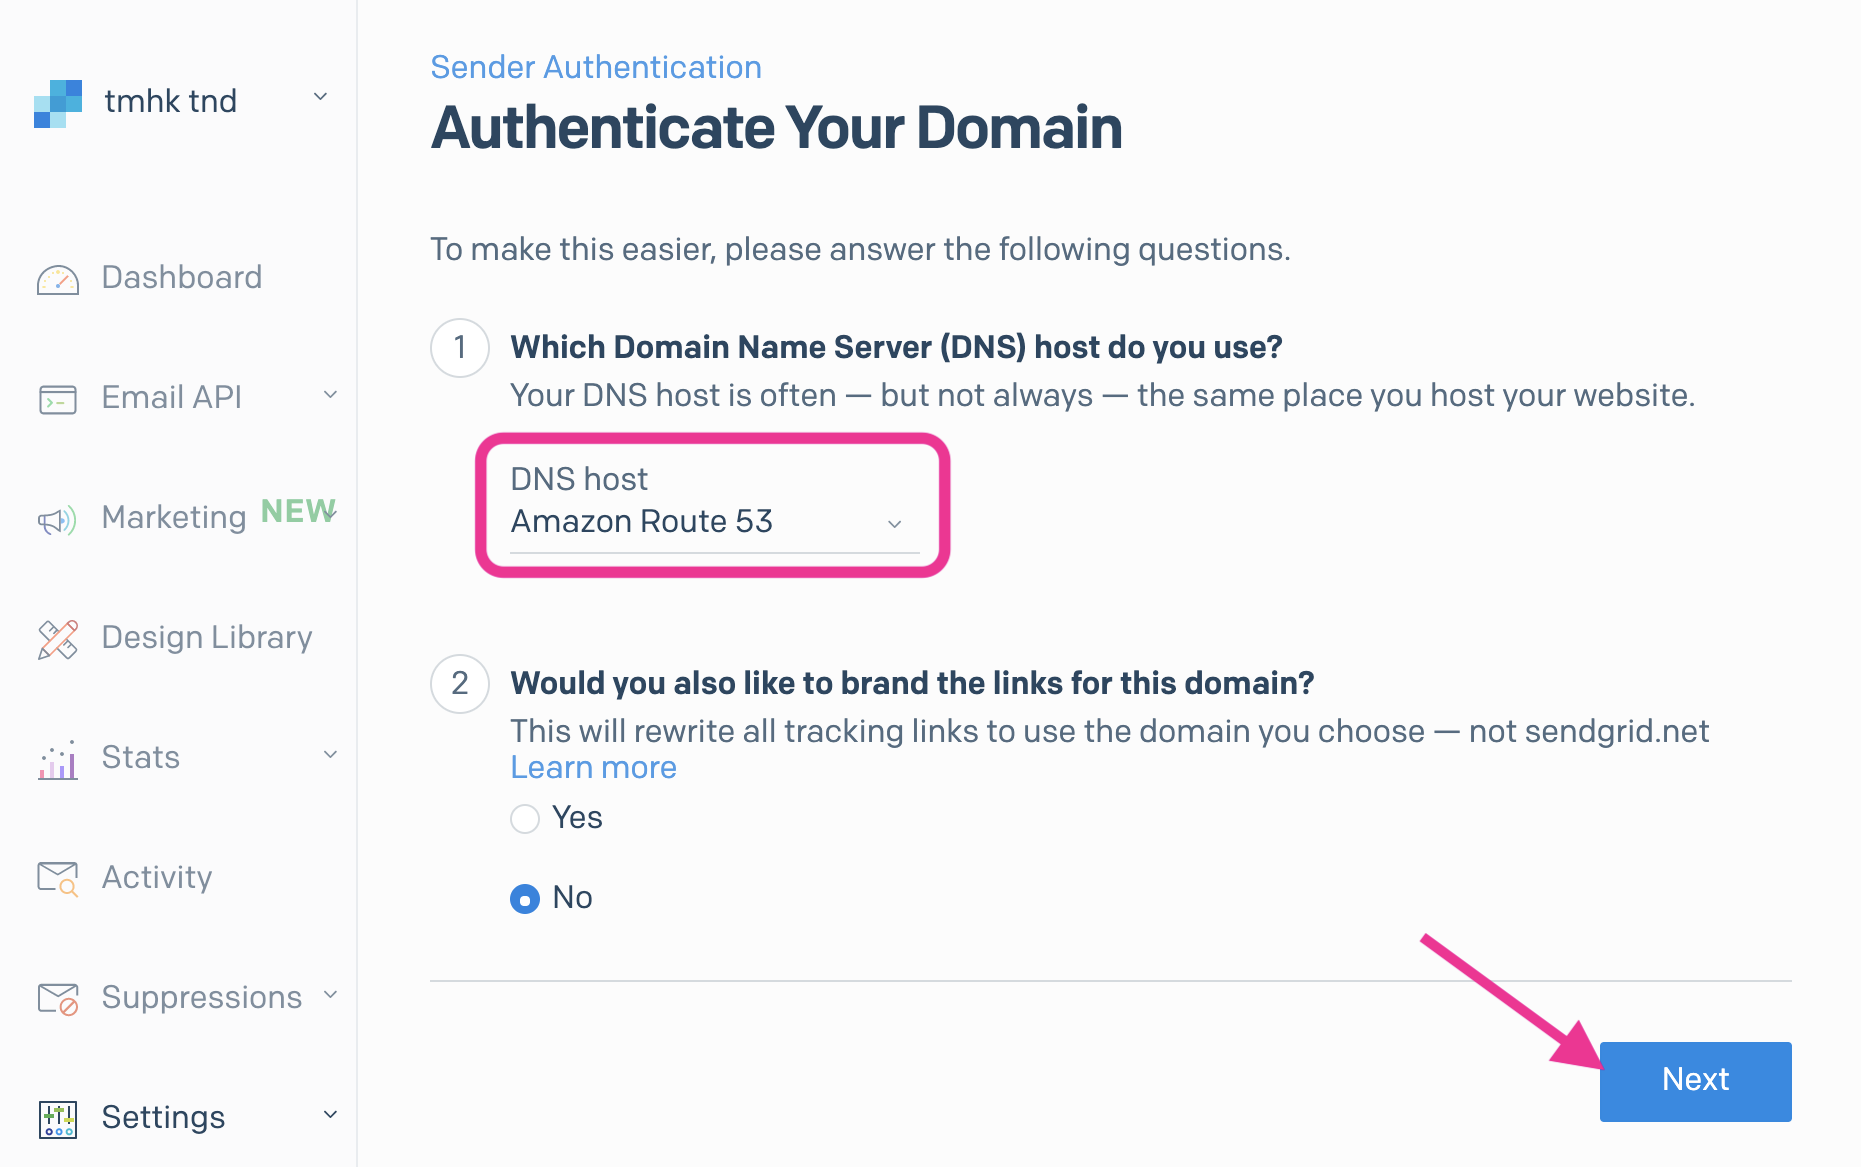
(2) "Would you also like to brand the links for this domain" is an optional.
6. Input your domain name to authenticate
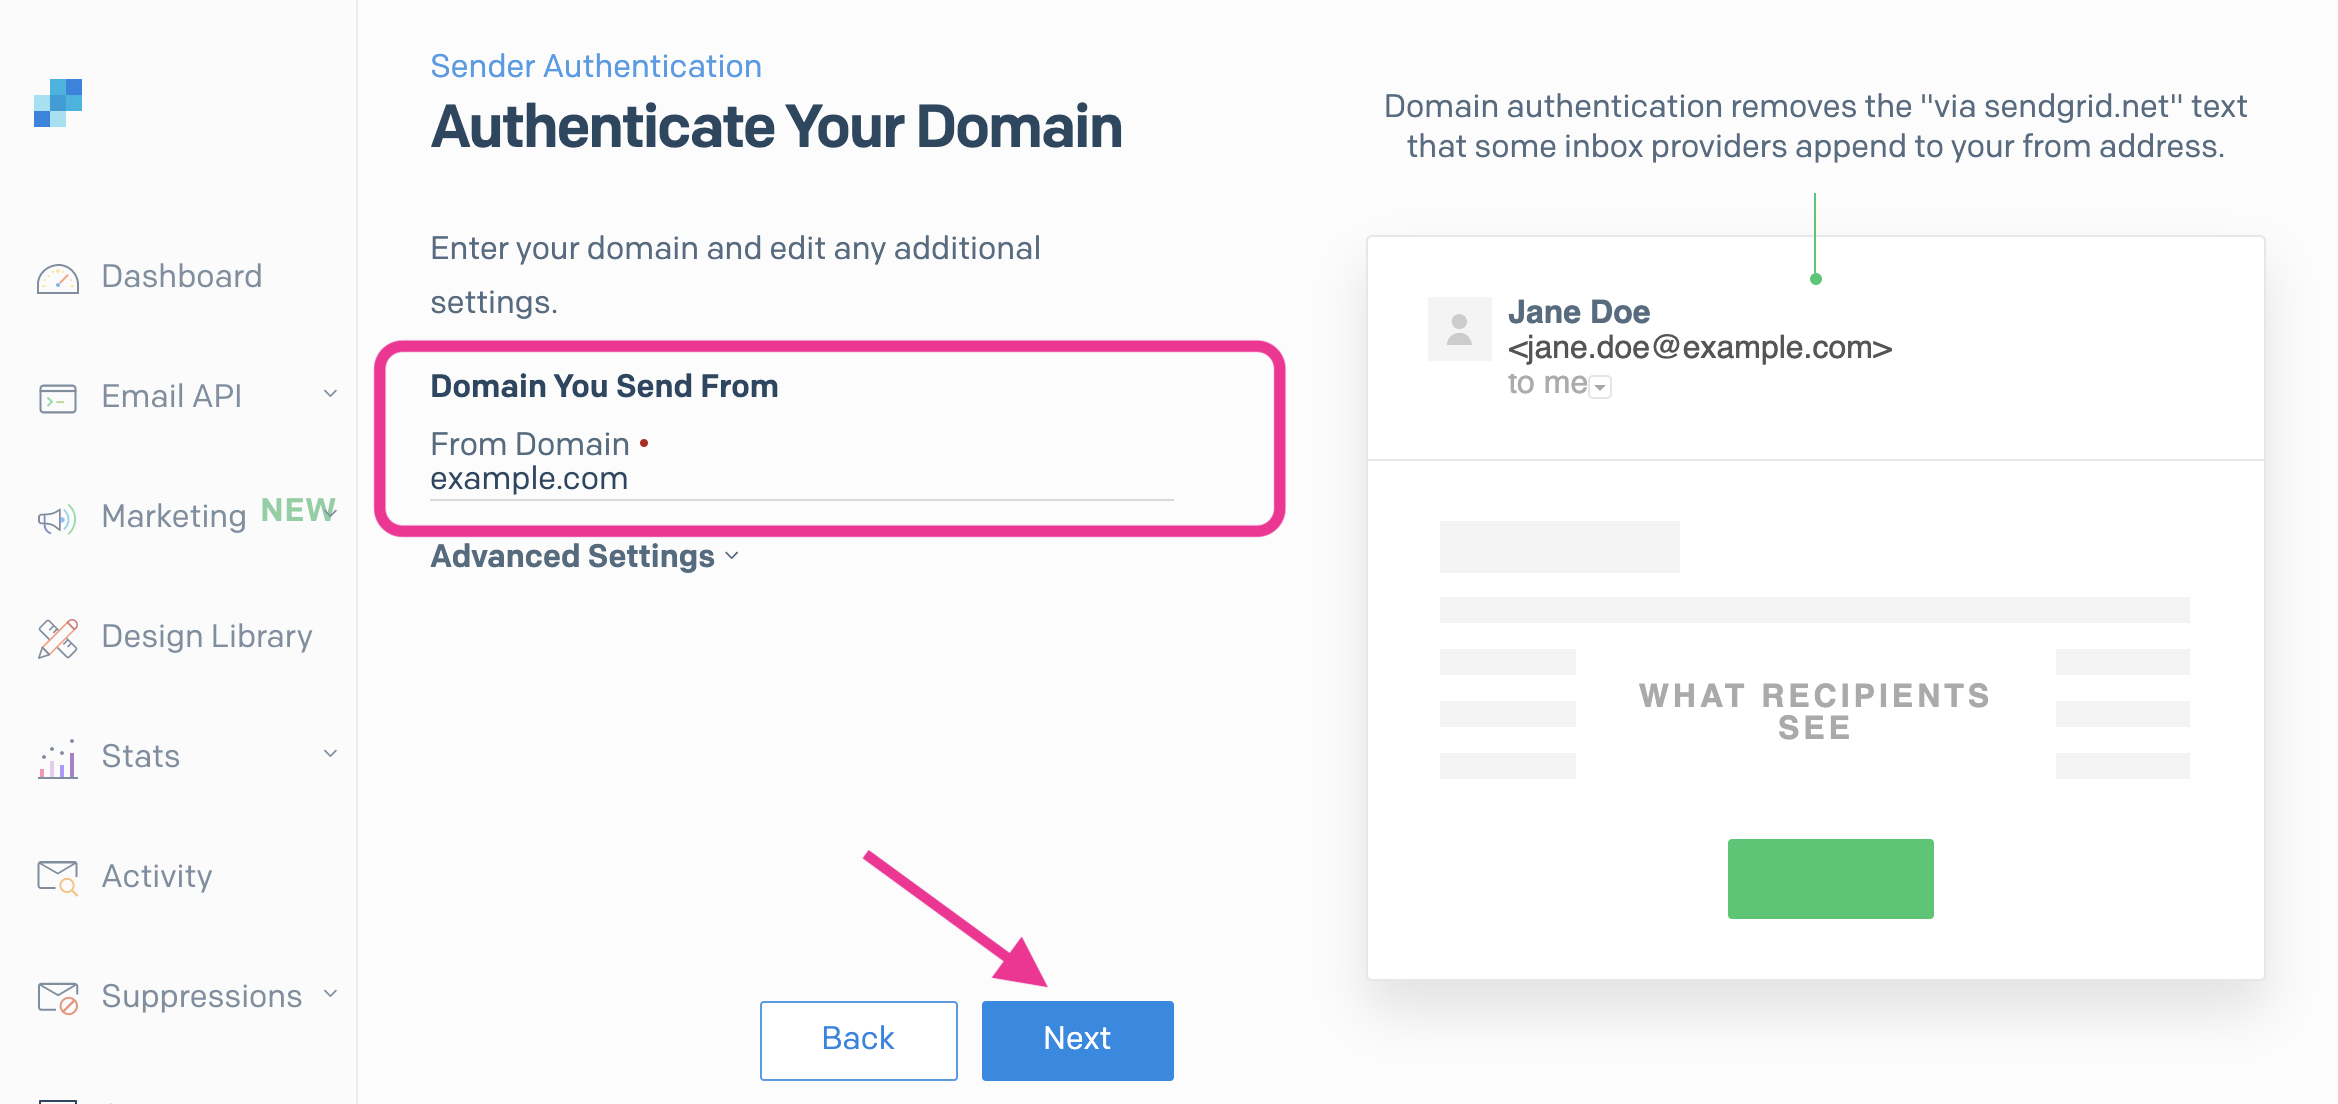
7. Copy authentication DNS records
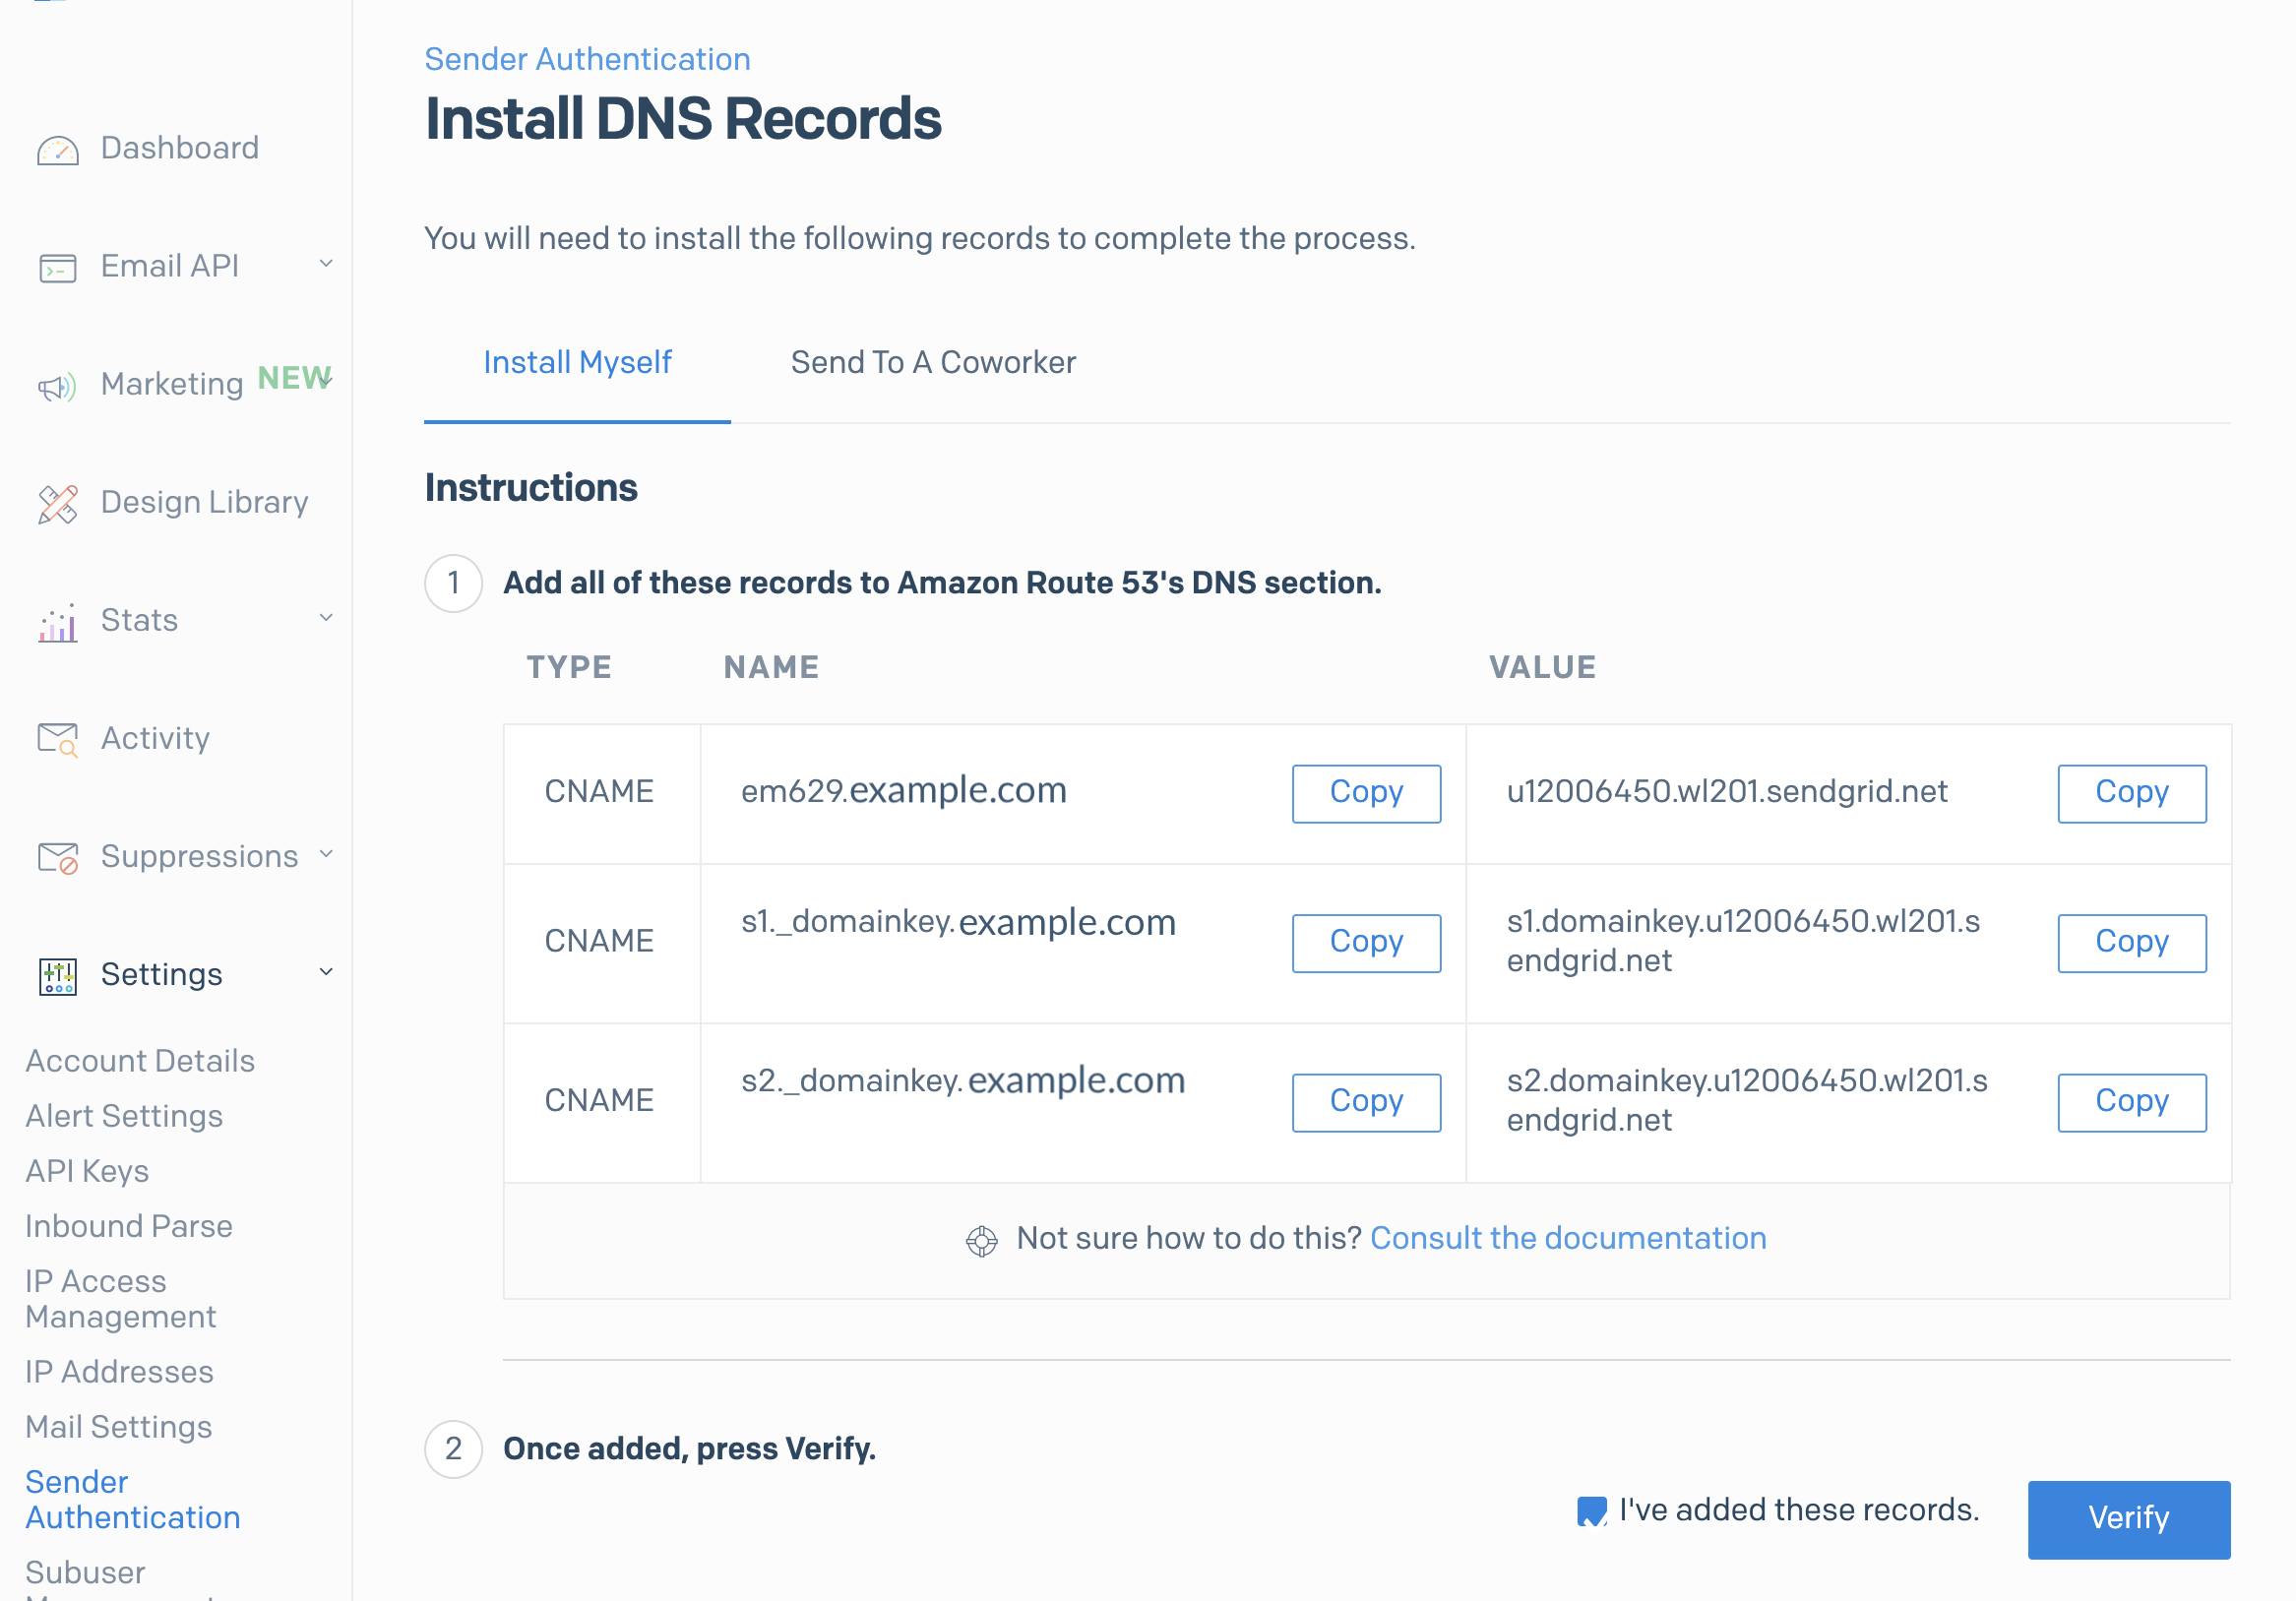
8. Add copied records to DNS host
Navigate to control panel of DNS Provider.
Then add copied DNS record set to DNS provider
This sample we added the blow record set to AWS route 53
Name: em629.example.com
Type: CNAME
Value: u12006450.wl201.sendgrid.net

Name: s1._domainkey.example.com.
Type: CNAME
Value: s1.domainkey.u12006450.wl201.sendgrid.net

Name: 2._domainkey.example.com.
Type: CNAME
Value: s2.domainkey.u12006450.wl201.sendgrid.net
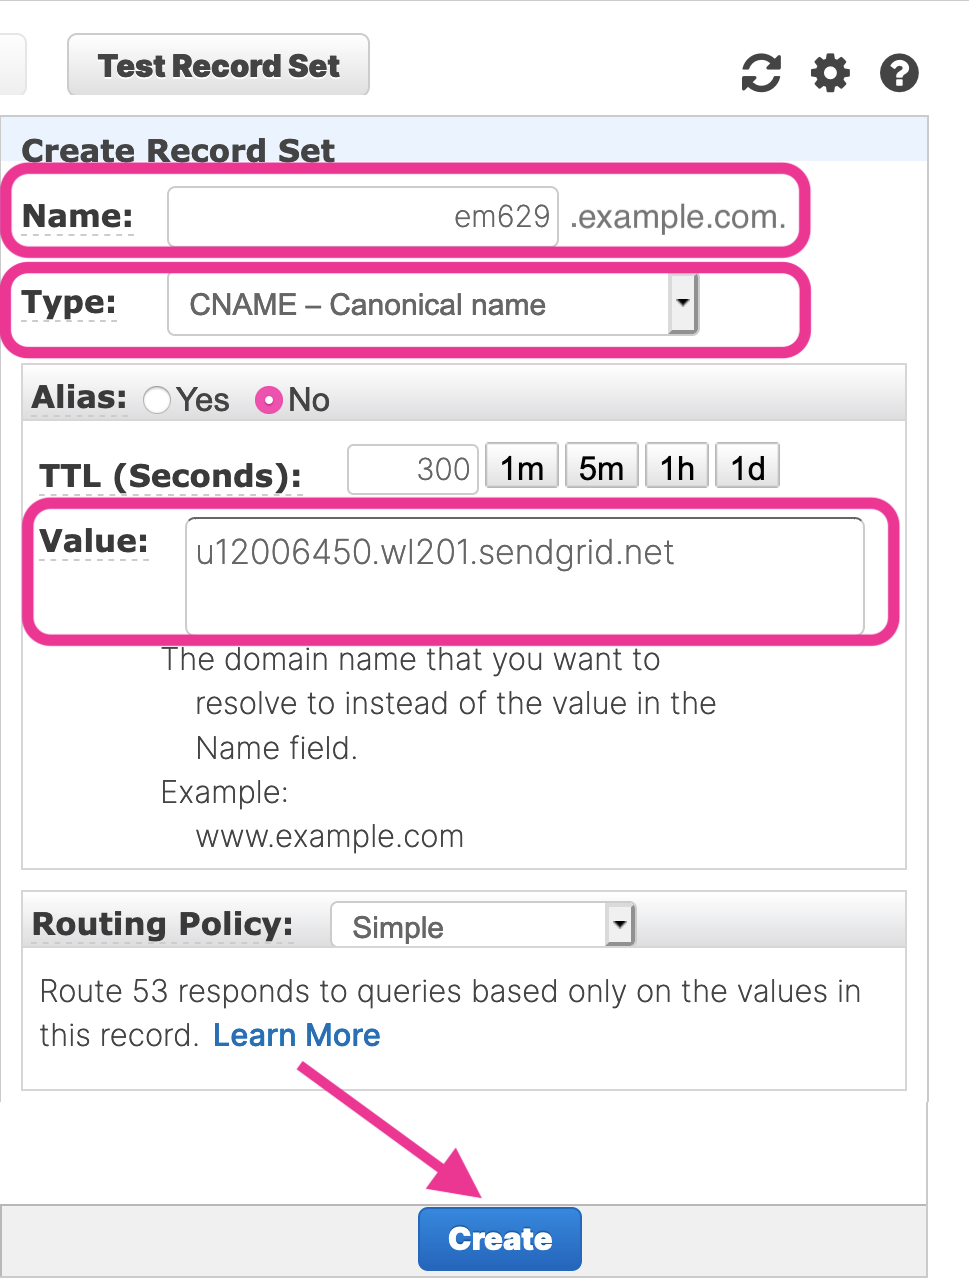
9. Verify DNS records
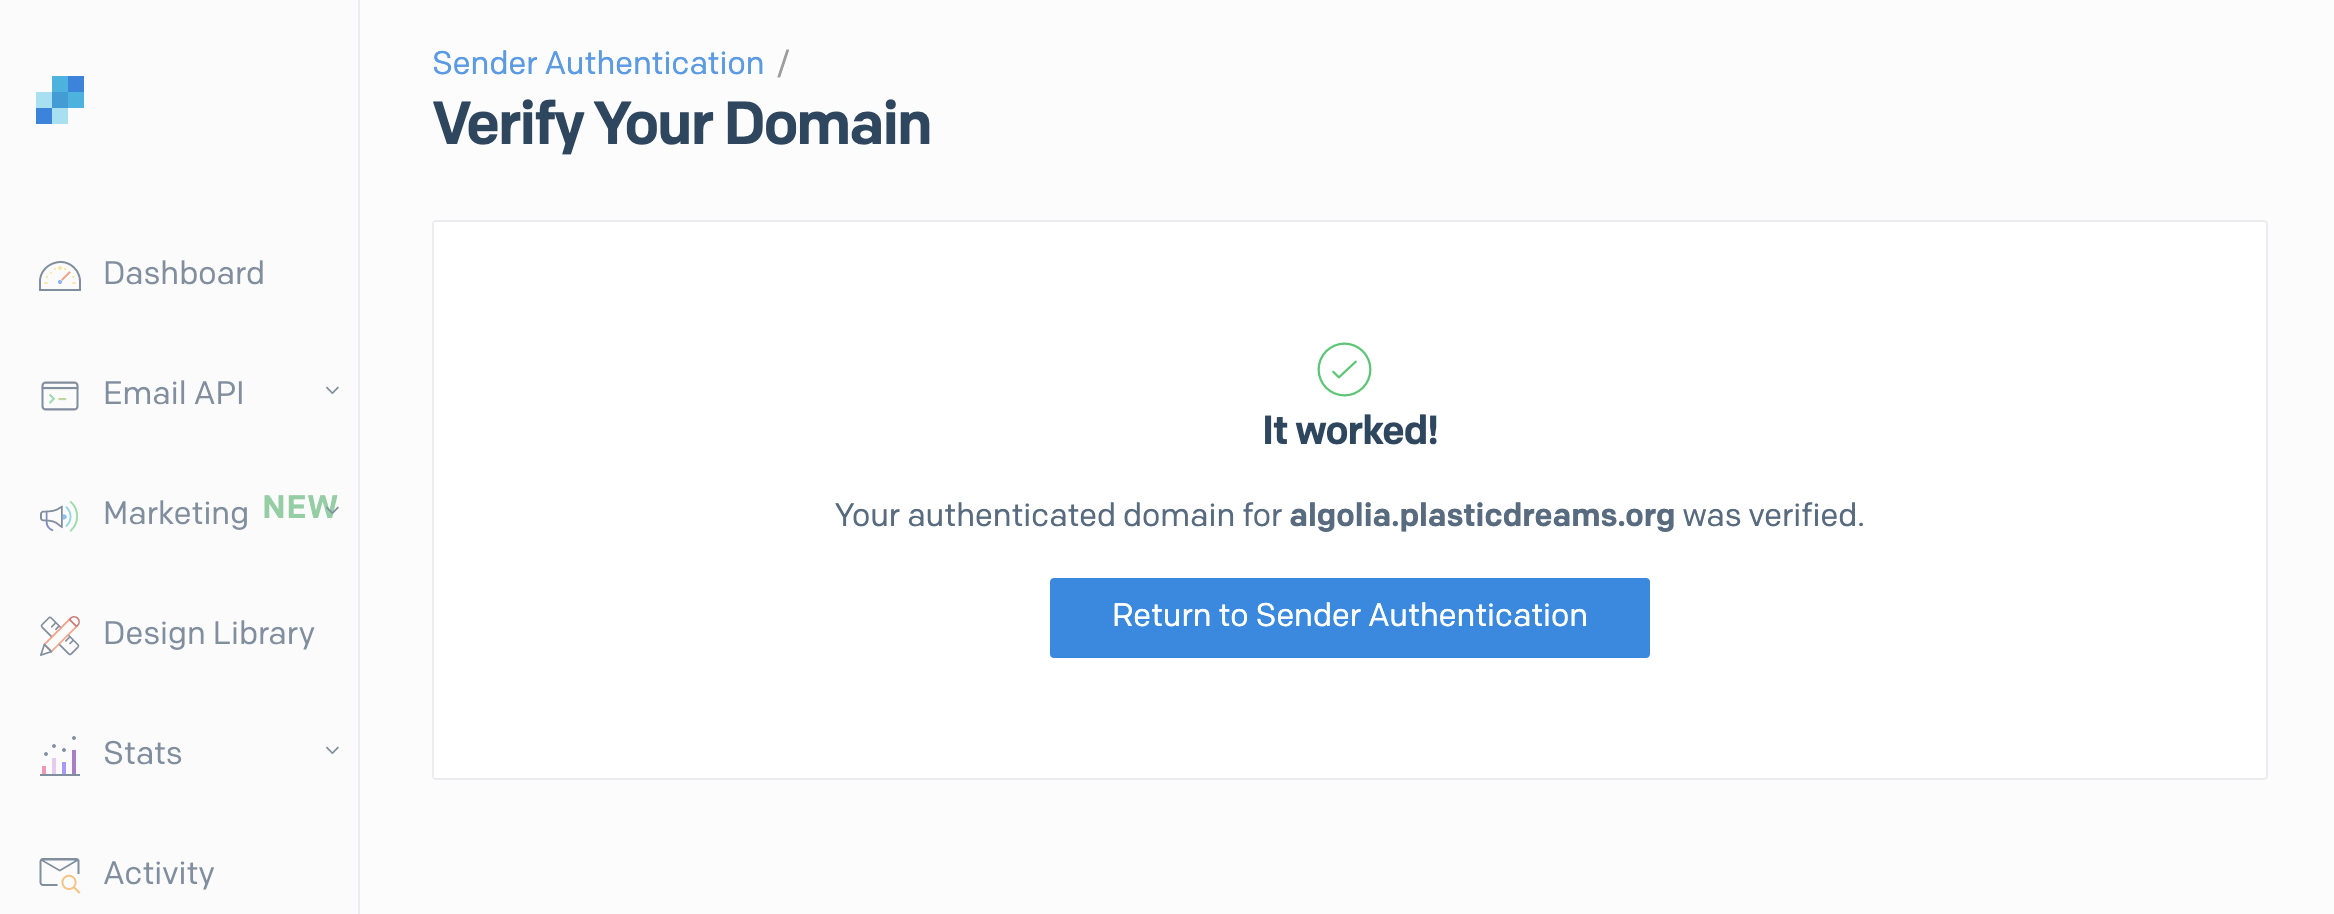
Back to SendGrid dashboard, then click [Verify] button to verify

10. Verified
Create and get API key
11. Click [Integration Guide] under [Email API]

12. Choose "WebAPI"

13. Click [Choose] on PHP
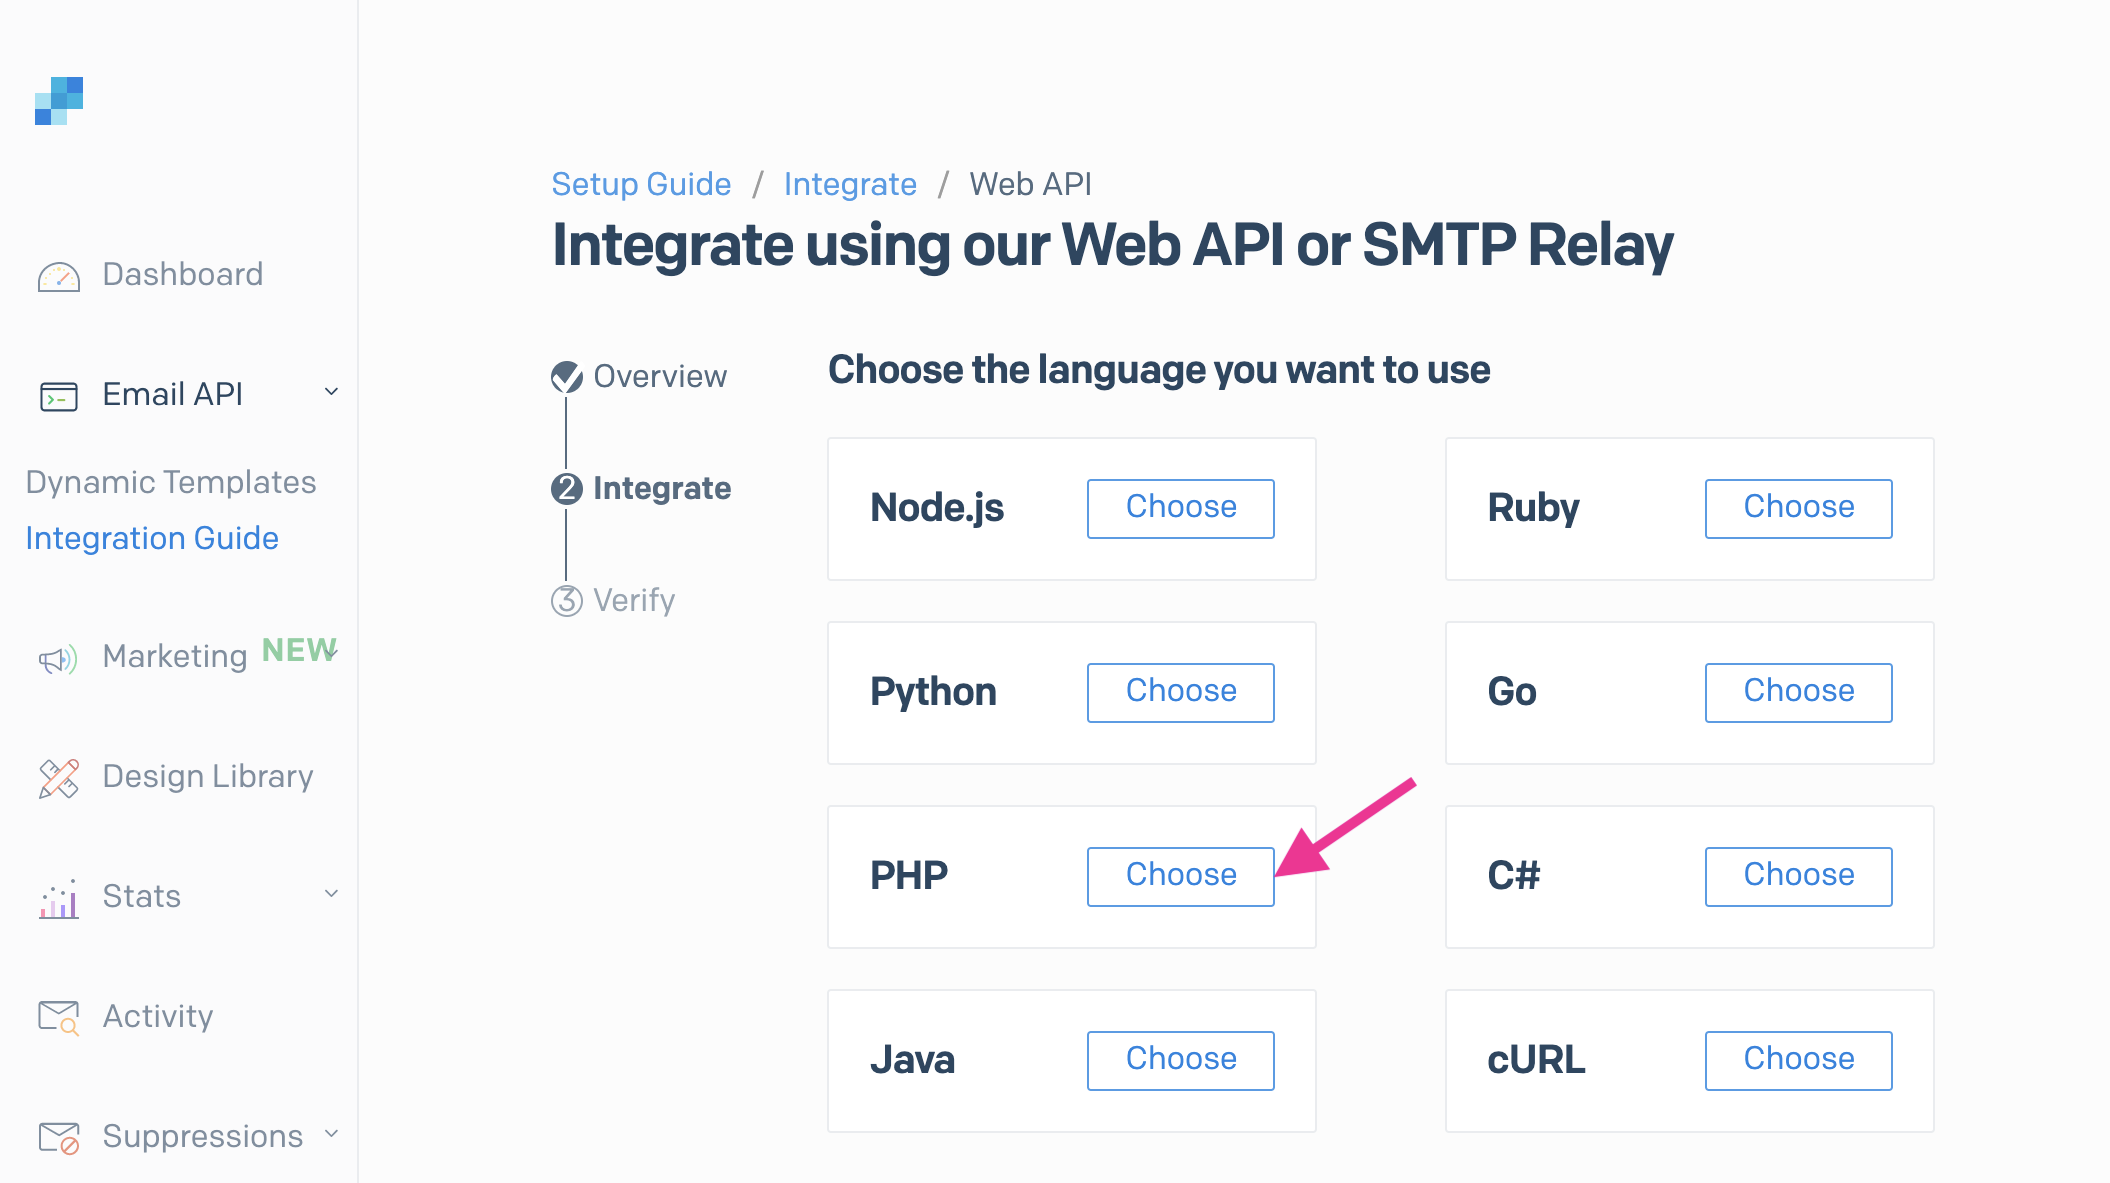
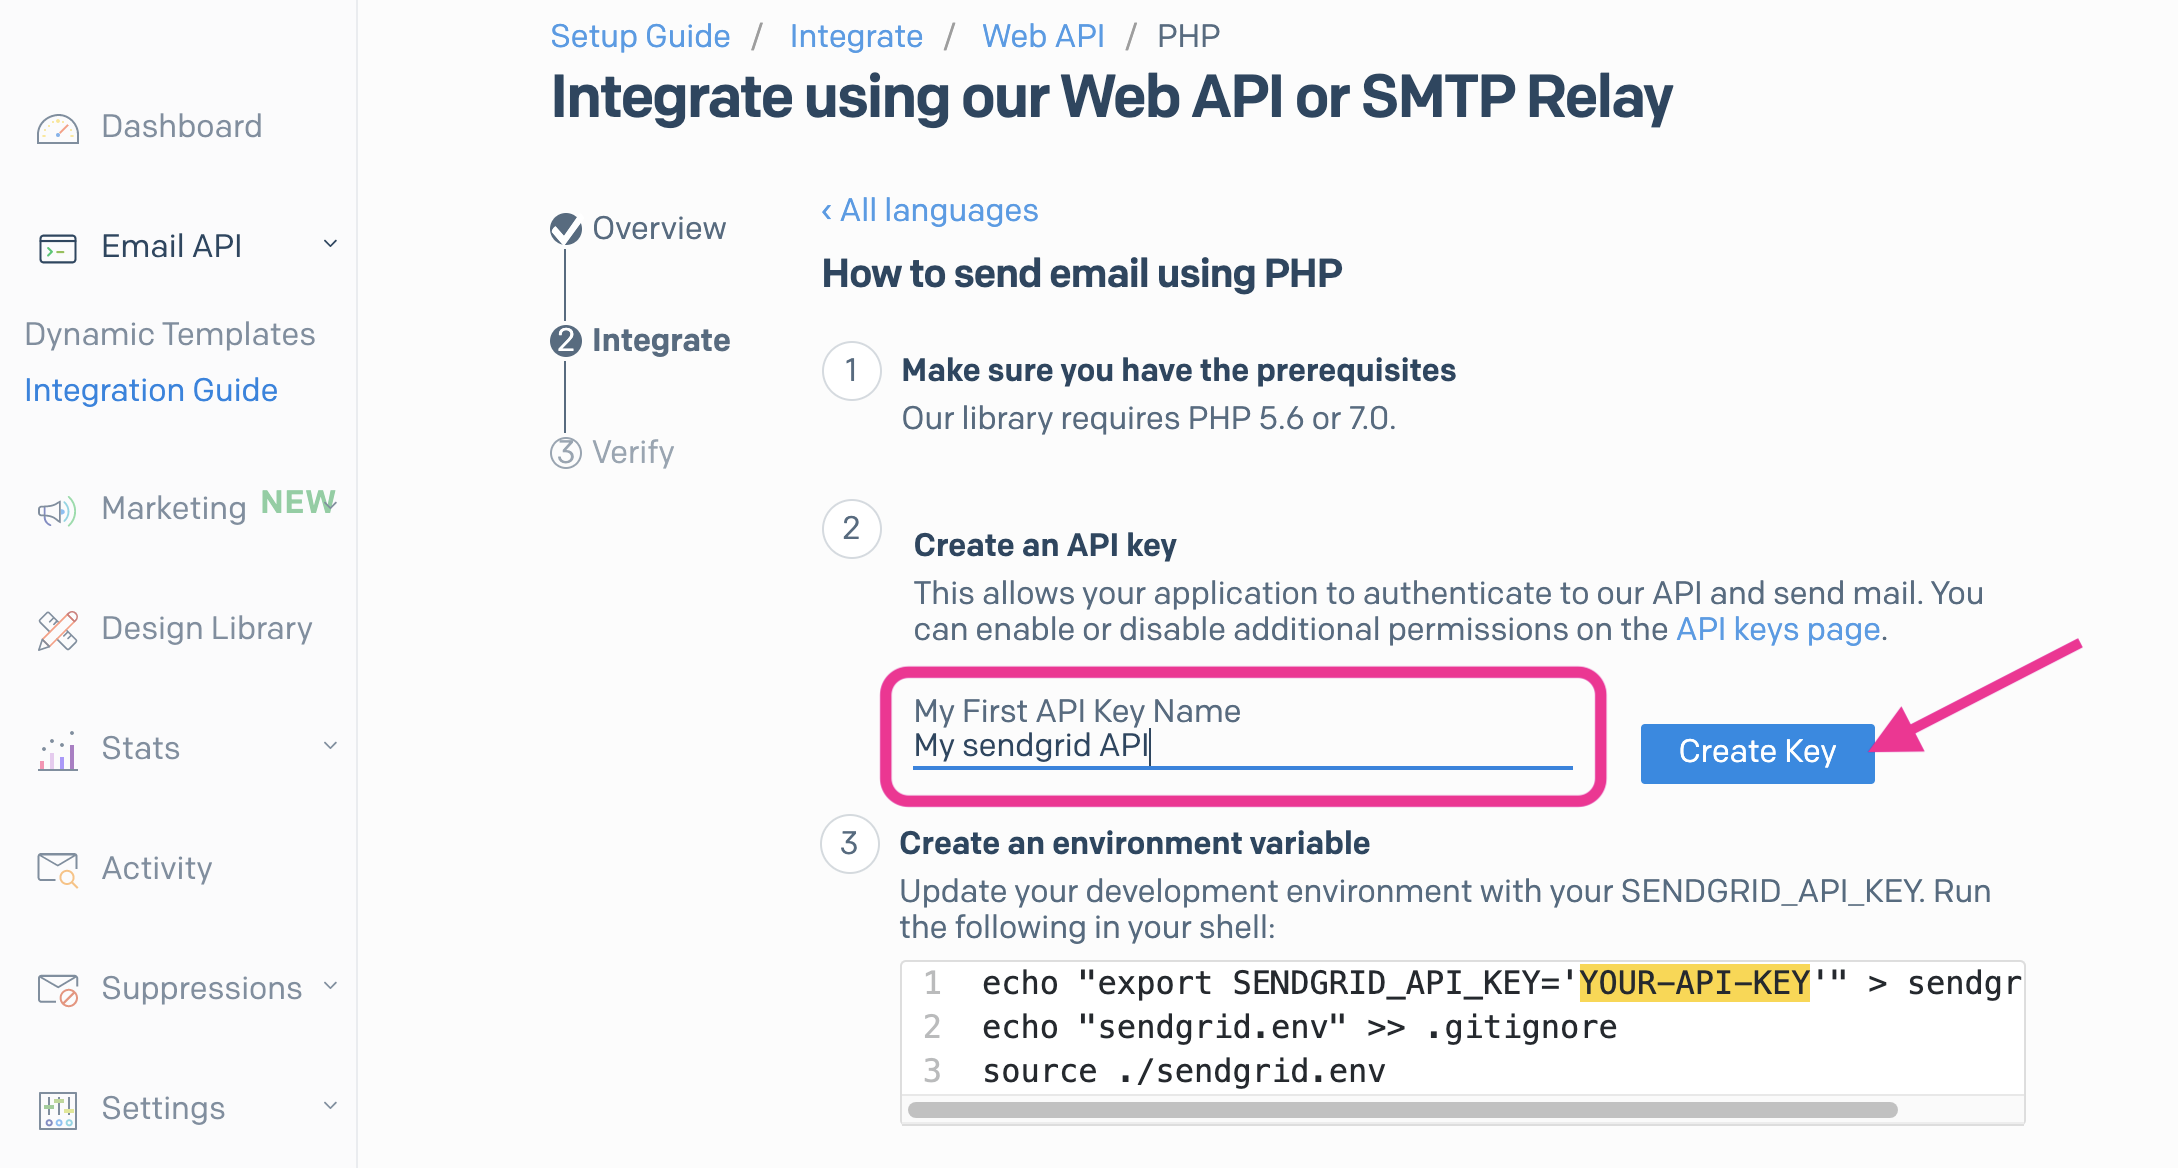
14. Click [Create API Key]
Name your API Key then click [Create Key]
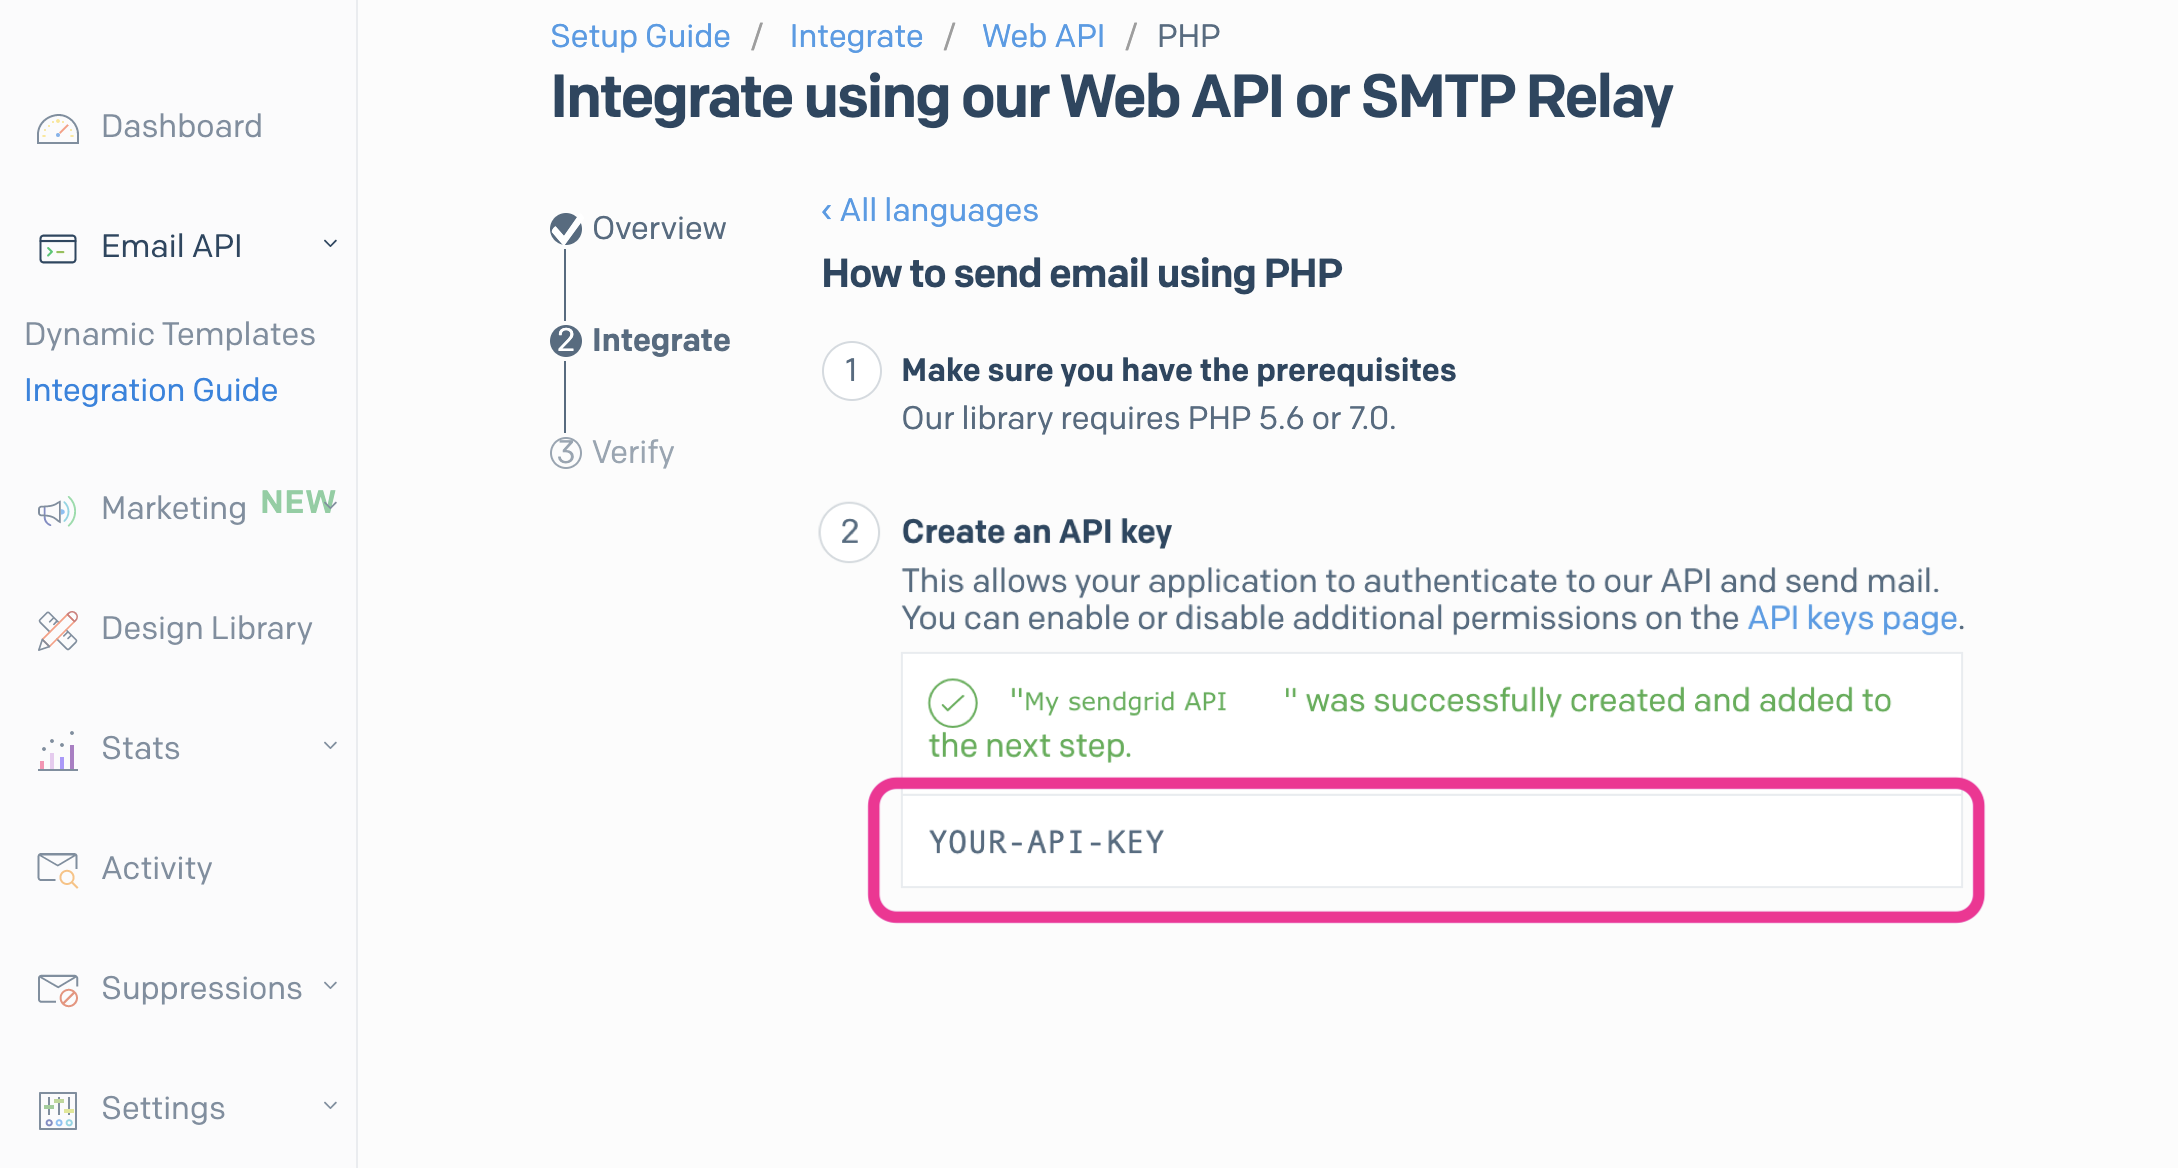
15. Copy created API Key
Install WordPress plugin and verify integration
16. Login to WordPress dashboard.
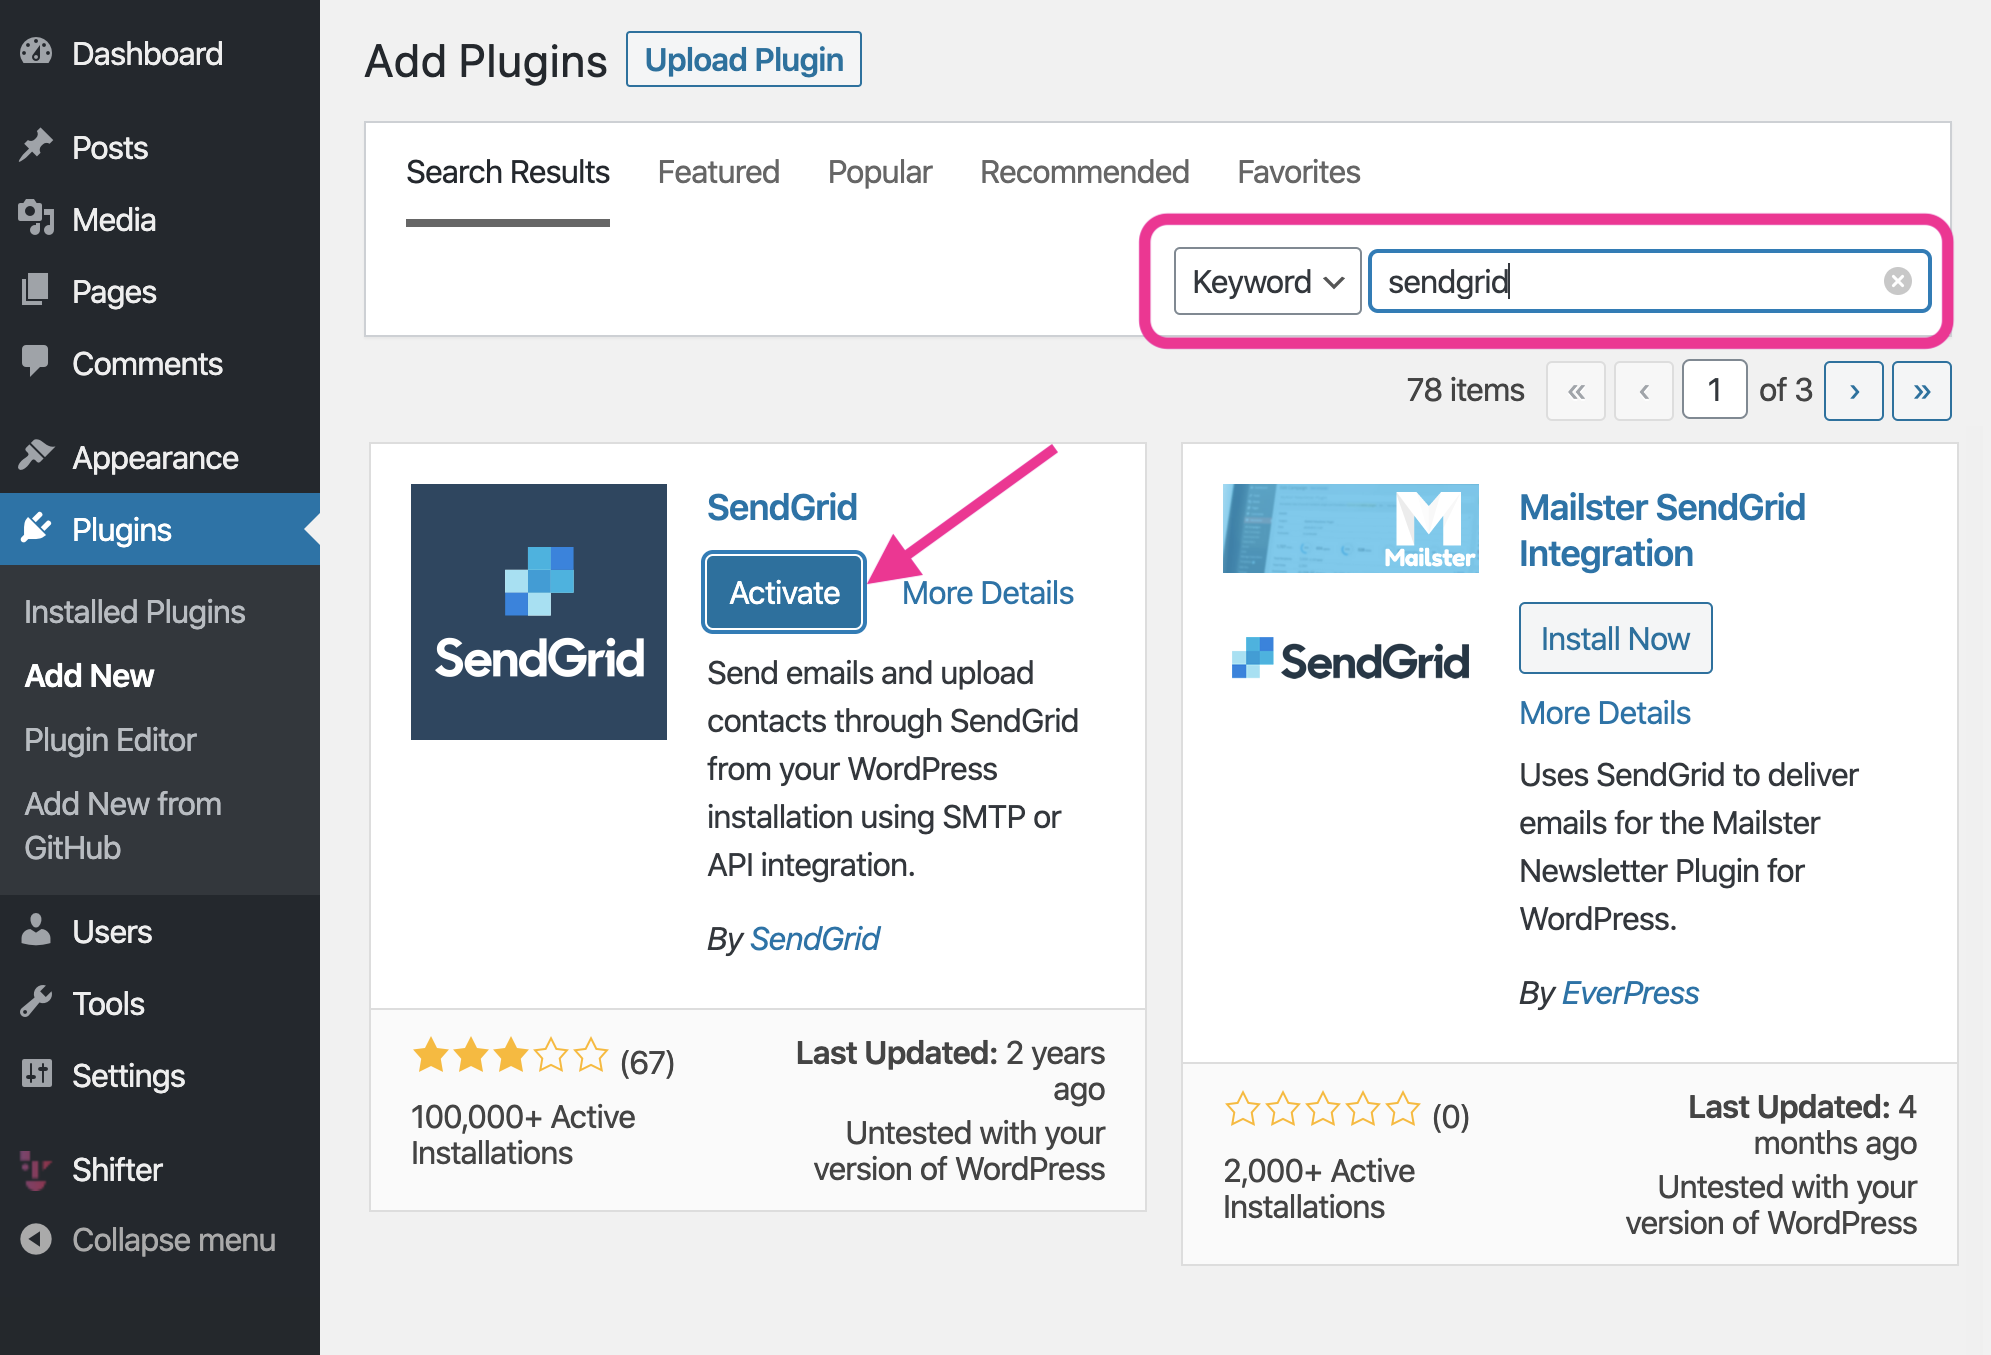
Search "sendgrid" and install SendGrid plugin
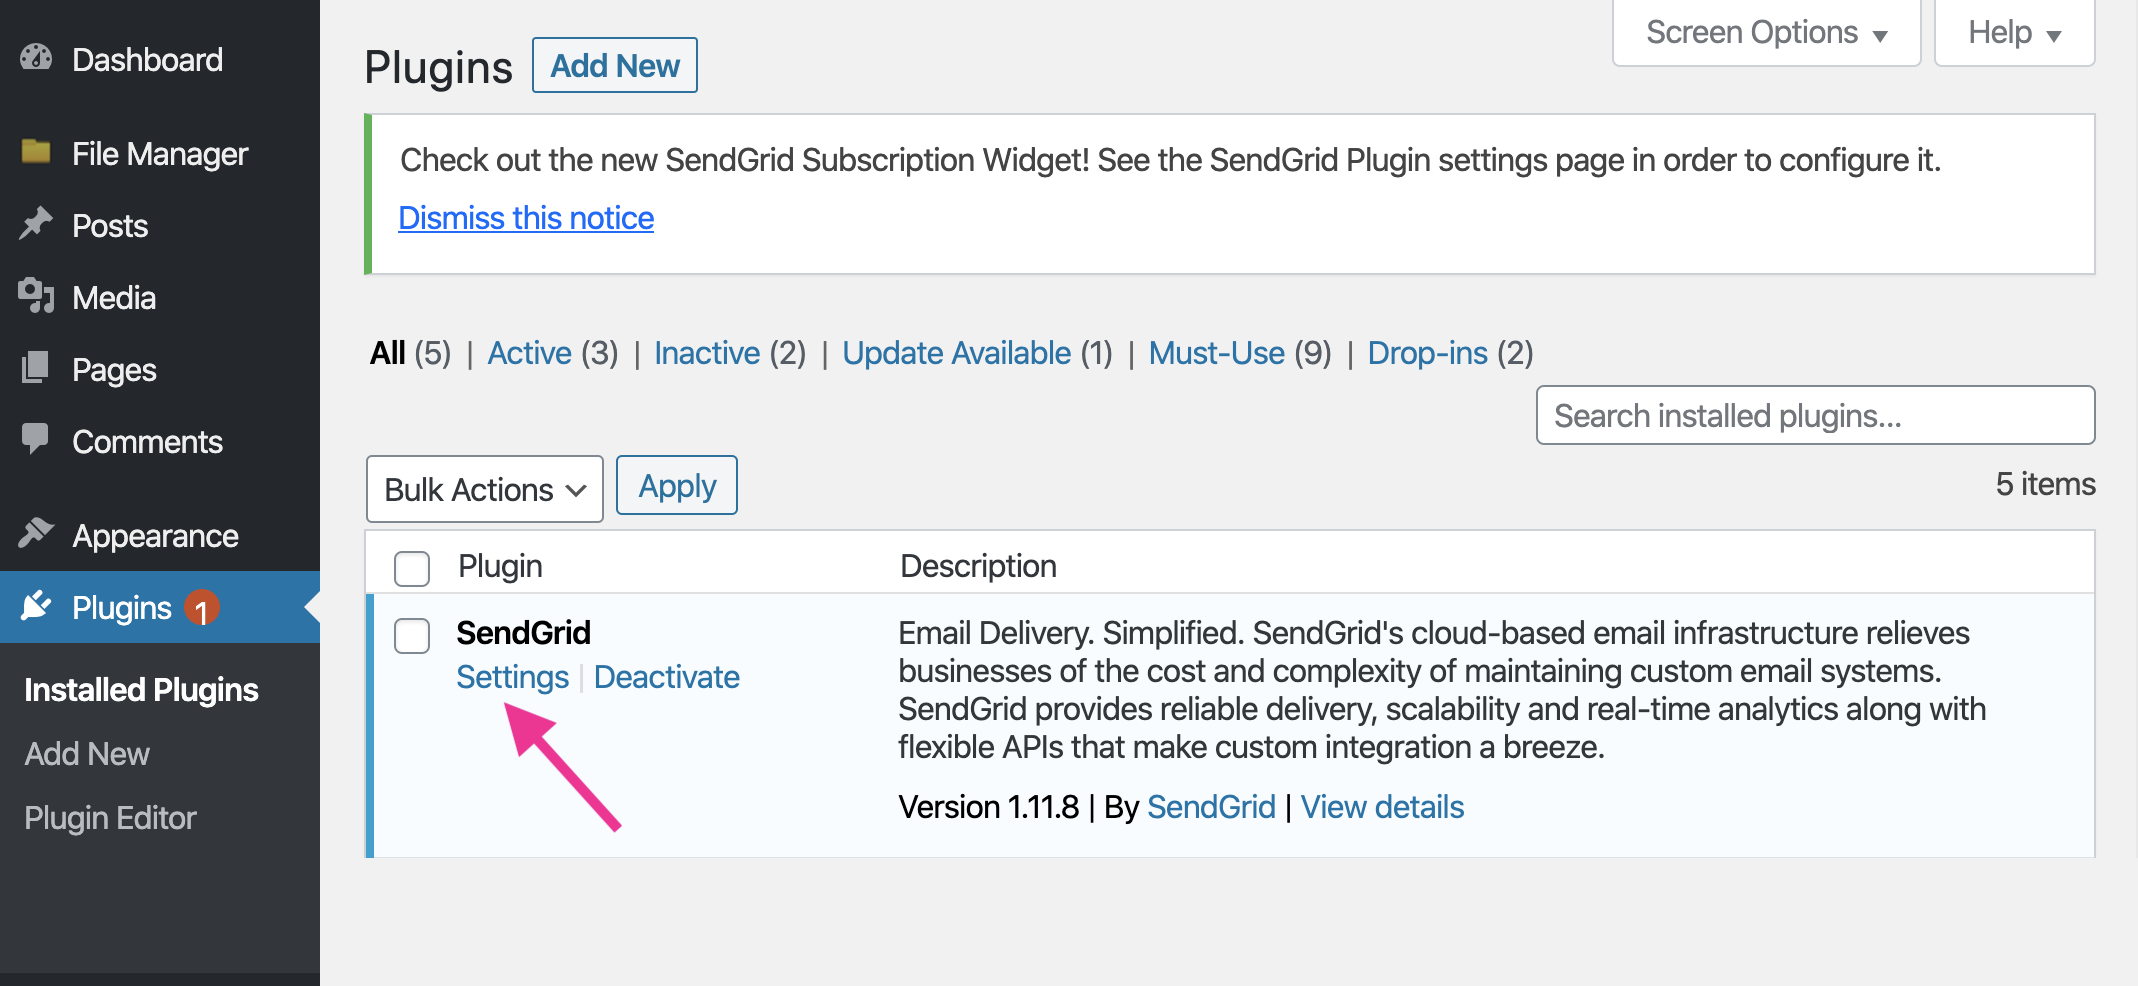
17. Click [Settings] under SendGrid menu
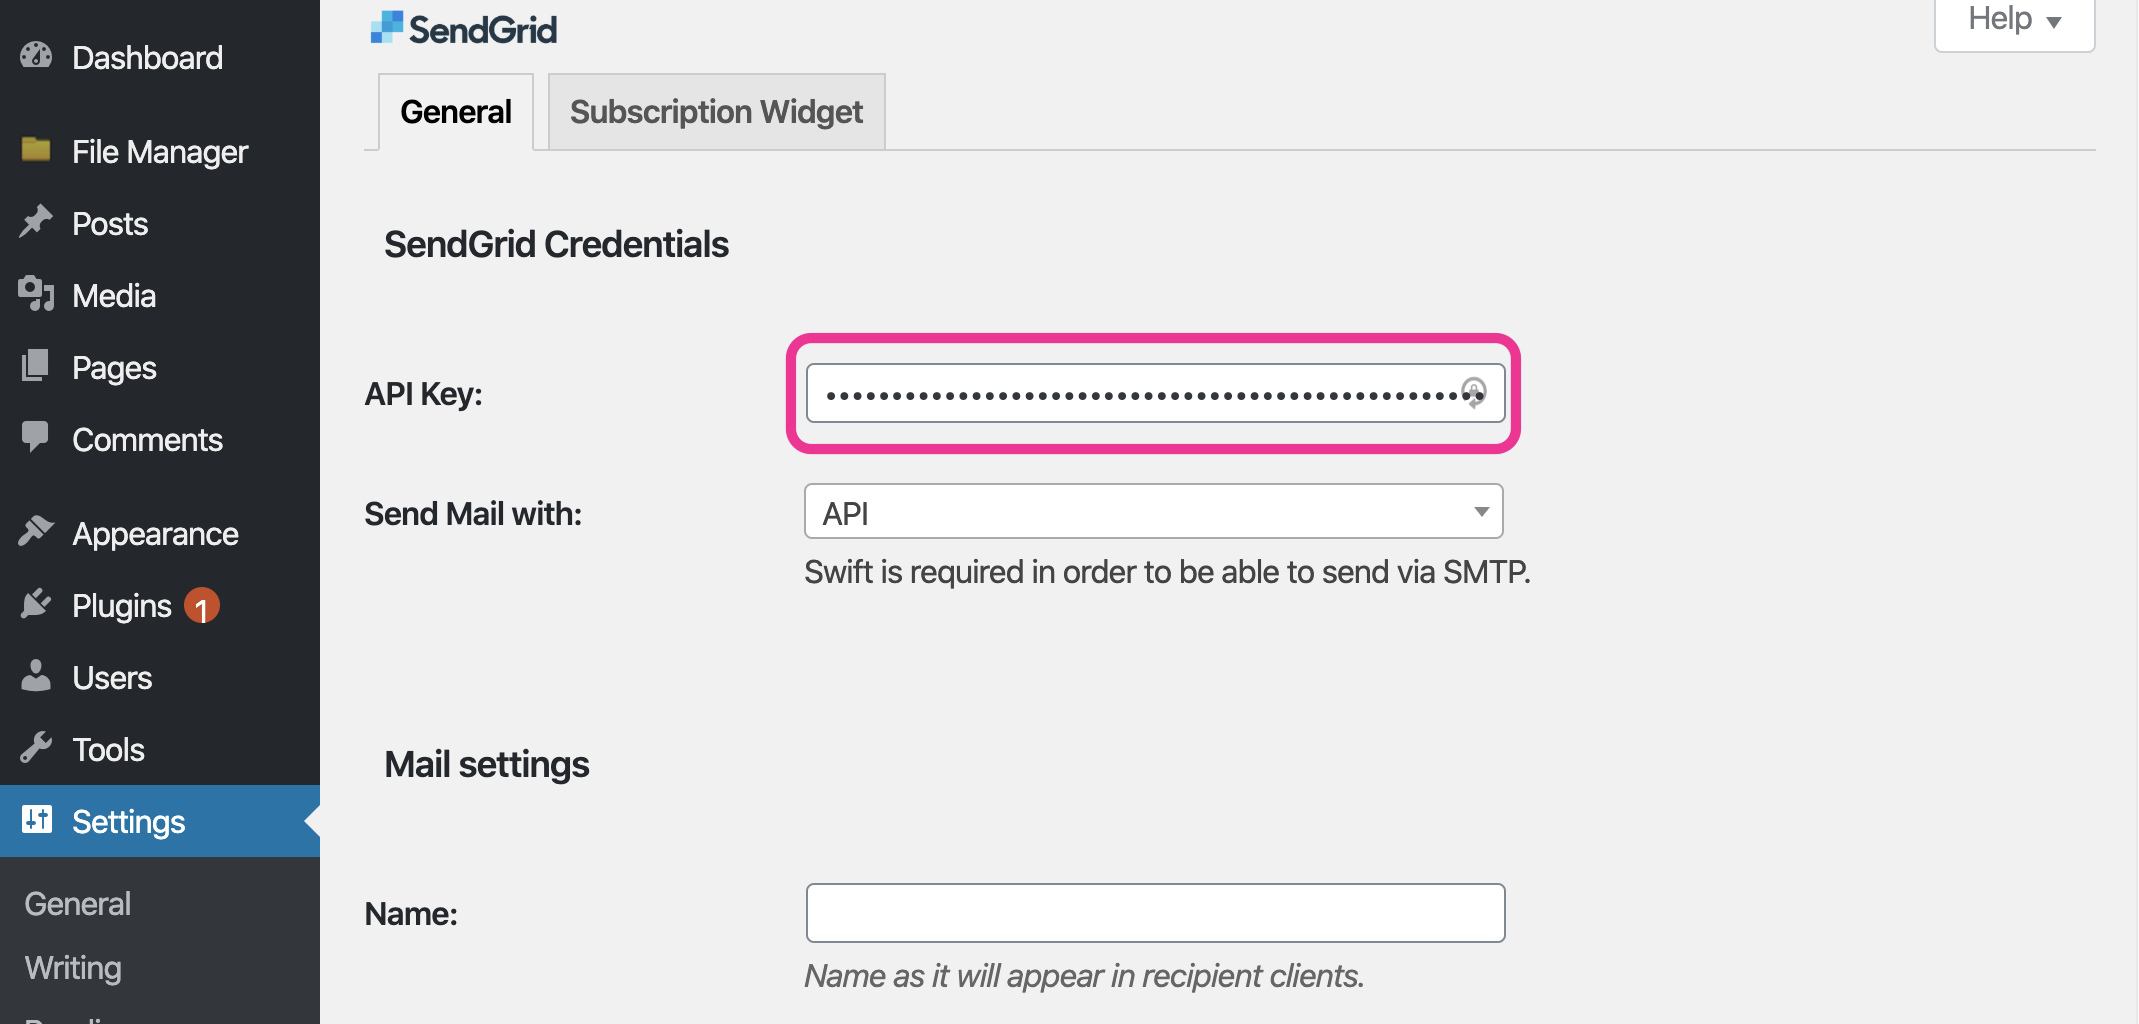
18. Paste API Key
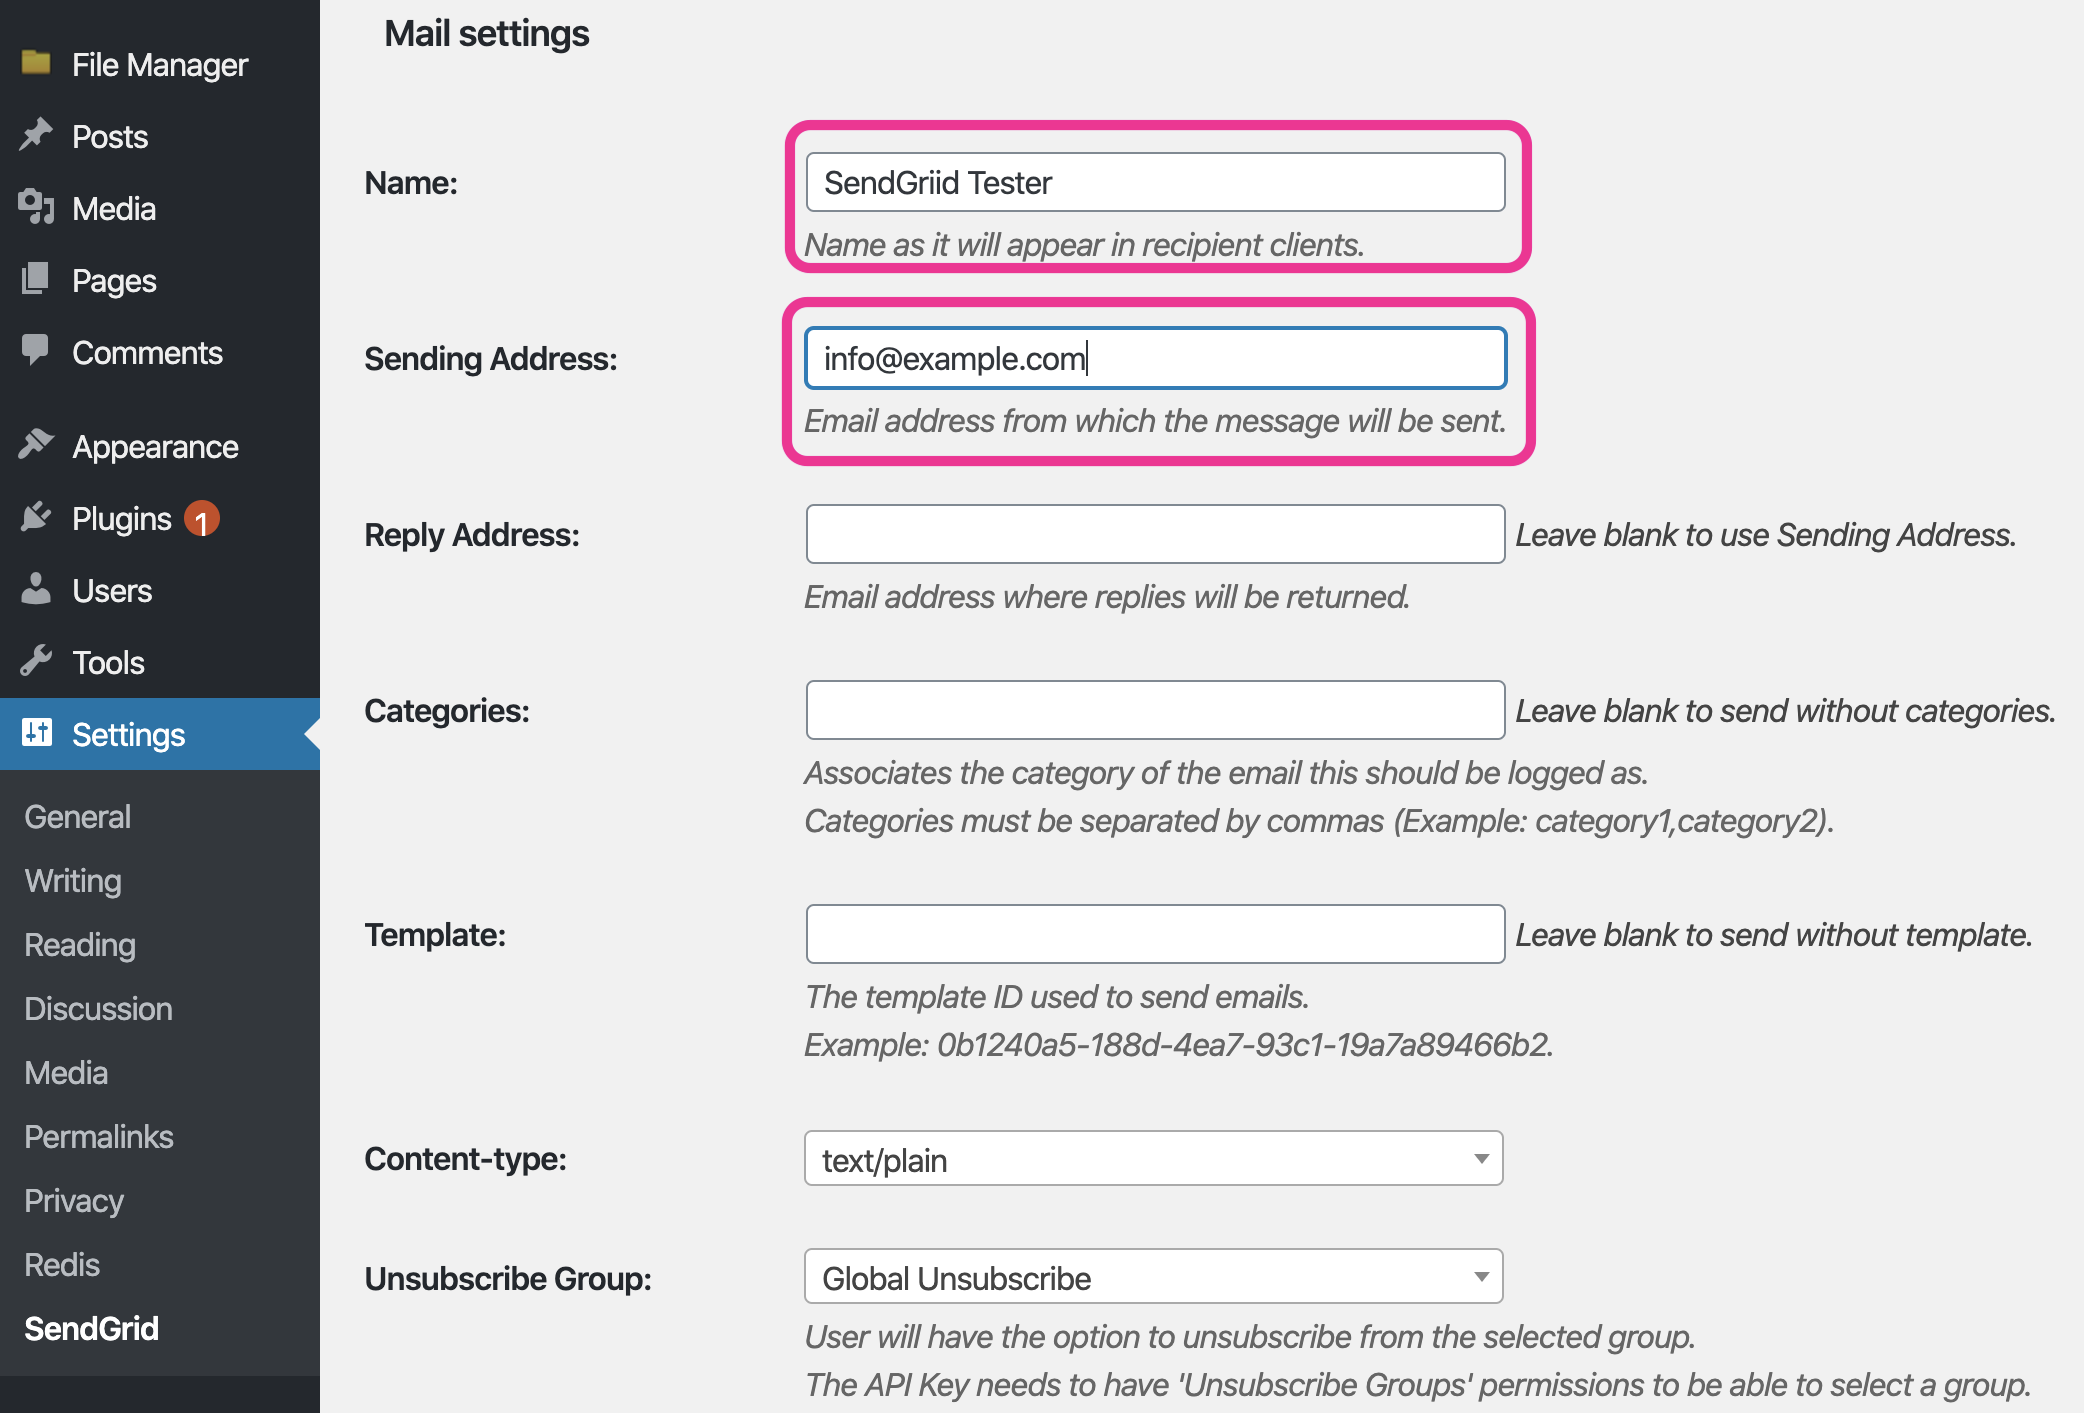
19. Input "Name" and "Sending Address"
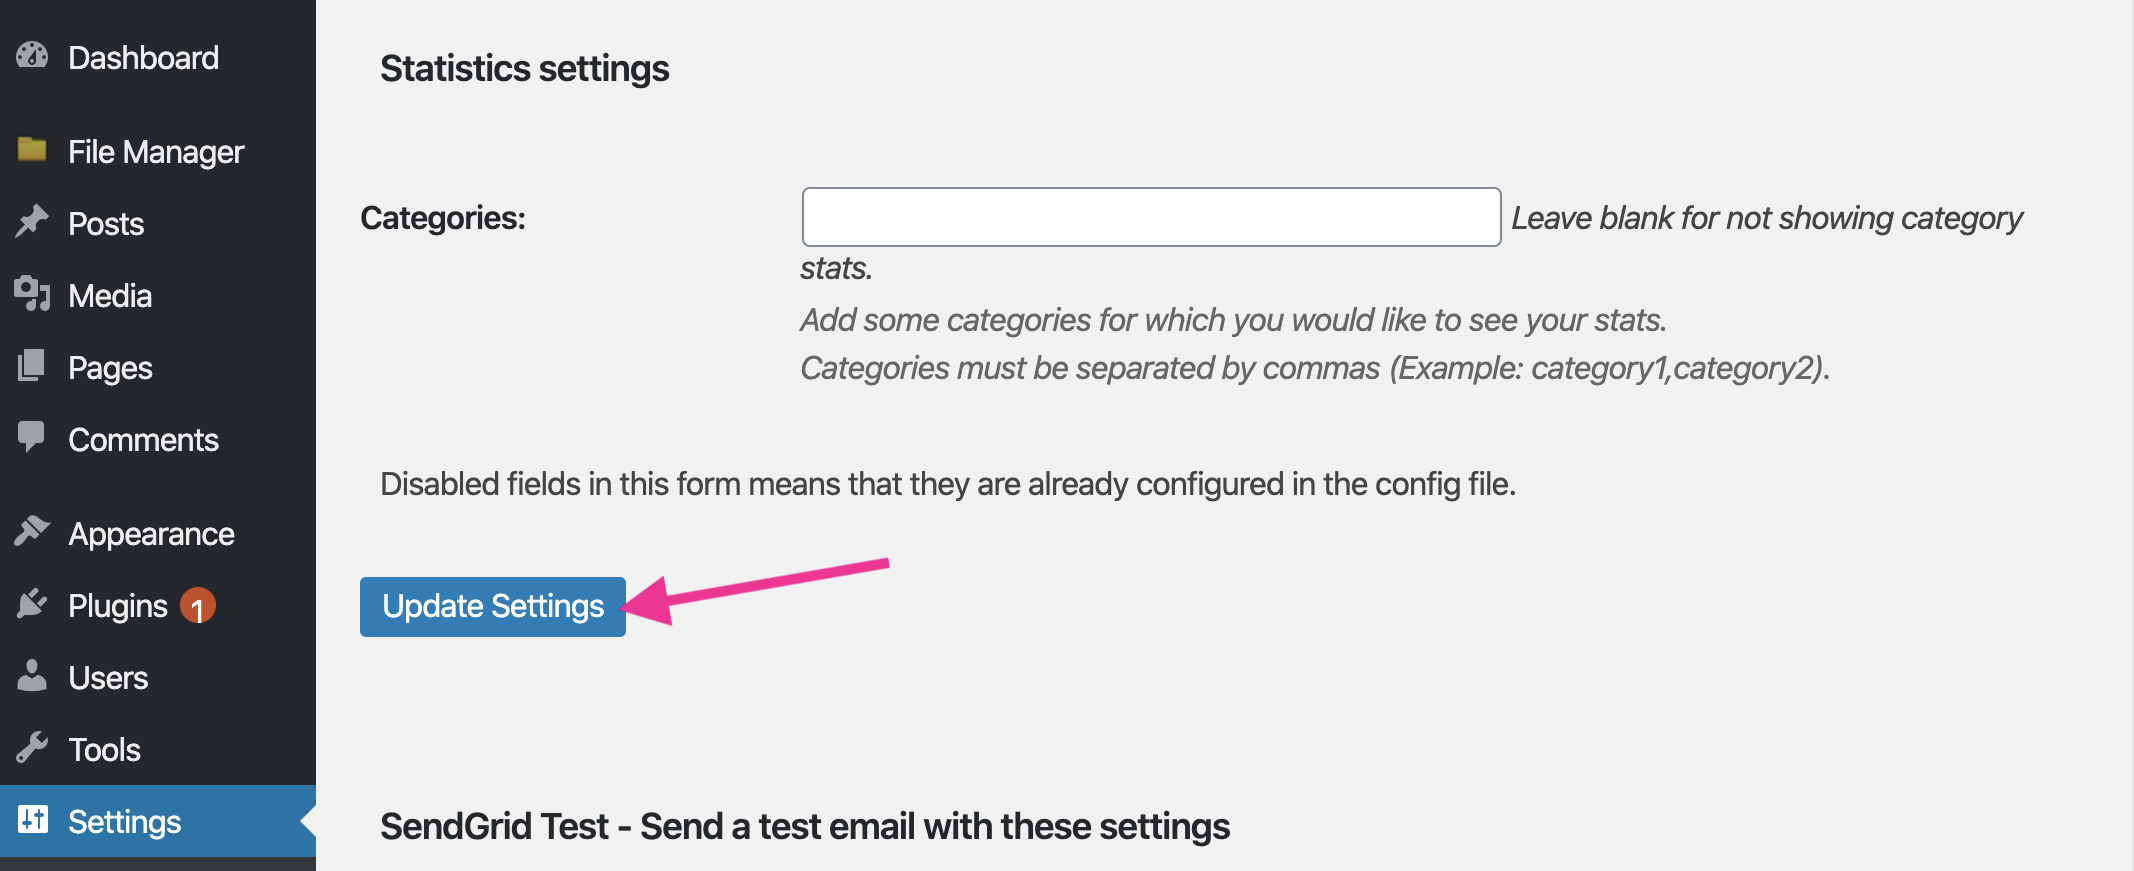
20. Save settings
Scroll down and click [Update Settings] to apply settings.
21. Back to SendGrid Dashboard
22. Click [Next: Verify Integration] button
Scroll down to the bottom of page, check [I've integrated the code above.]

23. Click [Verify Integration] button

24. You'll get "It worked!" if you completed settings.
Click [View Email Activity] to confirm sent and received email.

25. Build your favourite contact form and test it.
That's all!