Required informations
- Server name (Domain / IP Address / provided server name on AMIMOTO dashboard e.g. aXXX.pilott.io or aXXX.megumi-cloud.com )
- Username (amimoto-user for managed hosting, ec2-user for AMIMOTO AMI on AWS )
- Secret key ( id_rsa.aXXX for managed hosting, generated key file on AWS console for AMIMOTO AMI on AWS )
- Windows user: You may need to convert private key to PuTTY format with PuTTYGen. For more instruction, please check Connecting to Your Linux Instance from Windows Using PuTTY .
Setting up FileZilla
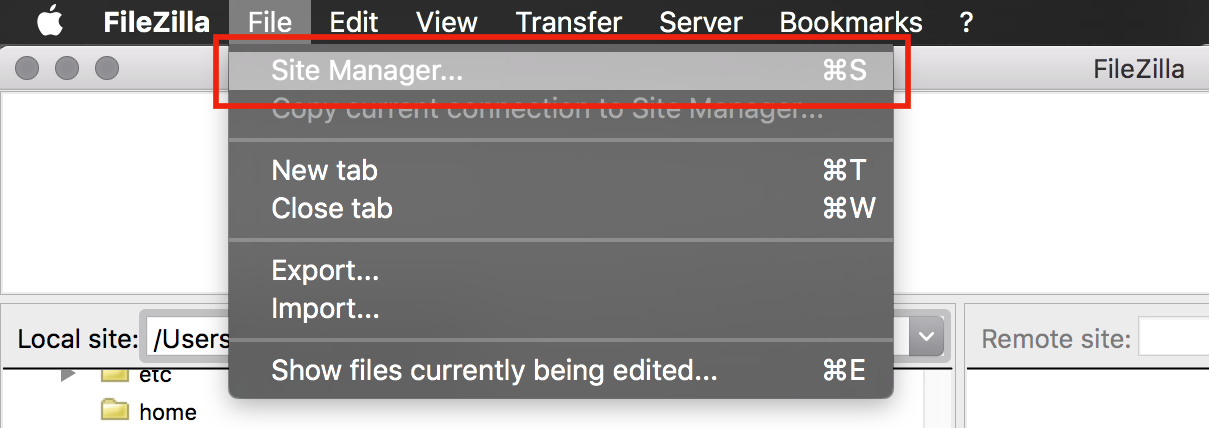
1. Start FileZilla
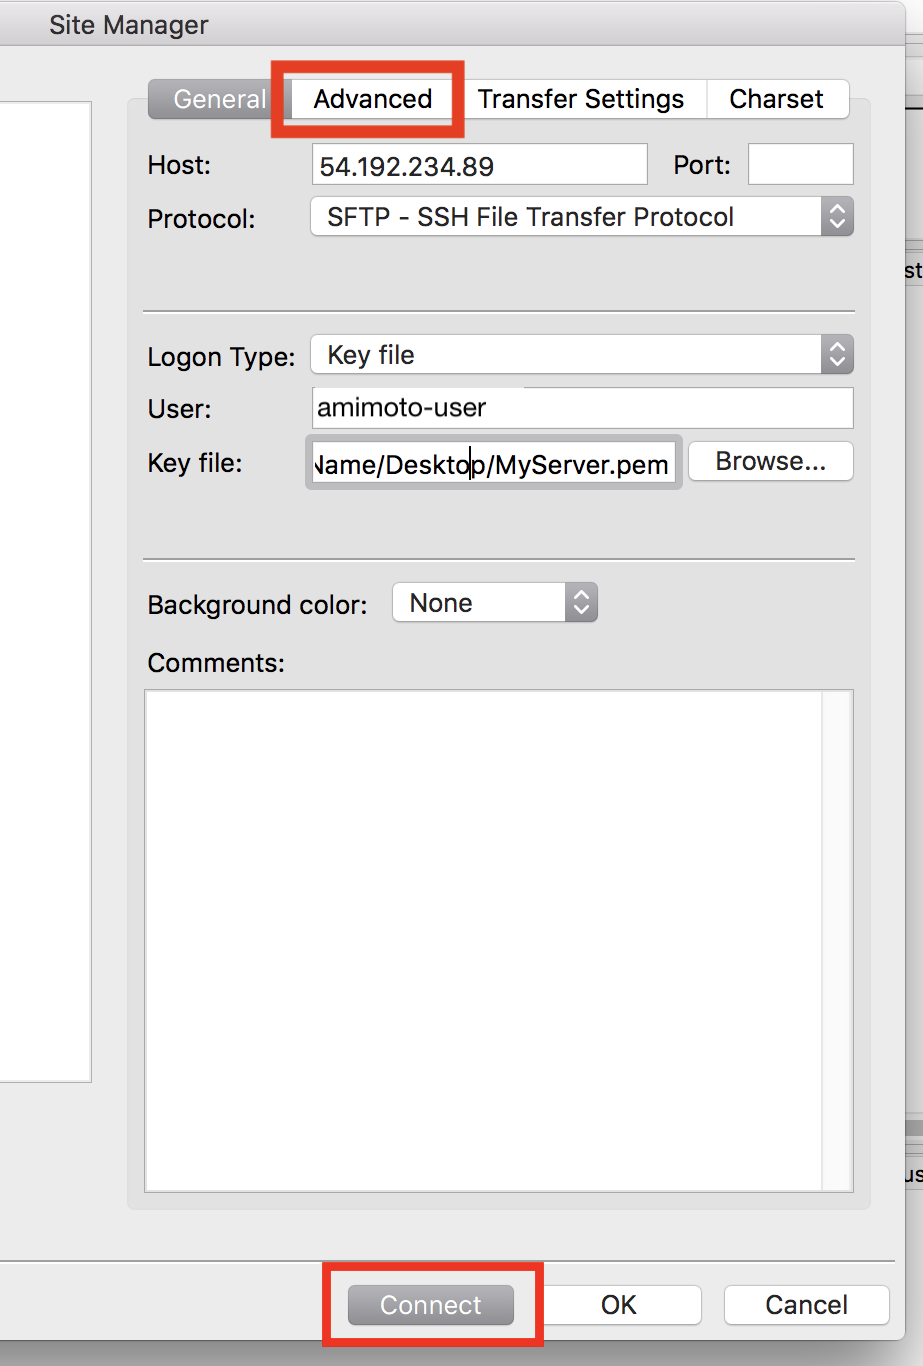
2. Open 'Site Manager' from MenuBar ( or [CMD]+[S])
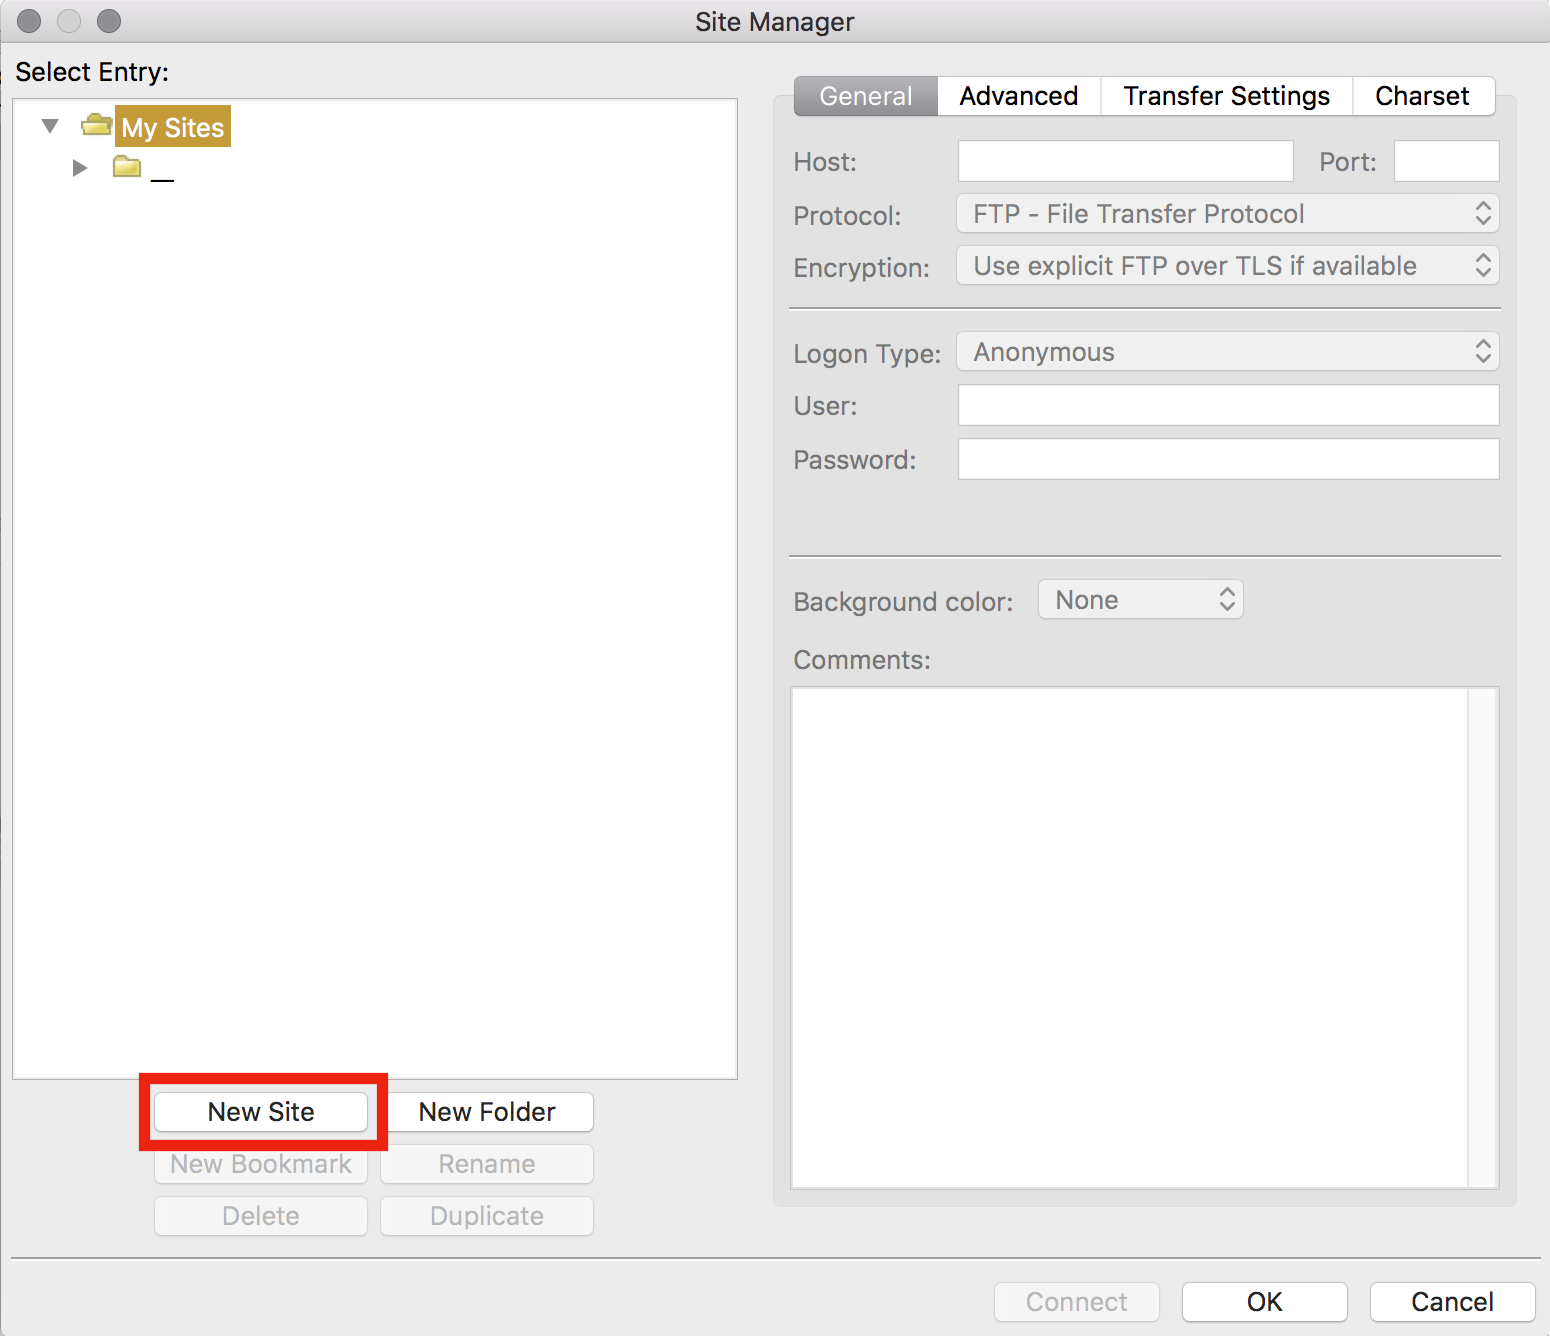
3. Click [New Site] on the bottom of left of this window
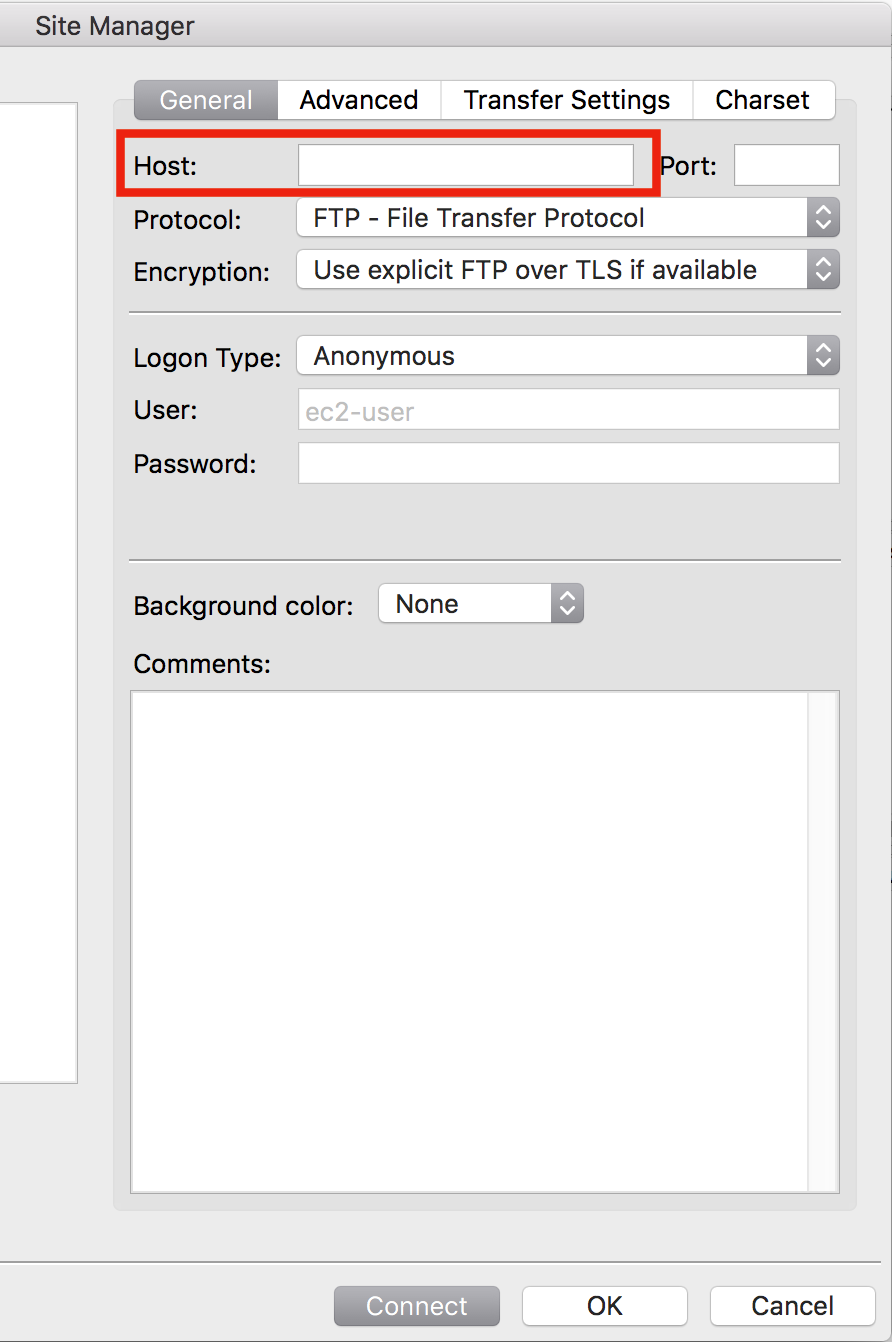
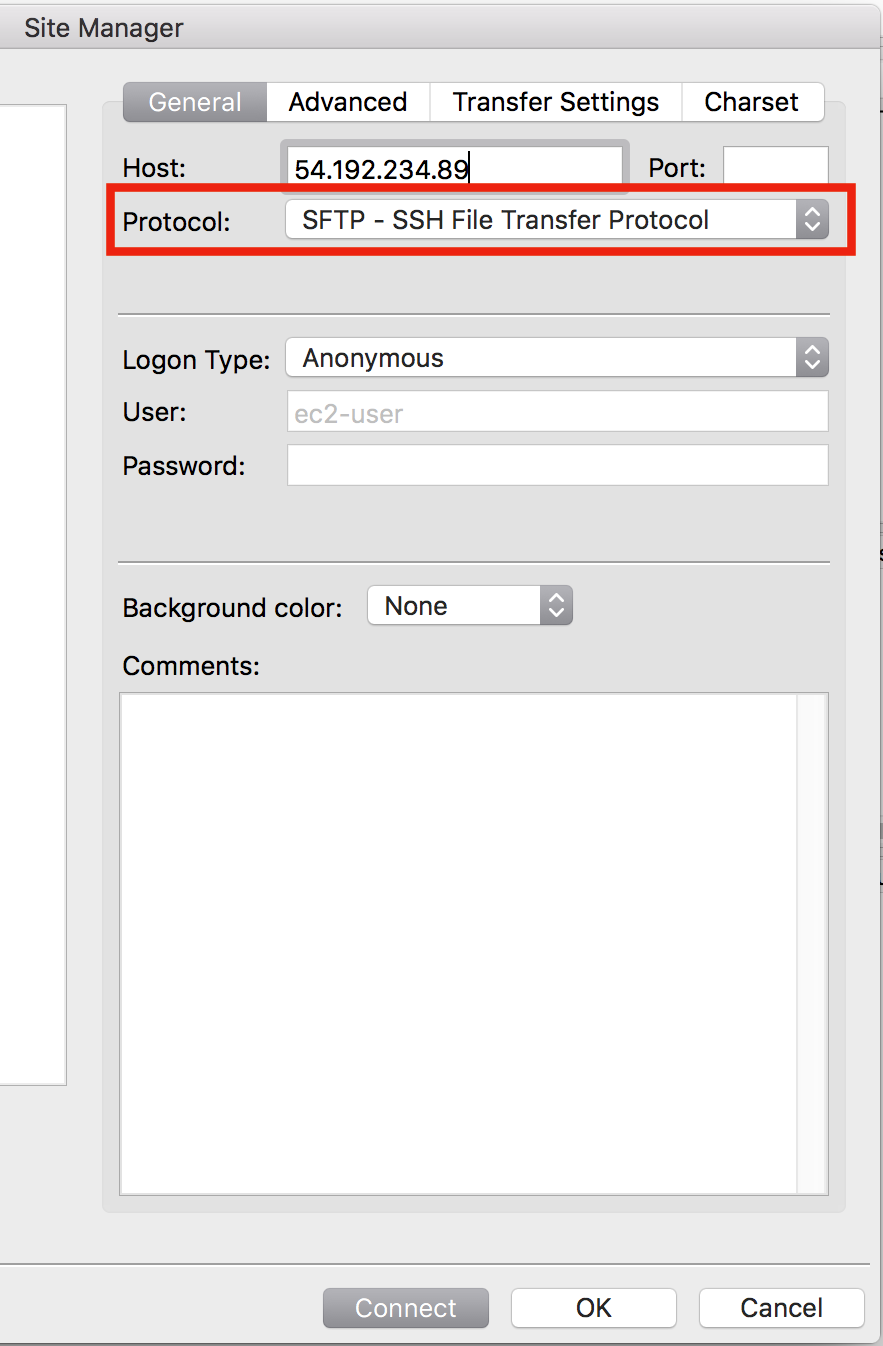
4. Host (H) : Input your server name (domain name / IP Address / provided server name on AMIMOTO dashboard for managed hosting )
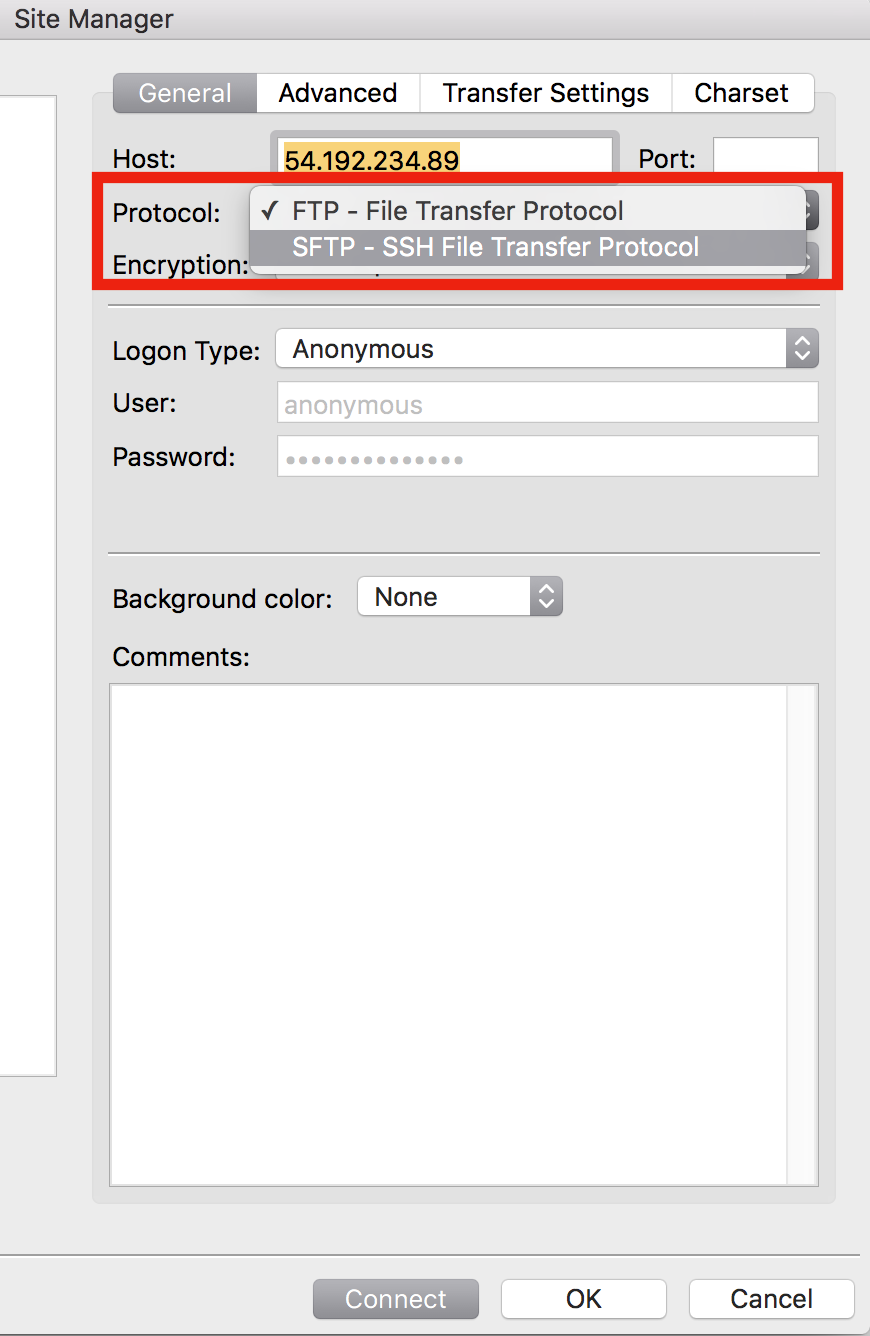
5. Protocol: choose [SFTP - SSH File Transfer Protocol]
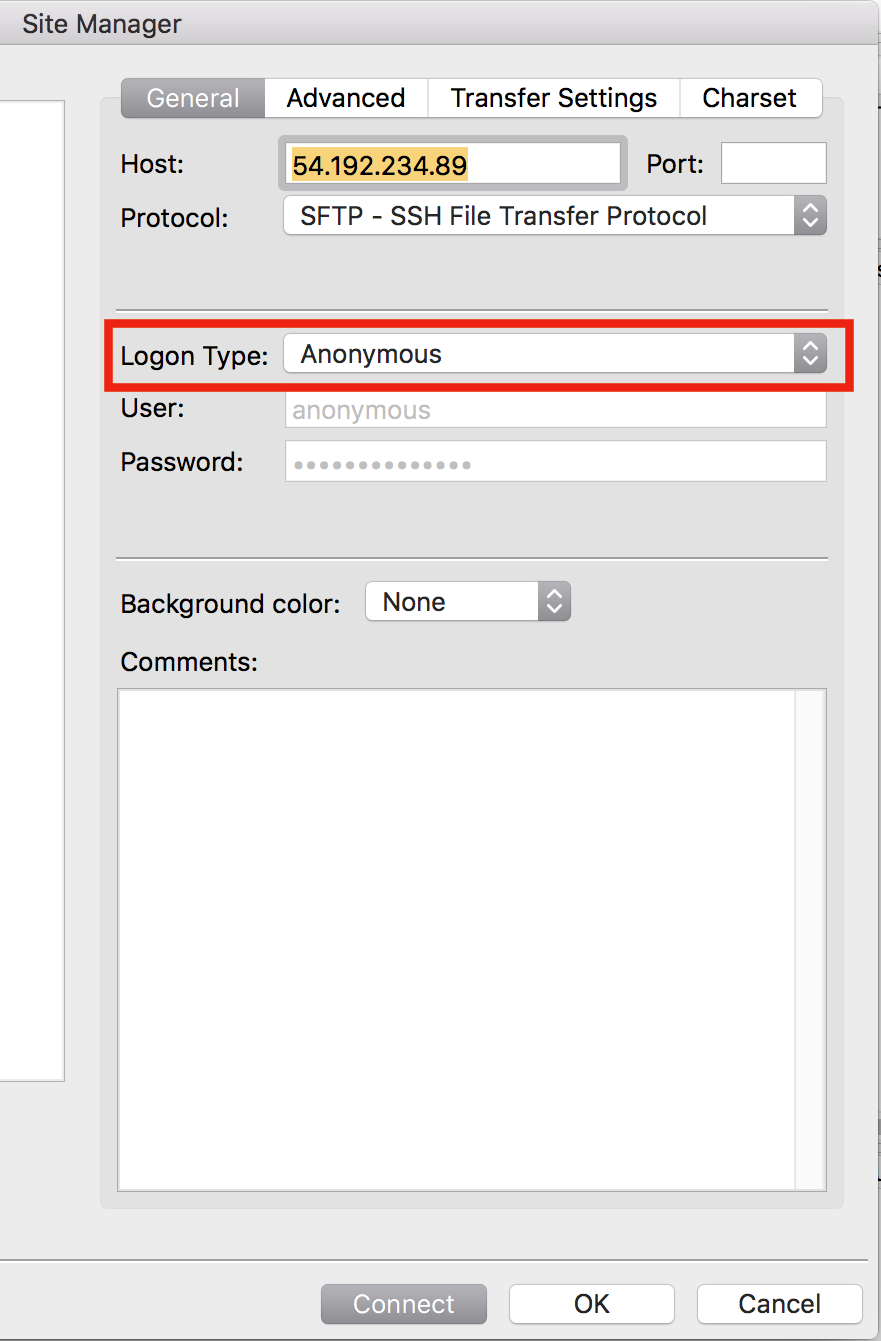
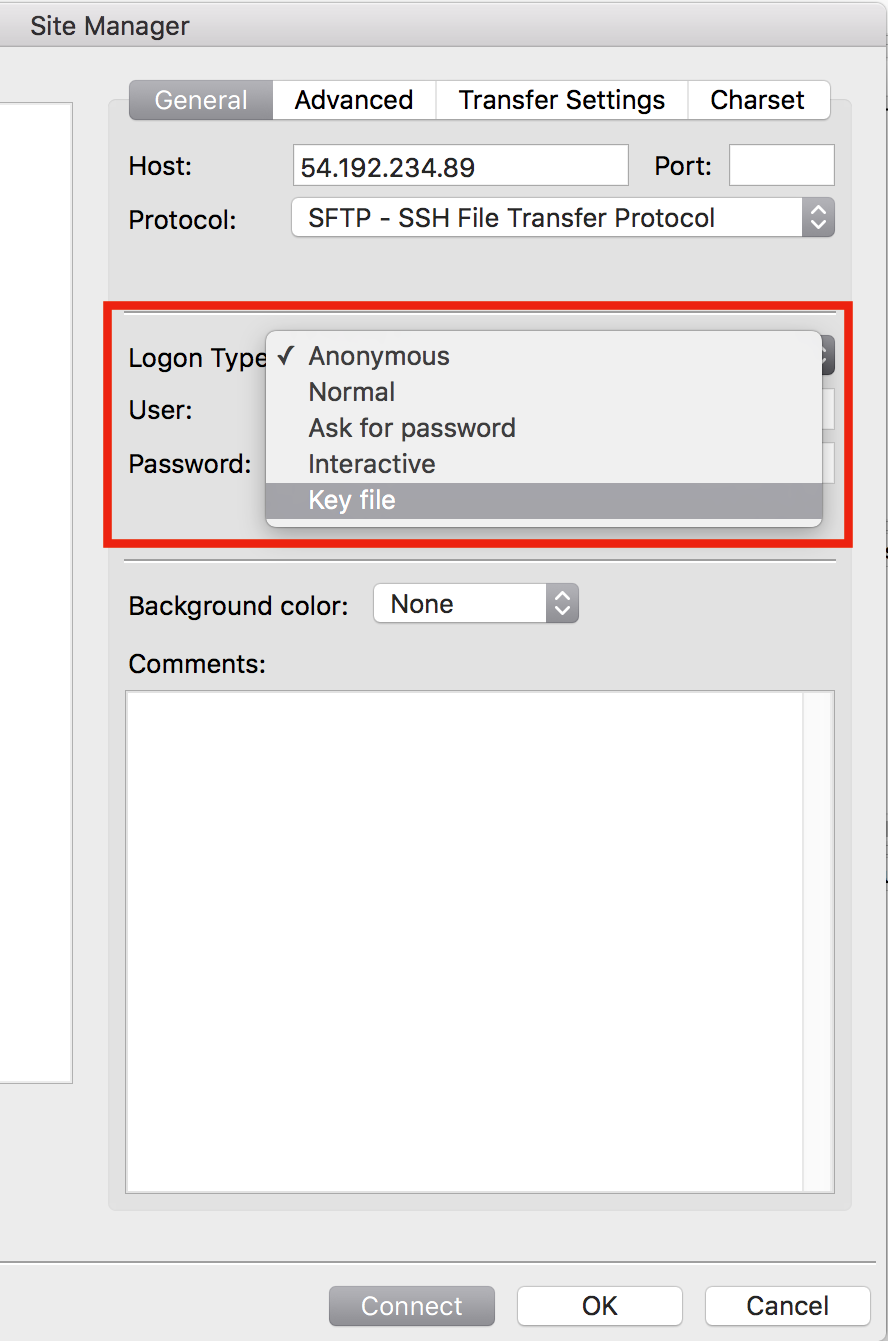
6. Logon Type: Choose [Key file]
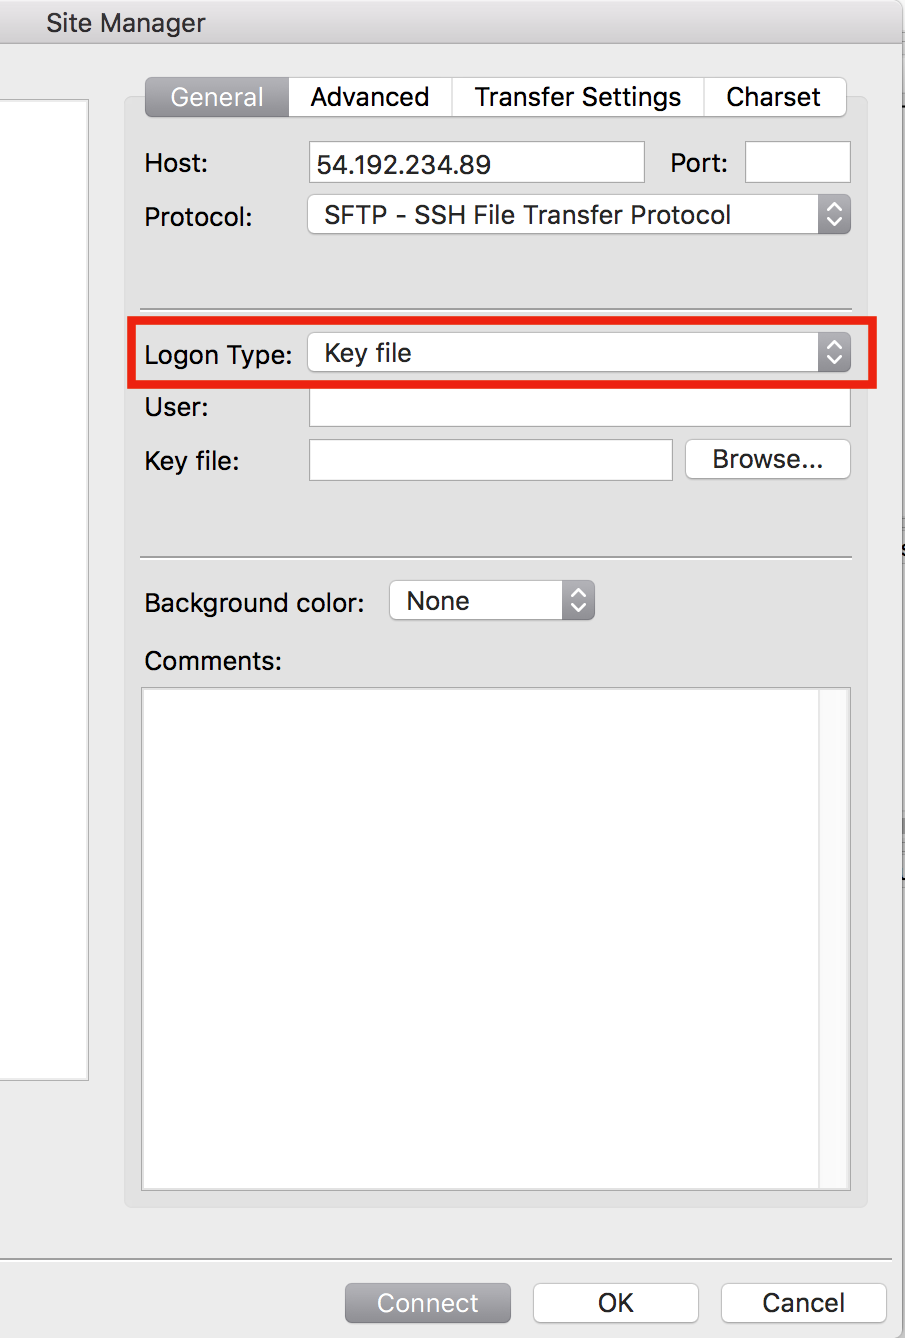
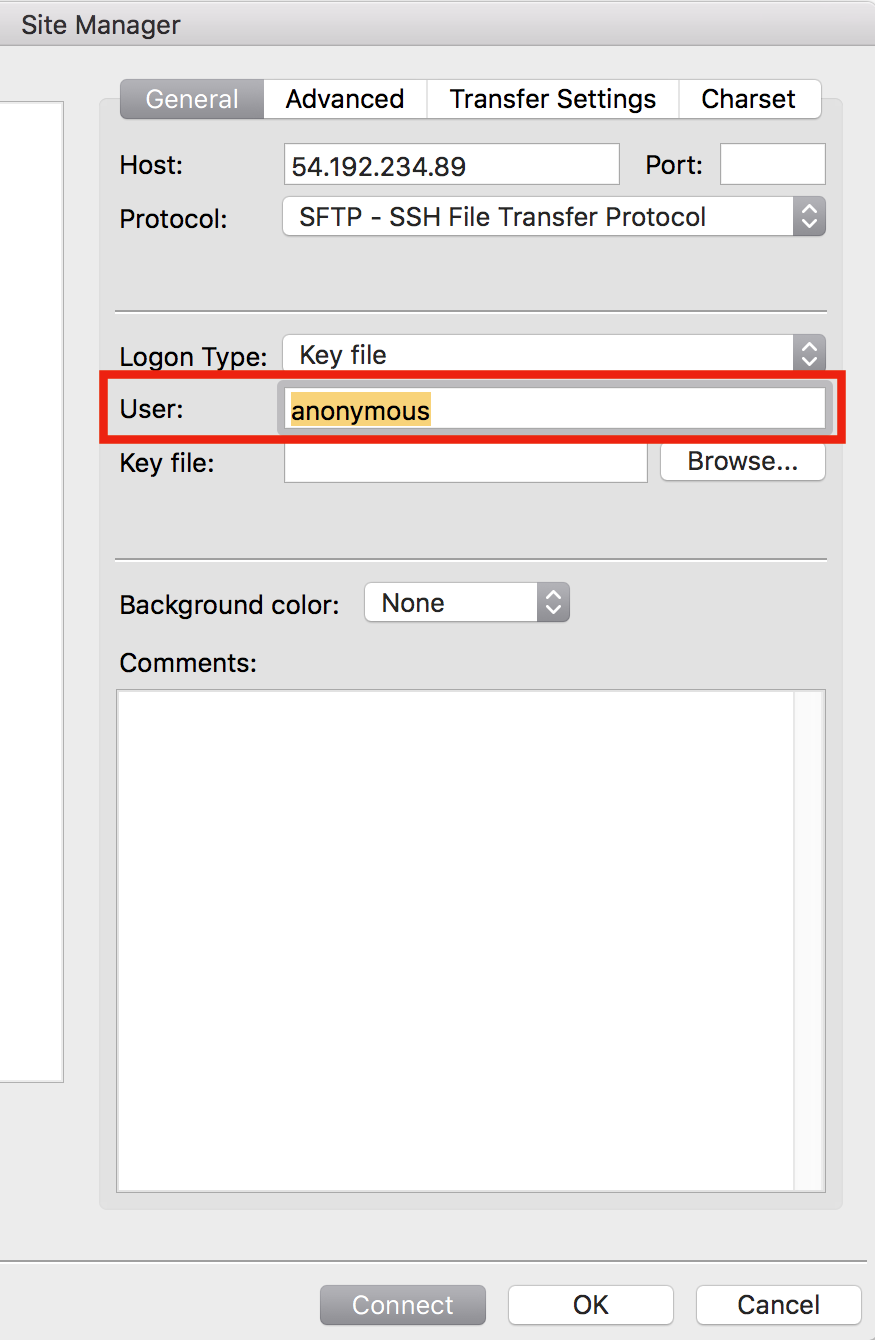
7. User: input amimoto-user if you're managed hosting user
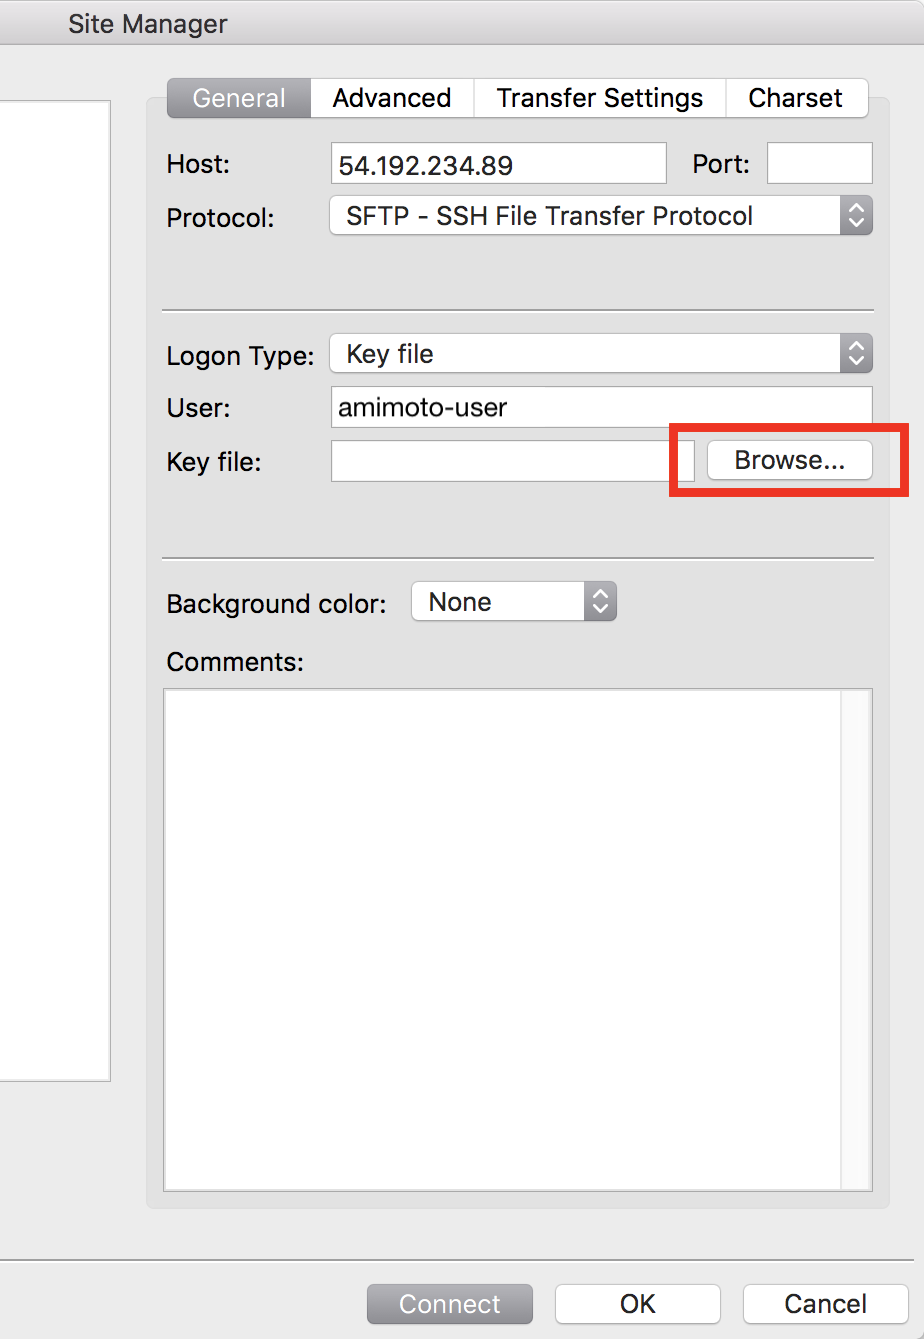
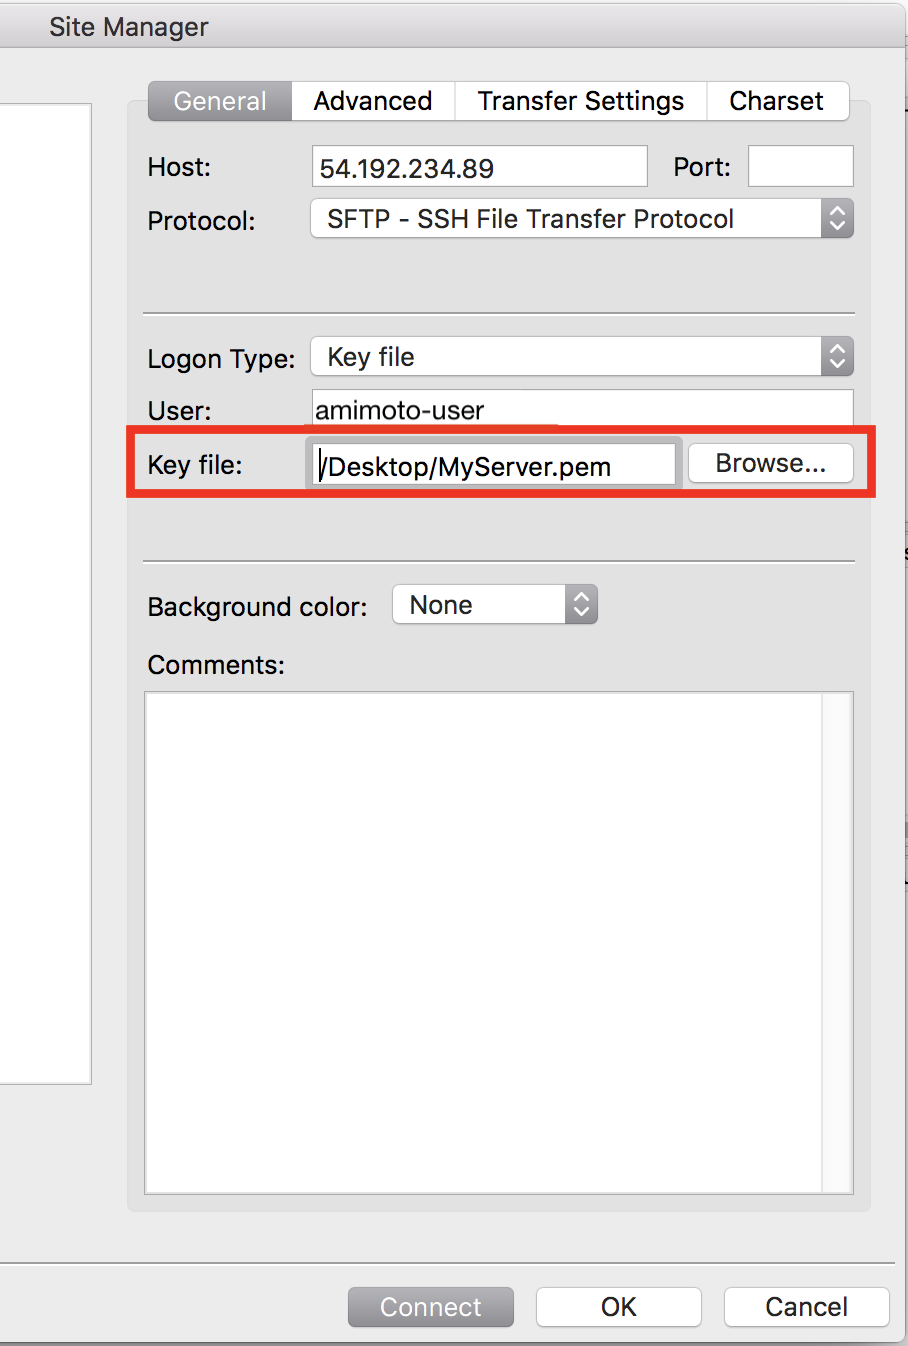
8. Key file: Select your key file. e.g. id_rsa.aXXX or XXX.pem
9. [Key file] is set.
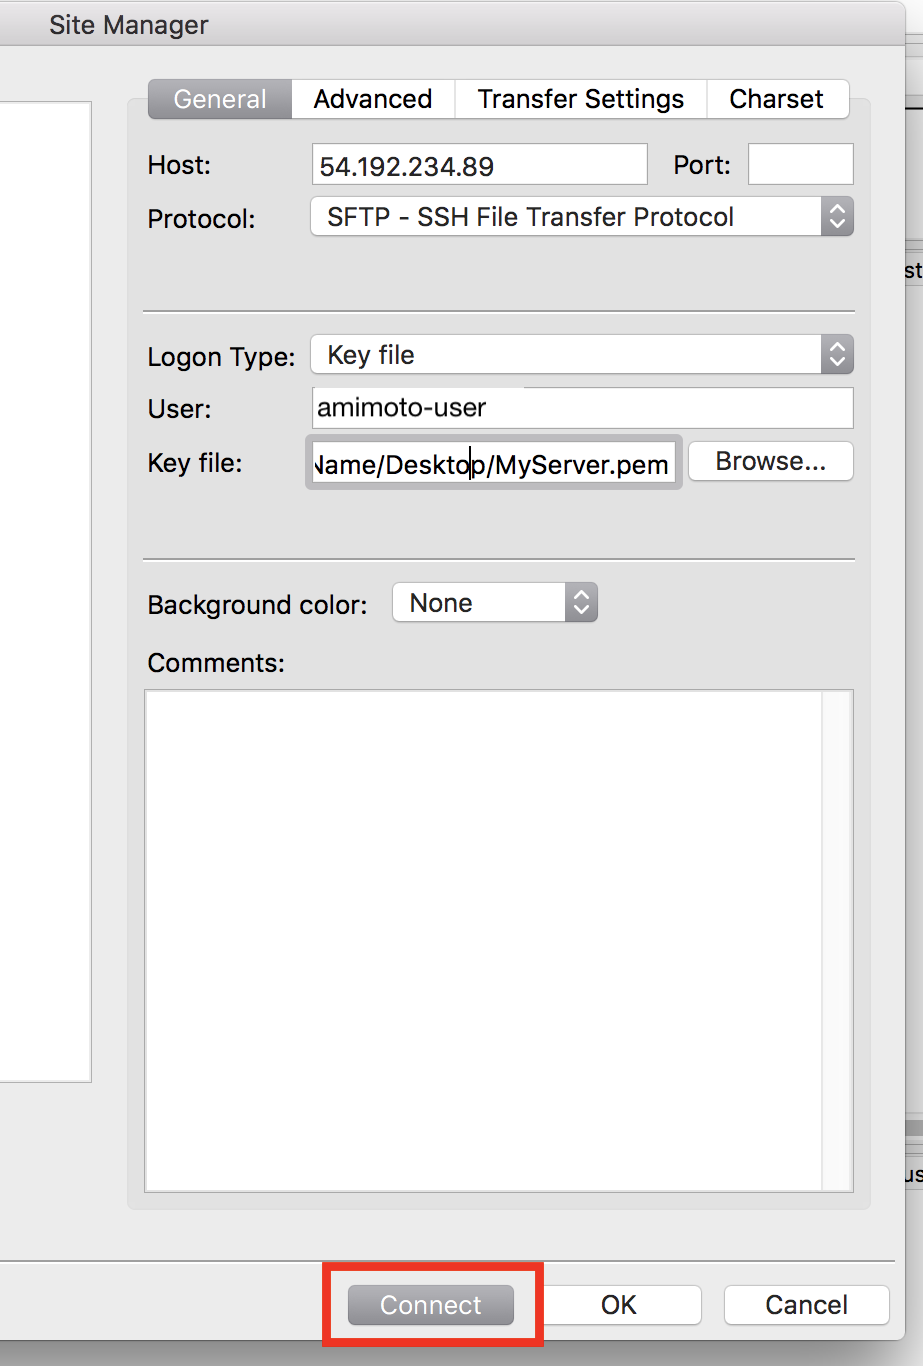
10. Click [Connect] button to connect server.
11. Home directory of your server will be displayed.
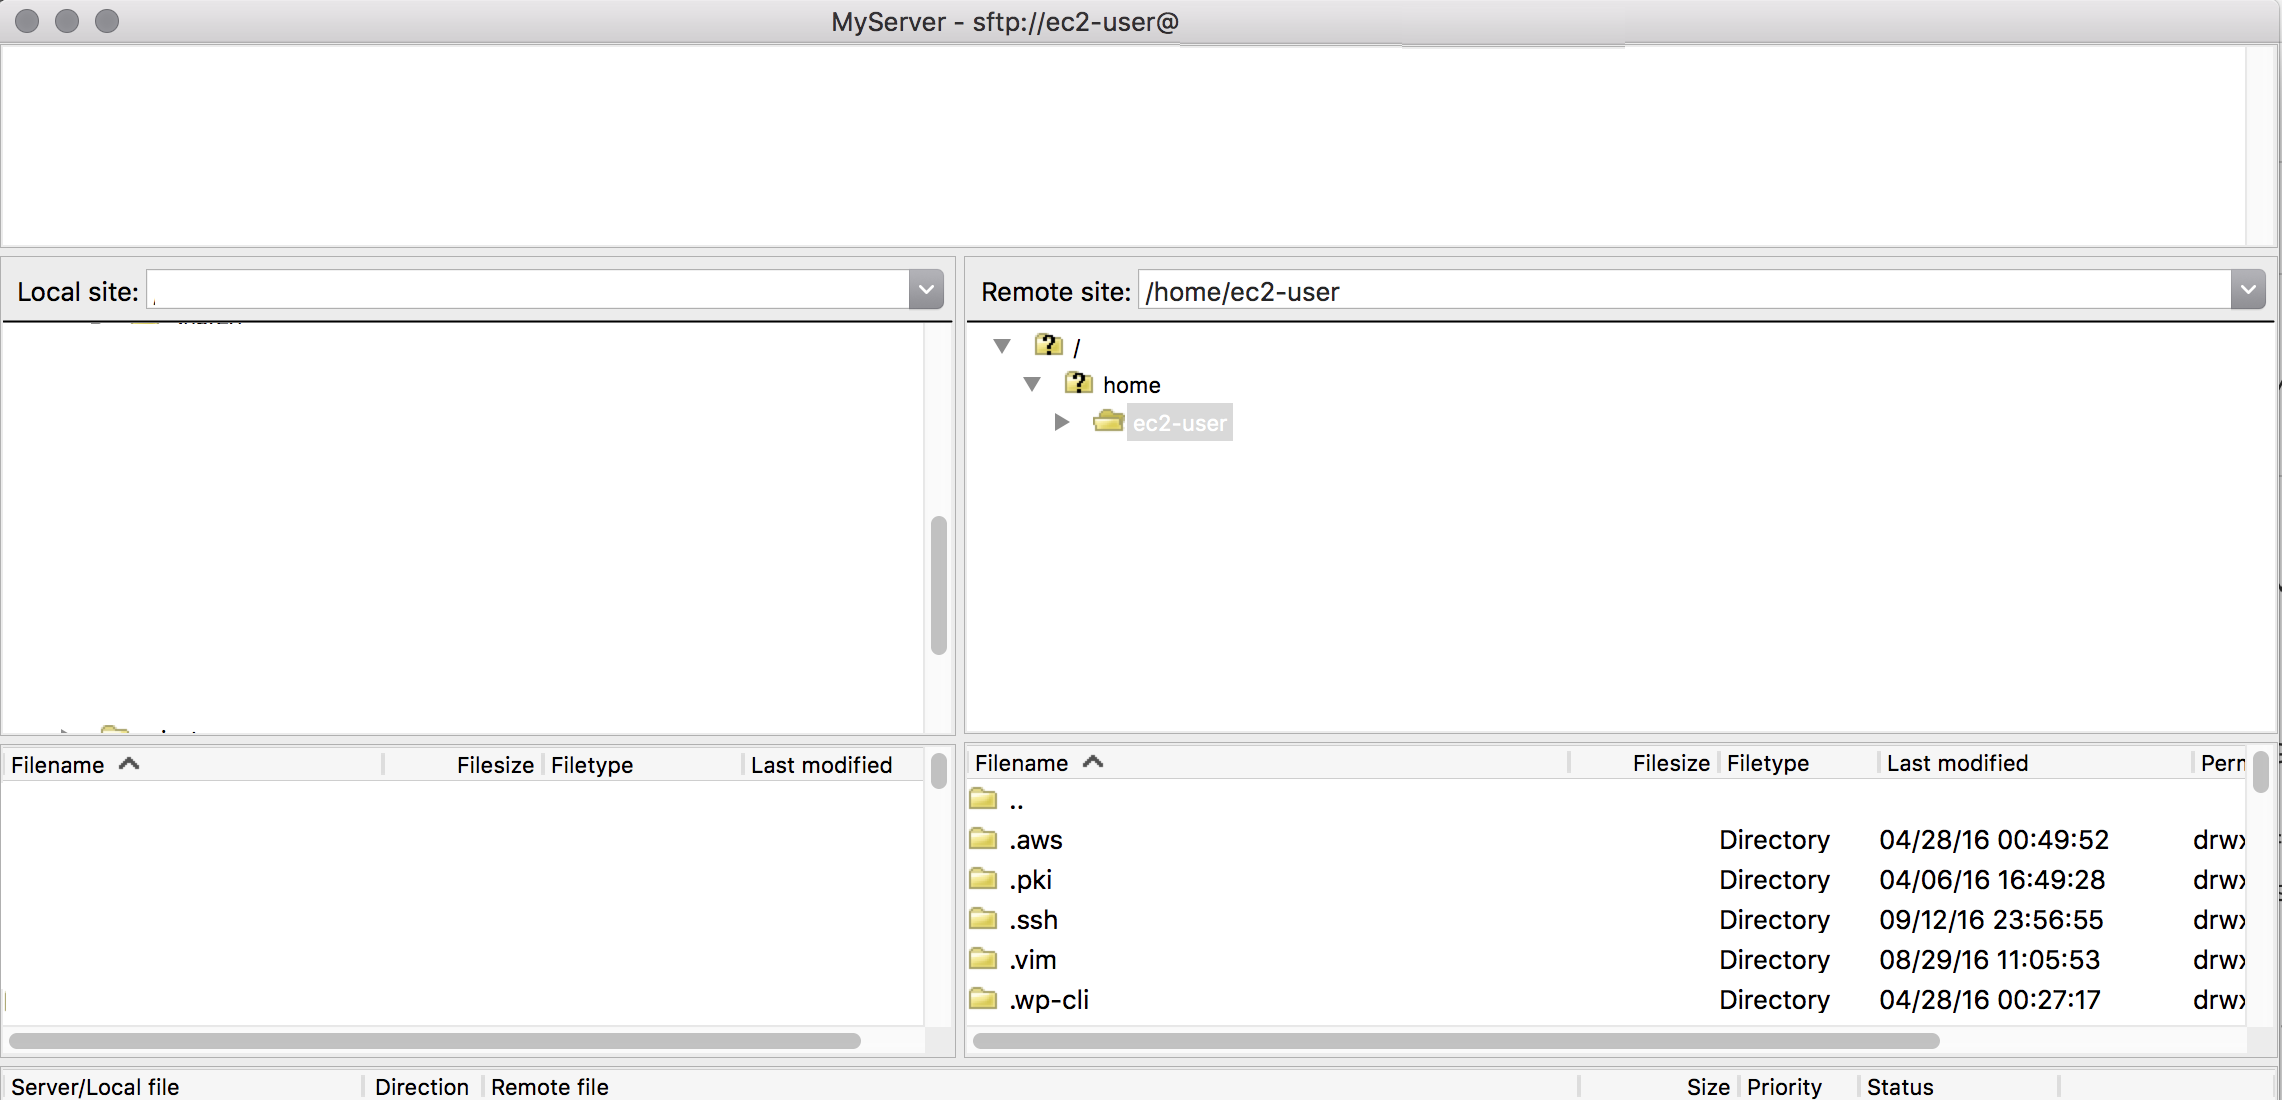
That's all for connecting server with FileZilla
Set default remote directory
1. Open 'Site Manager' from MenuBar ( or [CMD]+[S])
2. Select entry then click [Advanced]
3. Input /var/www/vhosts/YOUR-DOMAIN to [Default remote directory] field, and click [OK]

That's all.