Notification
-
You need to input a custom domain name when requesting a new server. Before you request a new server, you can register a domain name with your domain registerer.
-
Deploying a new server typically takes two or three business days.
1. Login to Amimoto dashboard (https://go.amimoto-ami.com )
2. Click [Create Server] 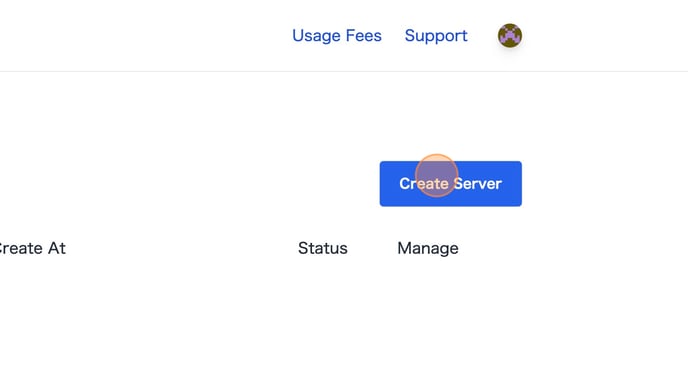
3. Choose a payment cycle.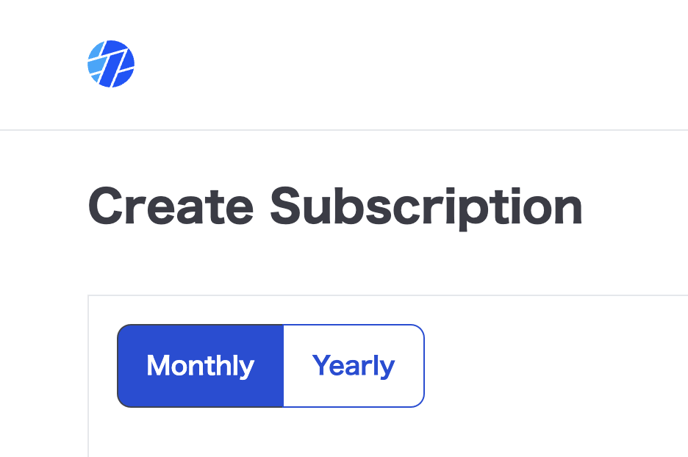
4. Choose plan
-png.png?width=688&height=475&name=Create%20a%20server%20on%20WordPress%20Admin%20dashboard%20with%20specific%20settings%20-%20Step%204%20(2)-png.png)
5. Click "Checkout"

6. Input custom domain name

7. Access control (optional)
You can request it after deploying server
7-1. No settings

7-2. Enable Access control
Choose "Only on WordPress Admin dashboard "or "Entier site (including WordPress Admin dashboard)".
"Only on WordPress Admin dashboard.

"Entier site (including WordPress Admin dashboard)"

7-3. Add Allowed IP address
Input IP address with comma separated to [Allowed IP]

7-4. Add BASIC Authentication
Input Username and password.

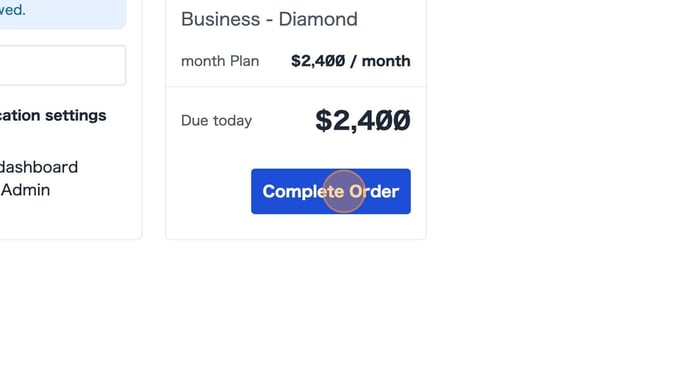
8. Click the "Complete Order" button to submit the sServer
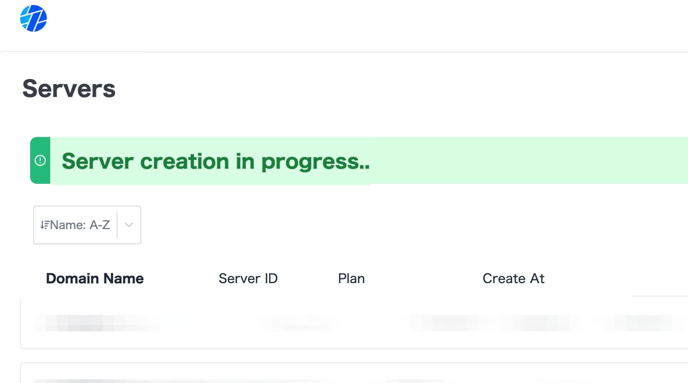
9. "Server creation in progress..." will be displayed.
10. The "Server creation successful" message will pop up after successfully creating a server.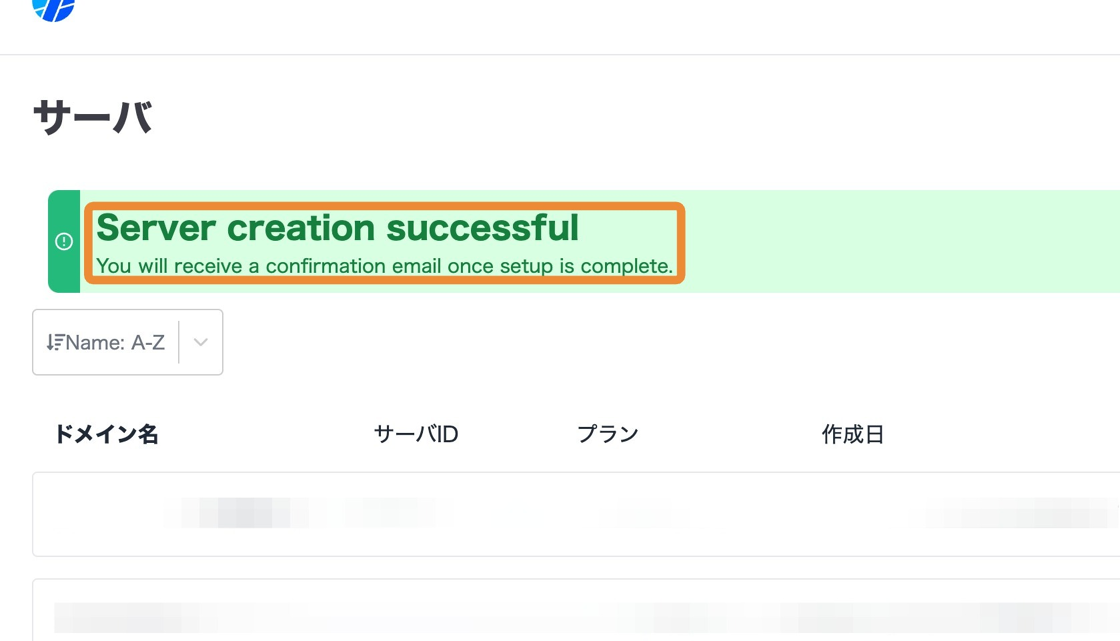
11. Once the new server setup is finished, we will email the registered email address provided during the process.
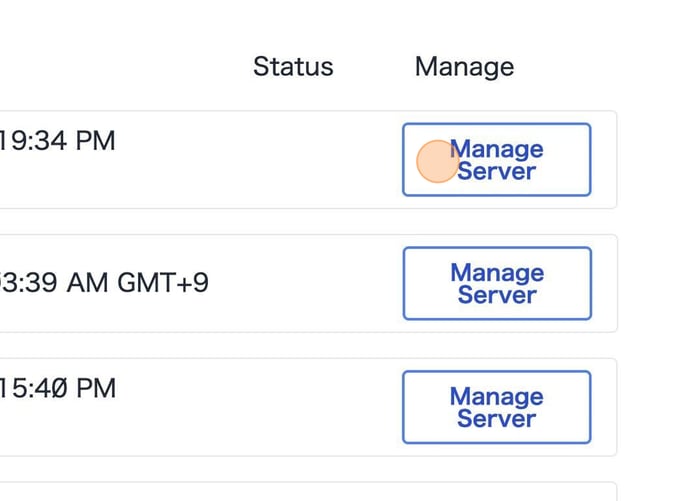
New servers will be available on the Servers page.