What is Algolia?
Algolia is a high-performance search system with keyword suggestion and sorting search results. After installing the plugin, you may connect your WordPress site to Algolia and then run the website through Algolia's API.
Setting up Algolia on WordPress
- Create an account on Algolia
- Login to your WordPress dashboard
- Install a plugin "WP Search with Algolia."
- Configure Algolia credentials
- Import the post's data into Algolia
- Set up a search form
- Confirm it could work
1. Create an account on Algolia
Algolia offers a free trial and a free plan.

Choose [API Keys] on the left menu.
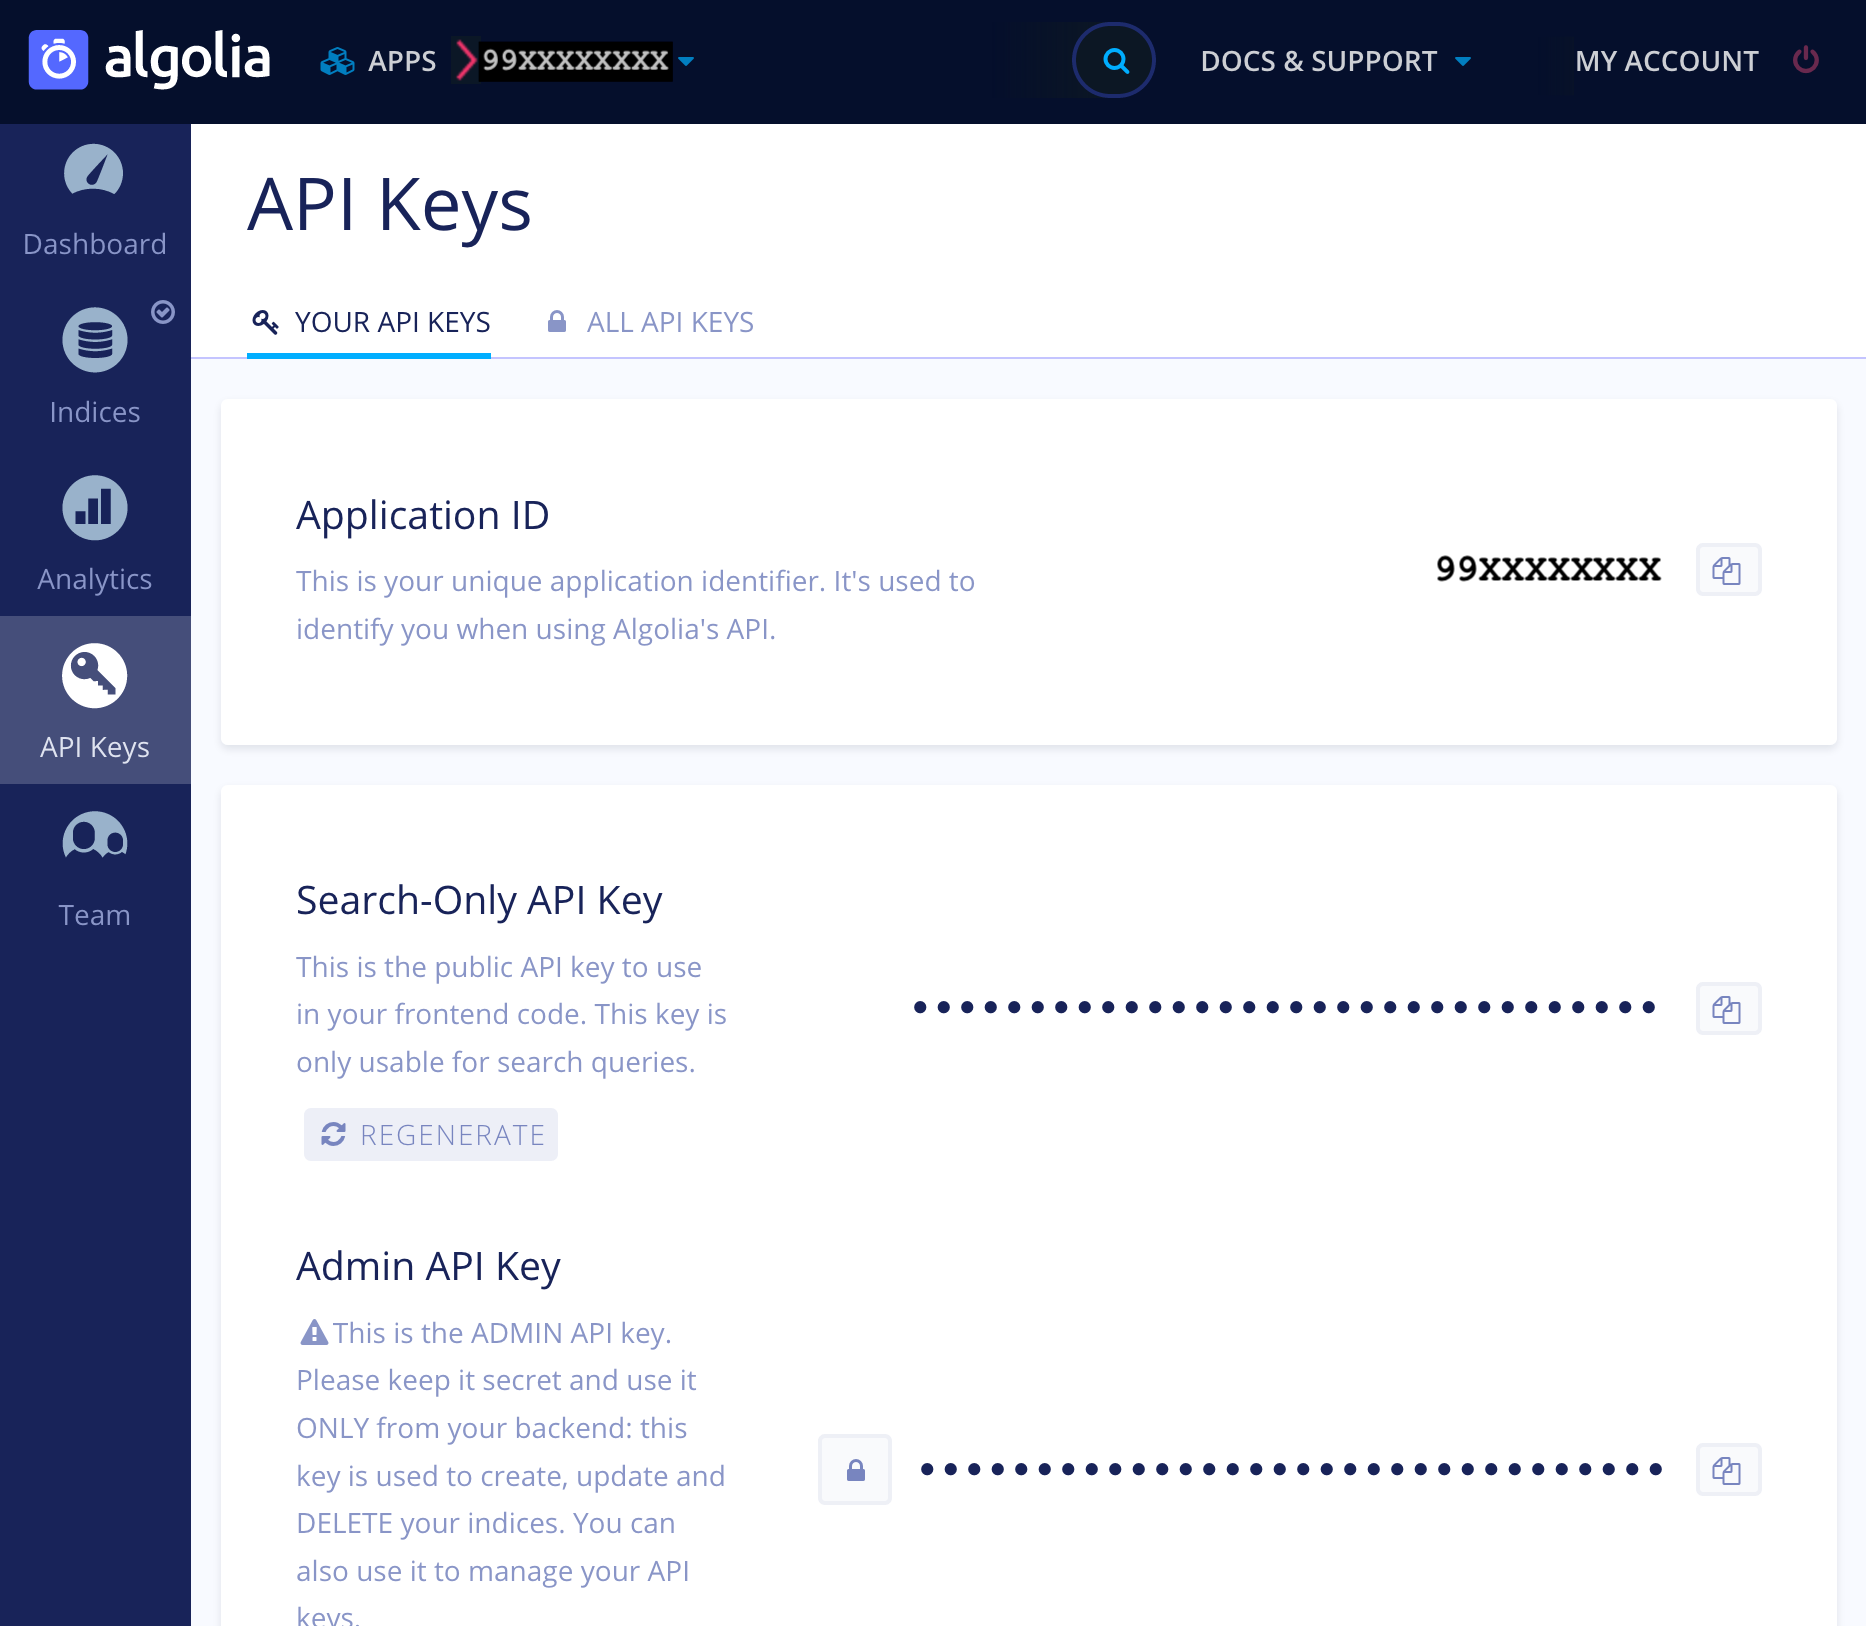
Copy the following three keys for setting up the plugin:
- Application ID
- Search-Only API Key
- Admin API Key
2. Log in to your WordPress dashboard
Let's install the Algolia plugin into WordPress.
Open the WordPress dashboard on your browser and log in.
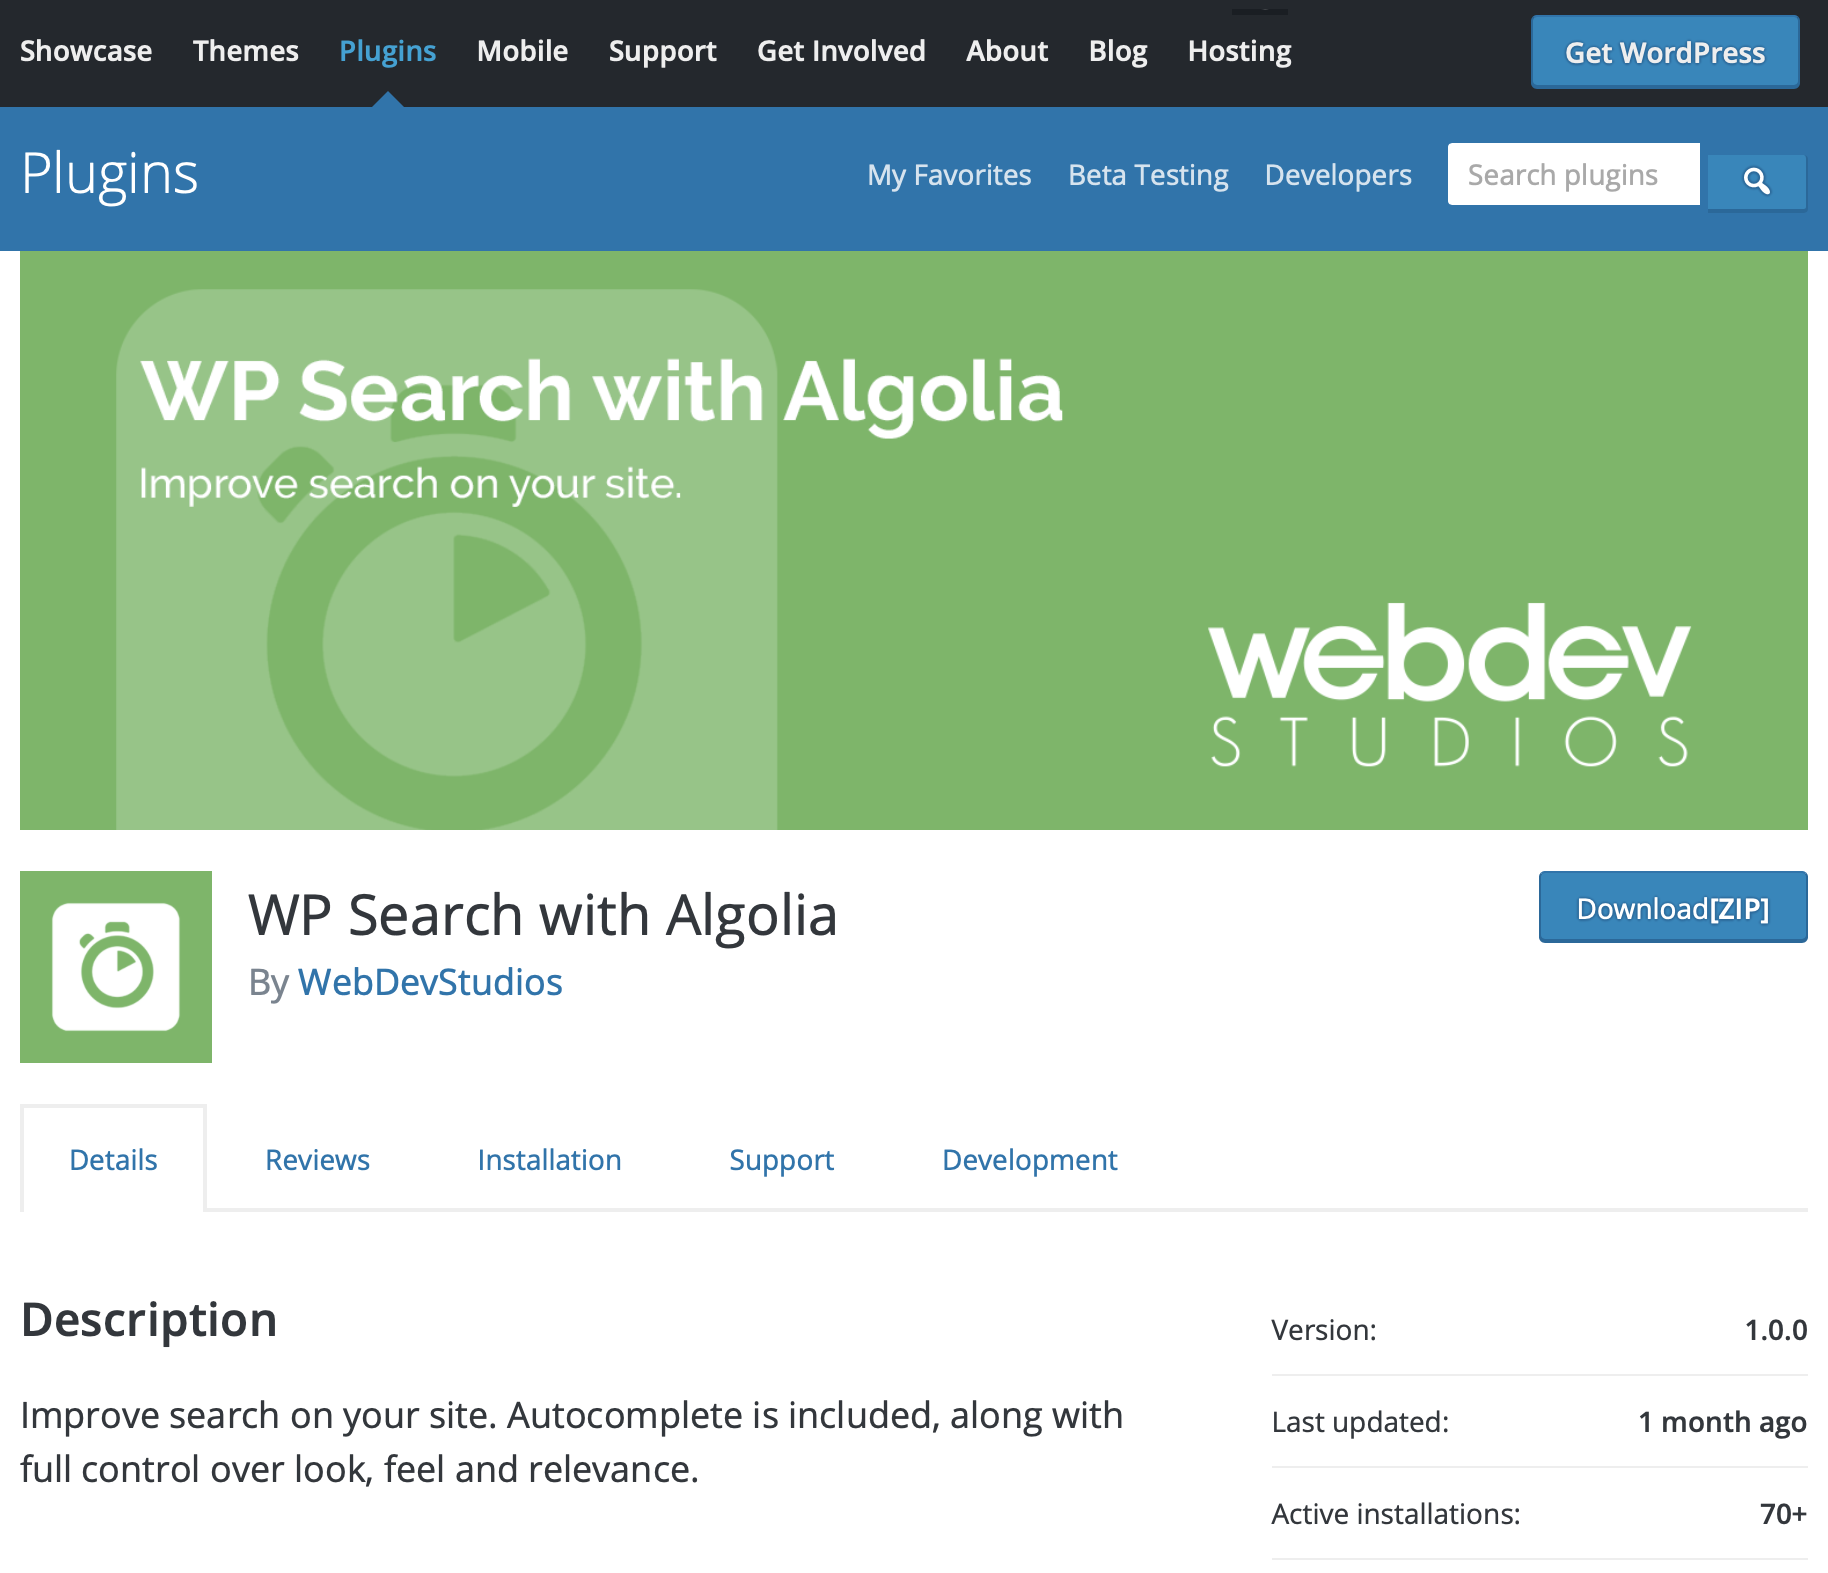
3. Install a plugin "WP Search with Algolia."
Install Algolia plugin for replacing WordPress default search feature with it.
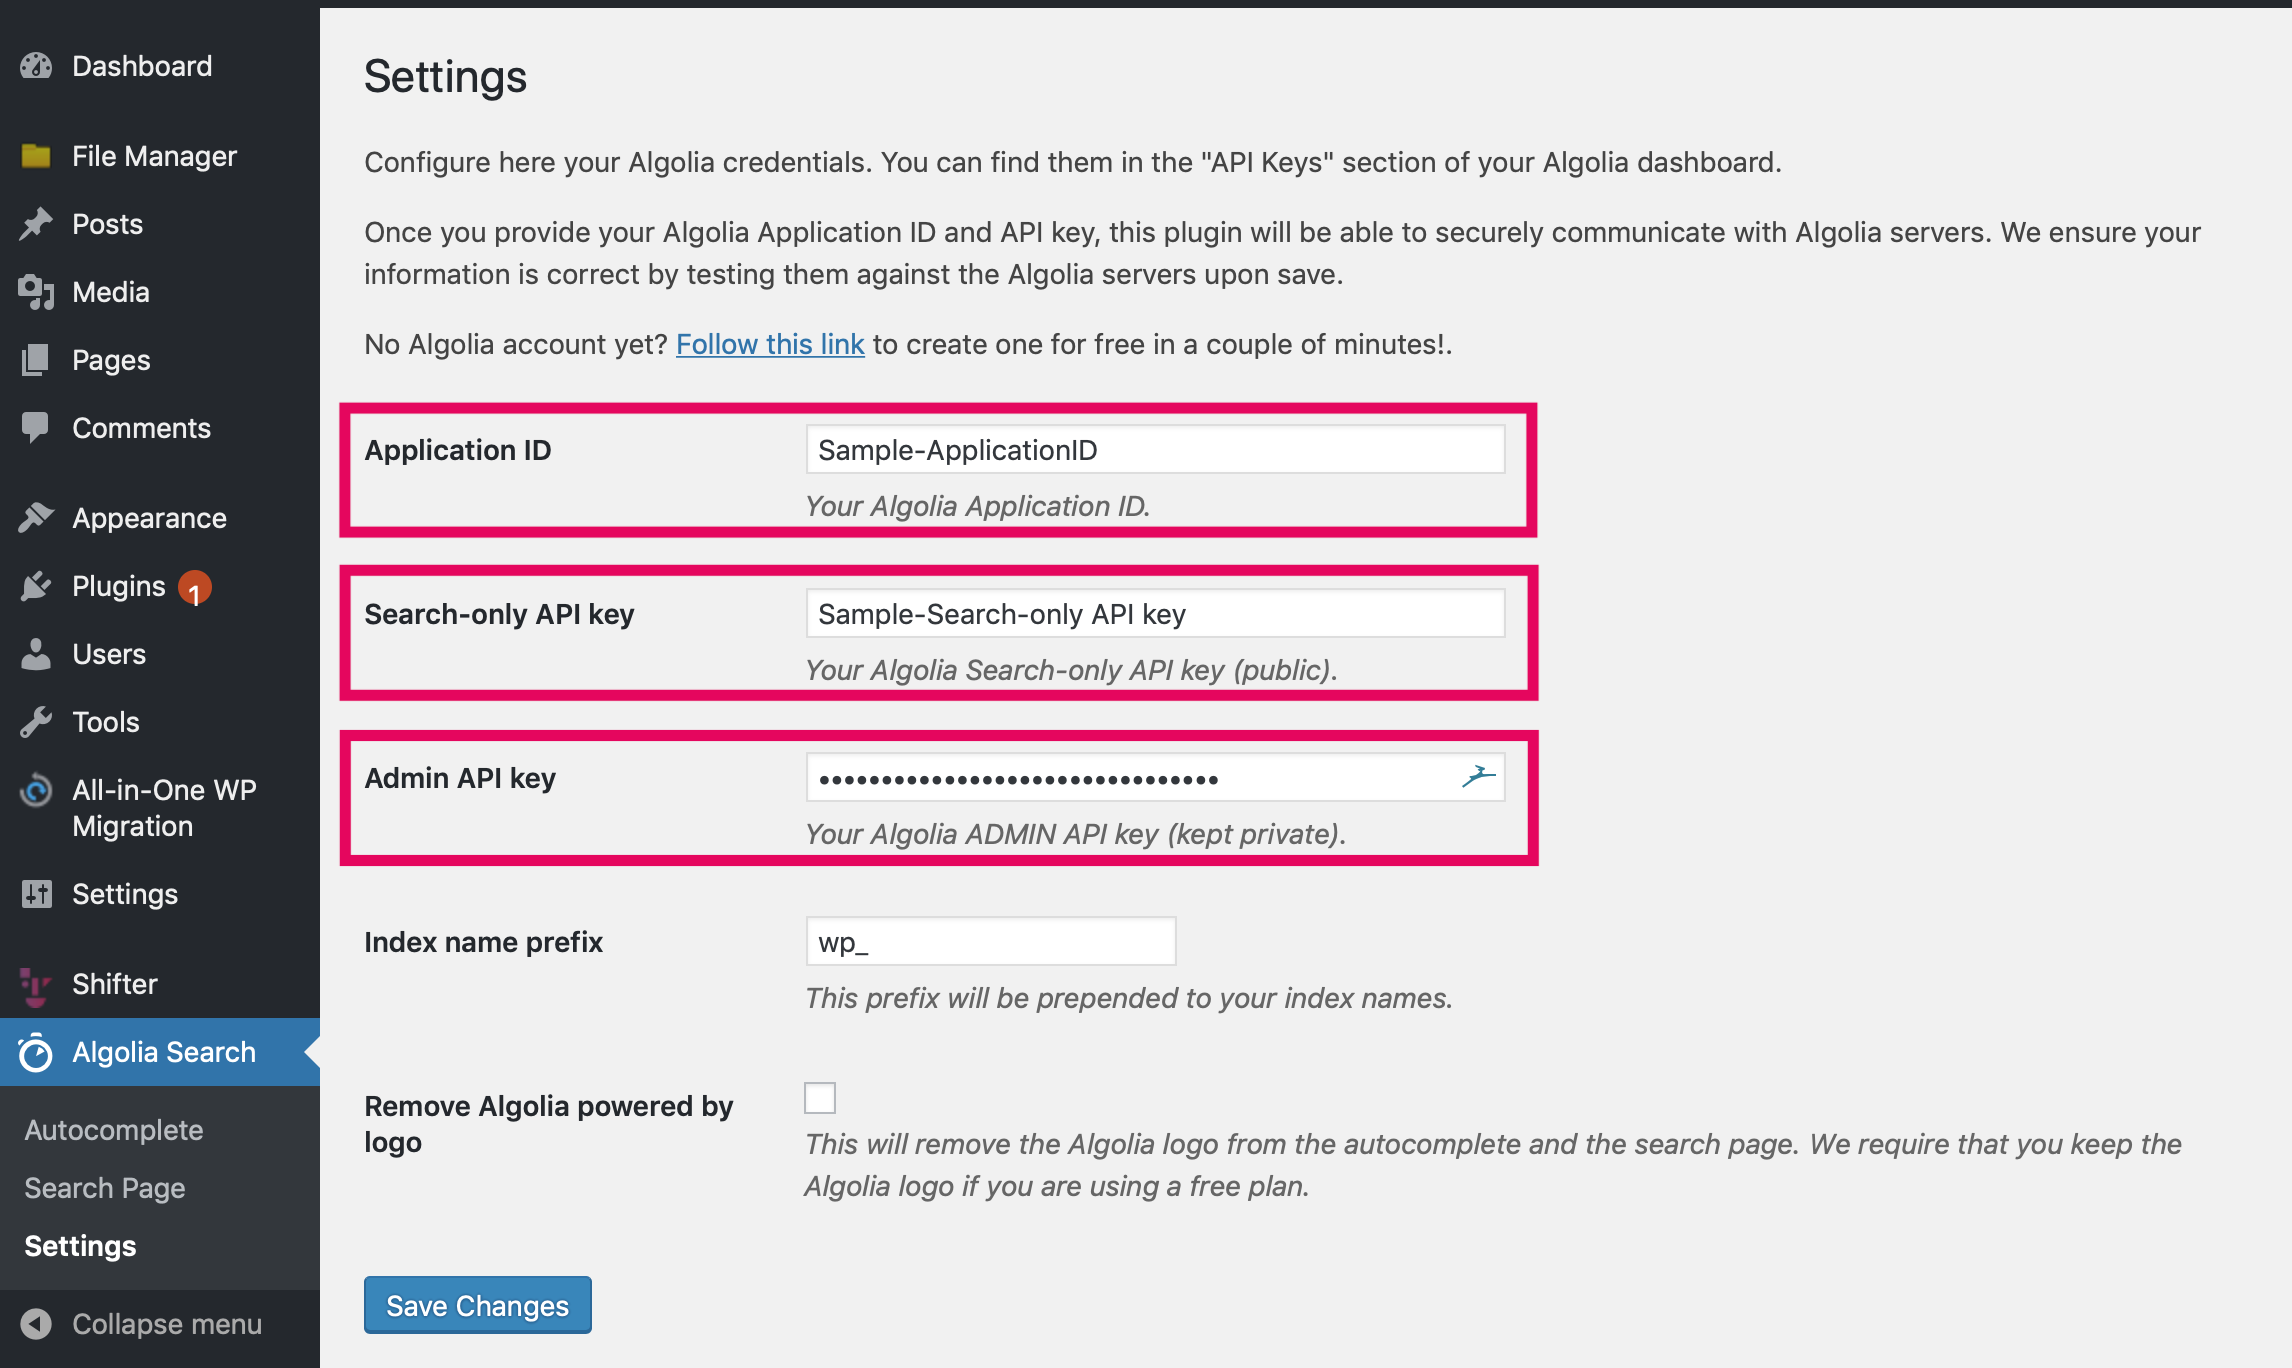
4-1. Configure Algolia credentials
Click [Algolia search] and make initial setups.
Input "Application ID", "Search-Only API Key", and "Admin API Key", which you copied from the Algolia Management page.
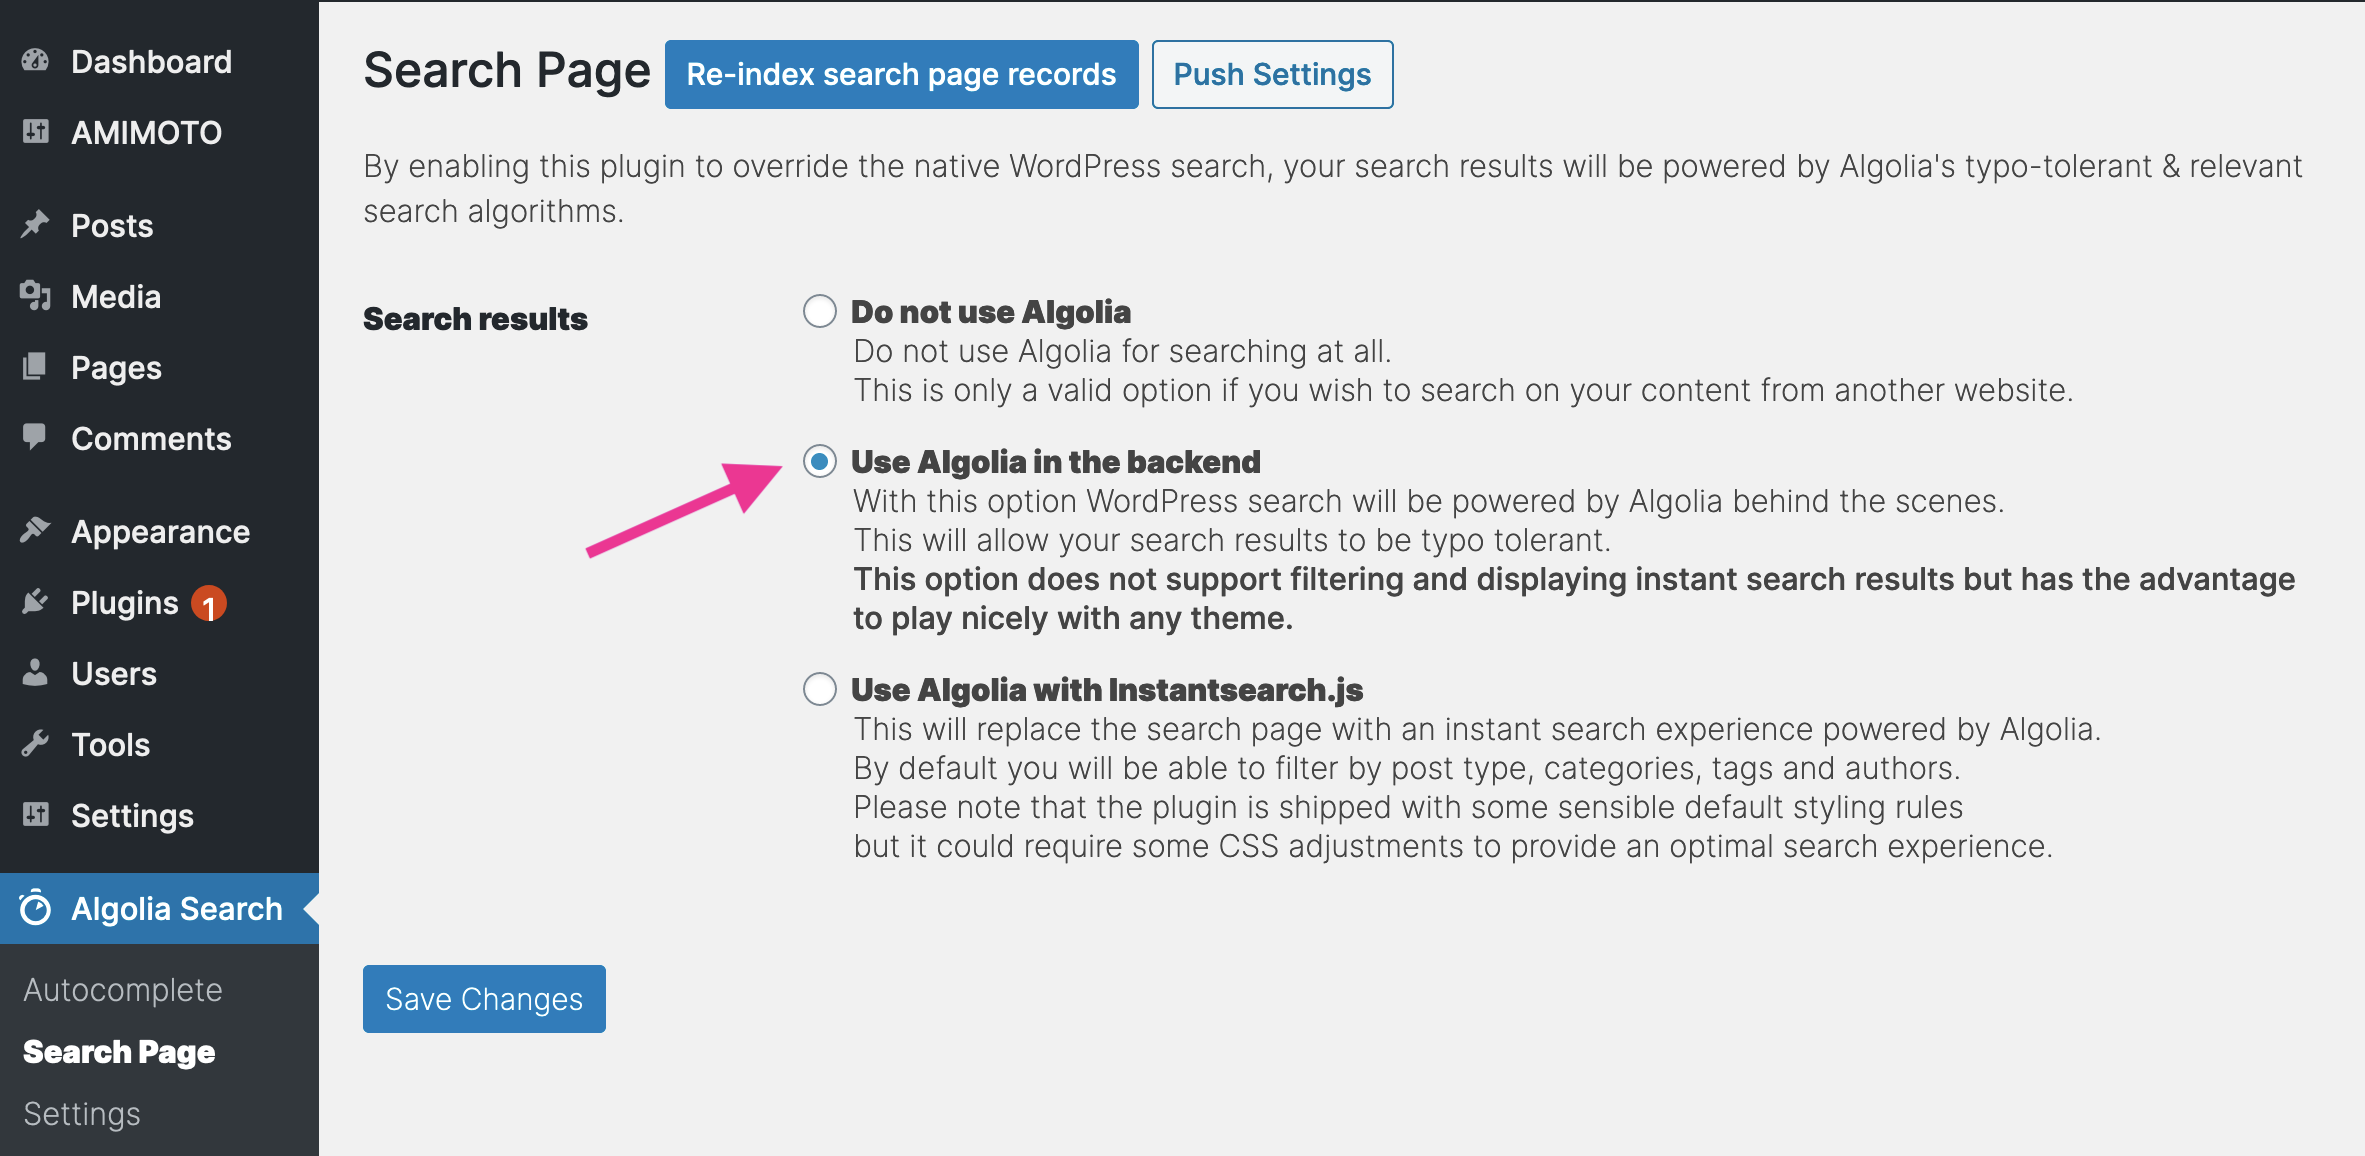
4-2. Setting up a search form
On [Search Page], select [Use Algolia with Instantsearch.js].
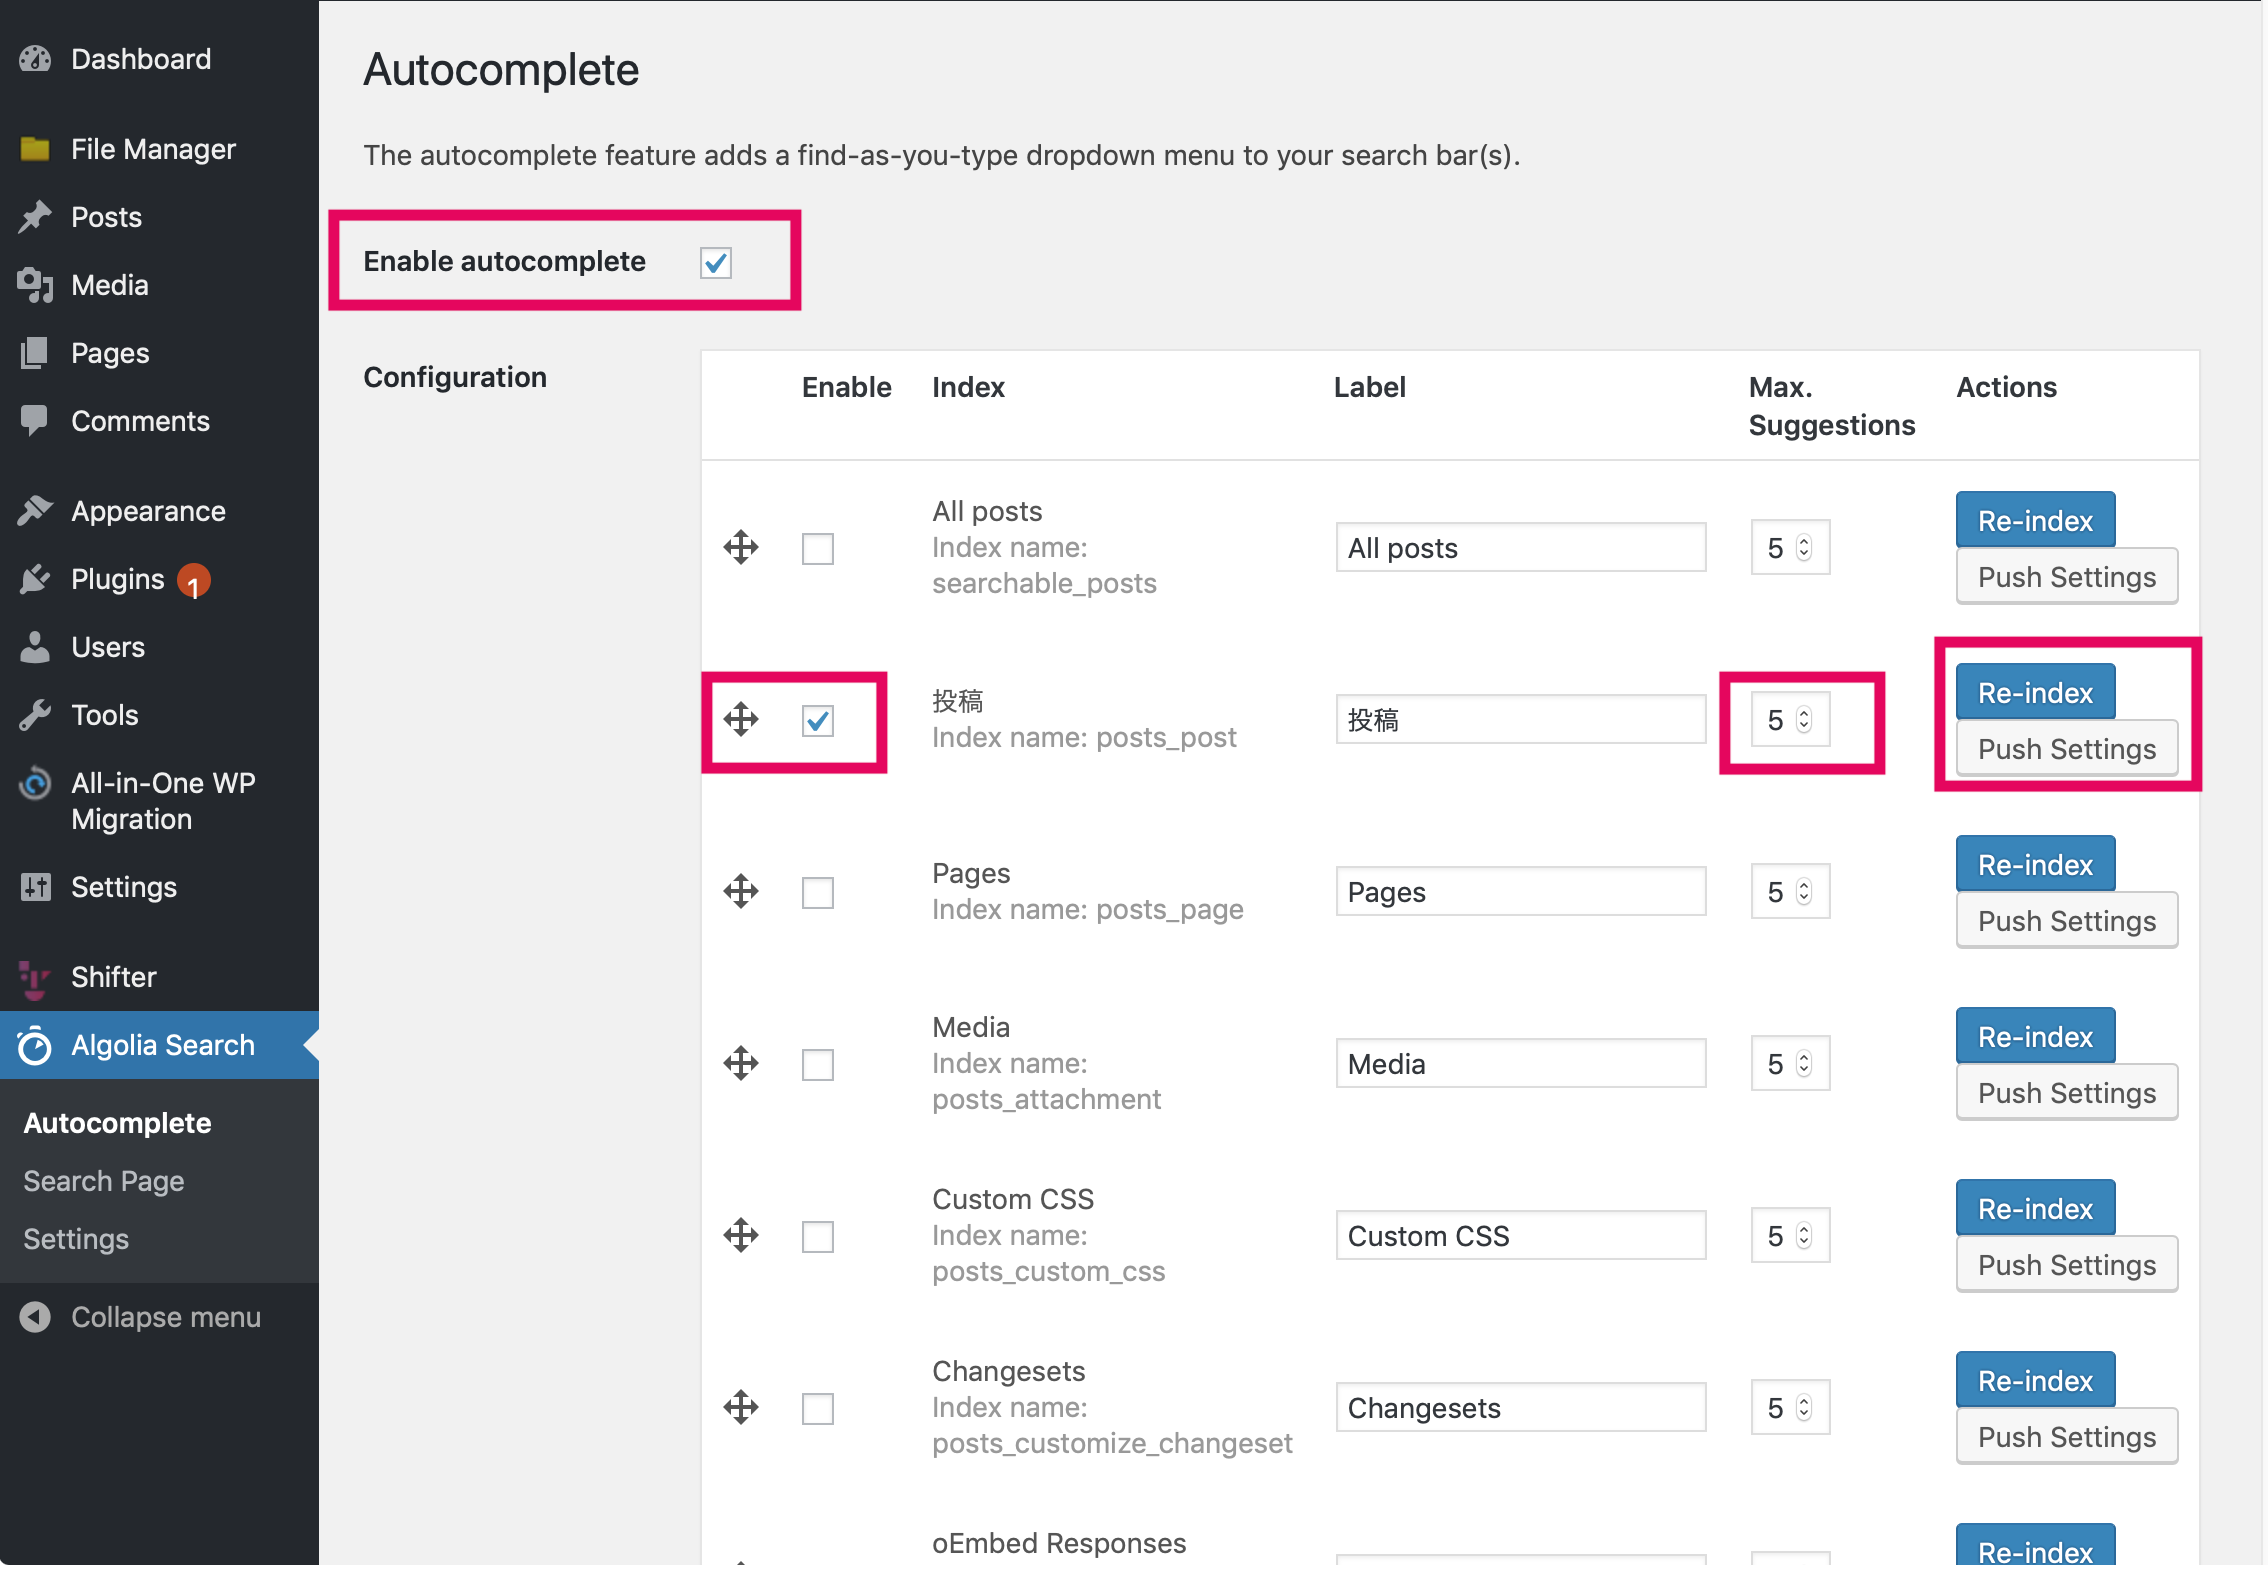
4-3. Setting up Autocomplete
You can change the search engine to the native WordPress or Algolia on [Search Page].
Then enable [Autocomplete] and configure [Index], [Max. Suggestions] and [Positions].
Never forget to enable this Autocomplete feature.
Access your website and confirm it works
For the last step, back to the front page of your WordPress.
When you input letters or words into the search form, Algolia's autocompleting feature shows search results without clicking the search button or hitting the enter key.

That's all!