Video Guide: WordPress Powered by AMIMOTO HHVM via AWS Console
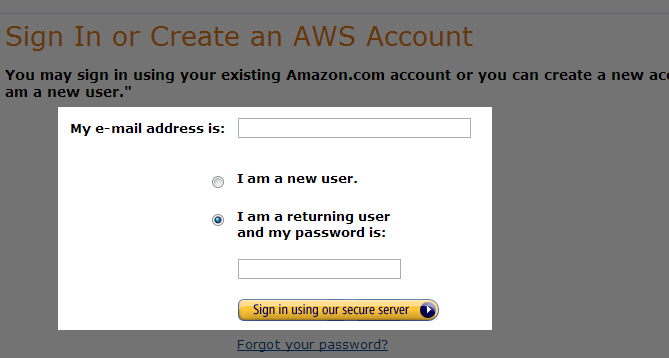
1. Go to https://aws.amazon.com/ and Sign In to the Console.
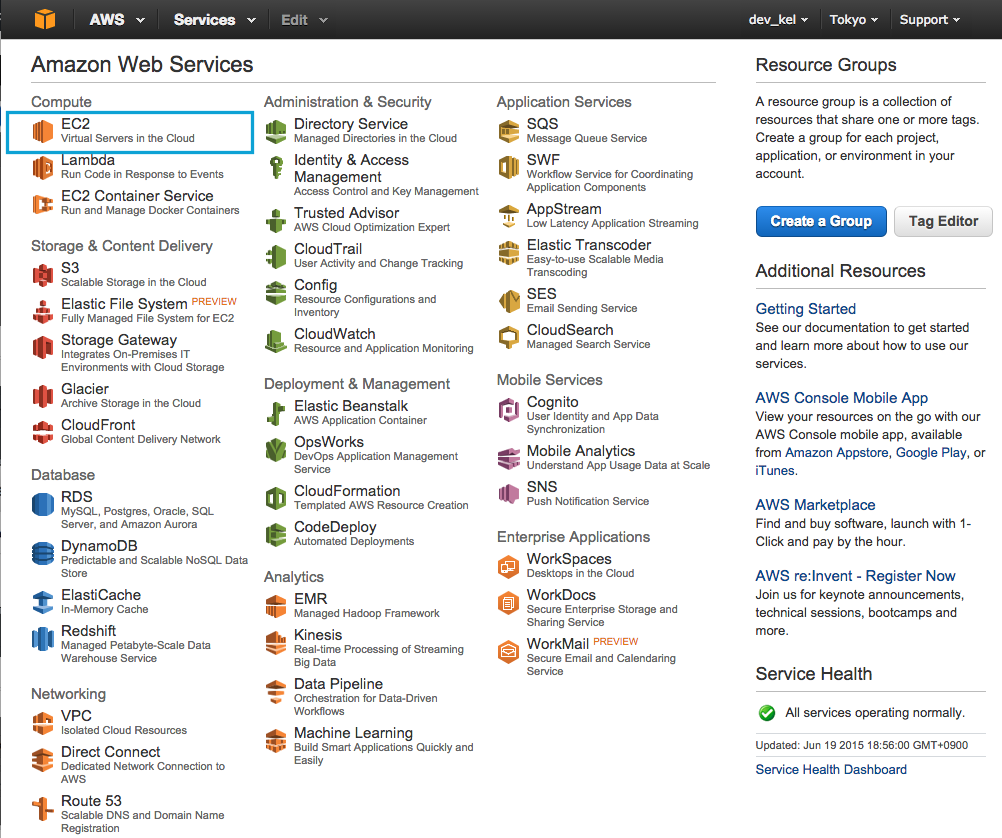
2. Select EC2
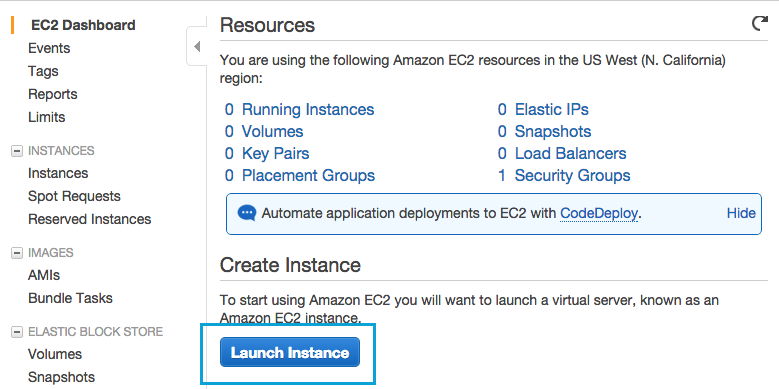
3. Click Launch Instance
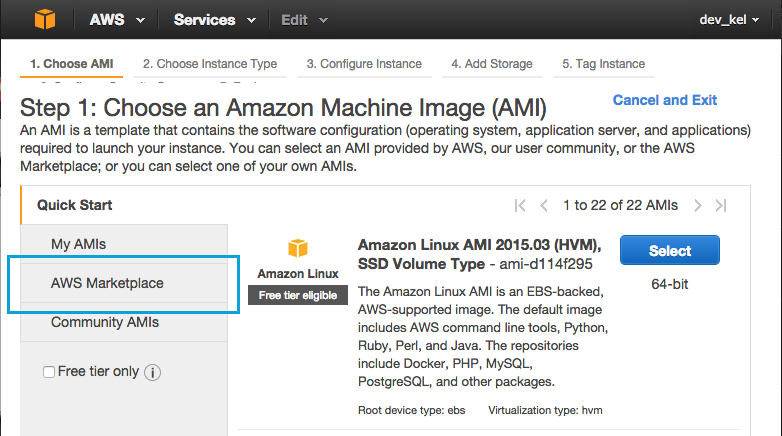
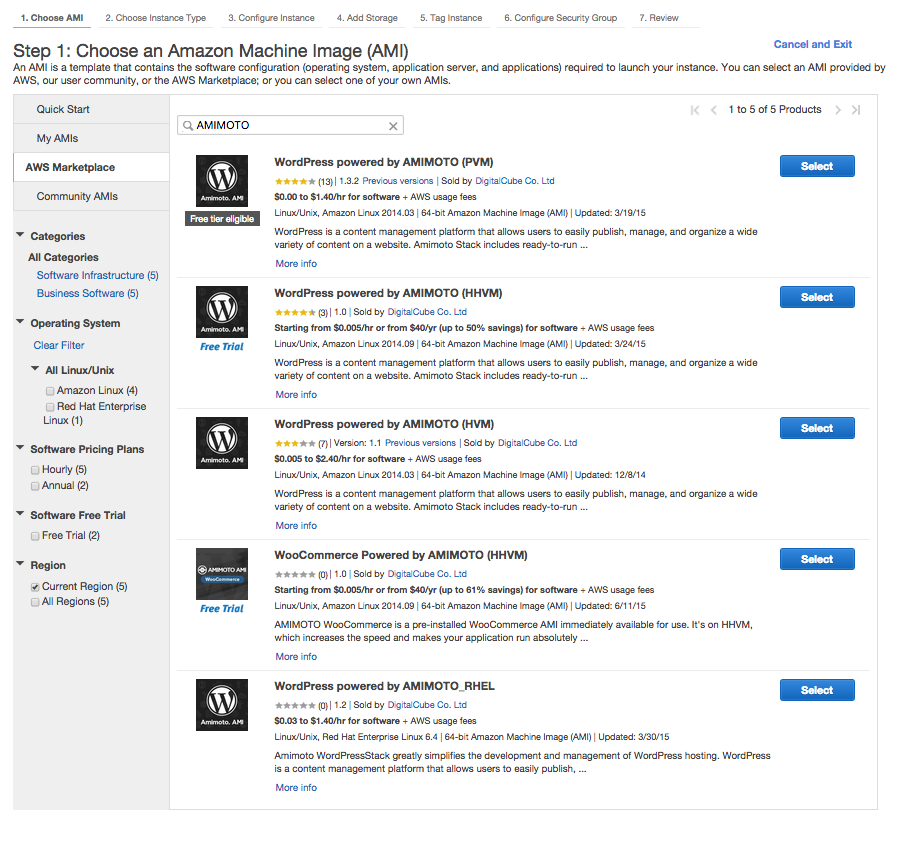
4. Click AWS Marketplace and type "AMIMOTO"
5. Select any from the following services:
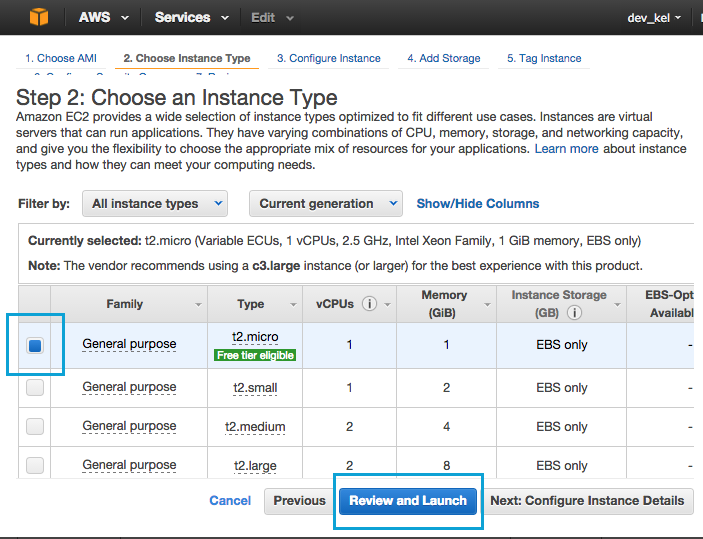
6. Select an instance and click "Review and Launch"
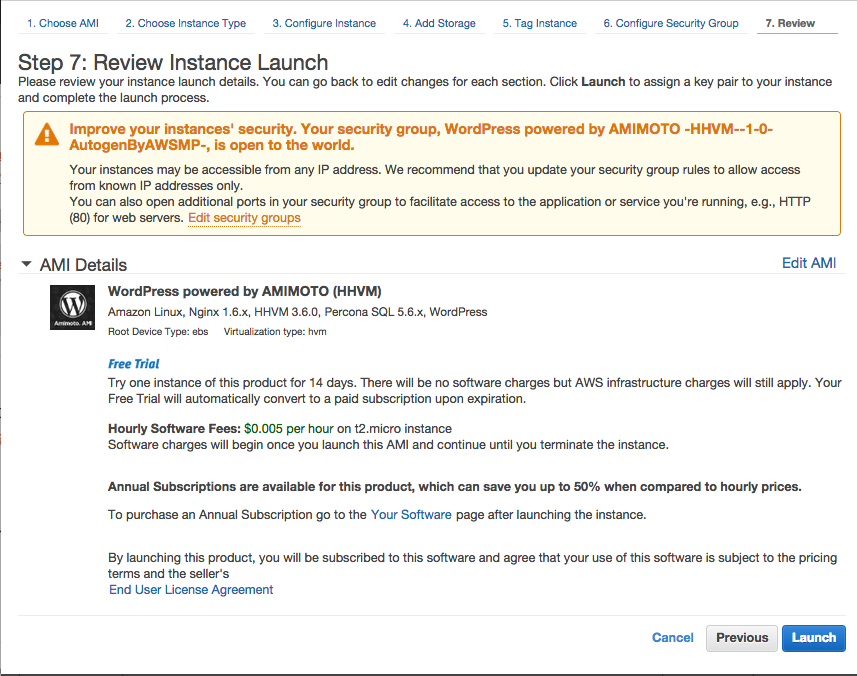
7. Click Launch
8. Select an existing key pair or create a new one.
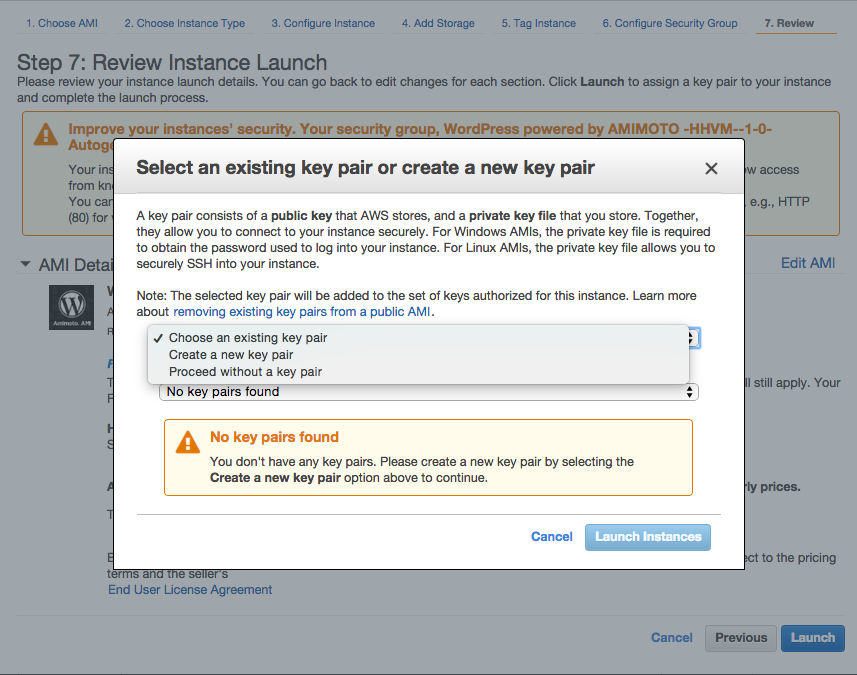
9. To create a new one, enter any Key pair name > Download Key Pair and > Launch Instances

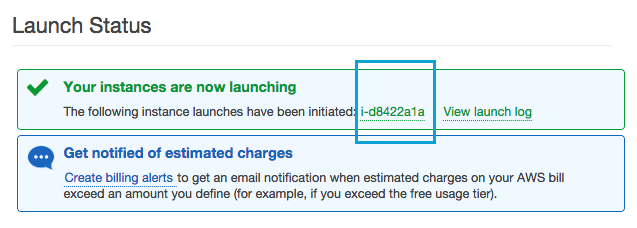
10. Click the instance ID
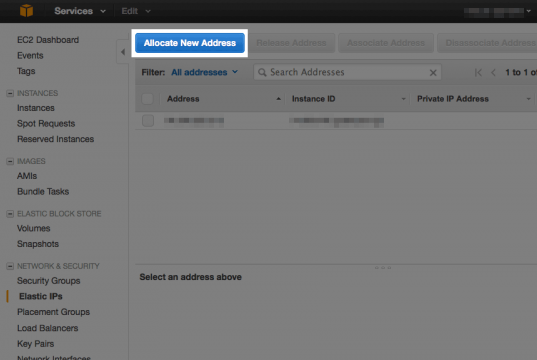
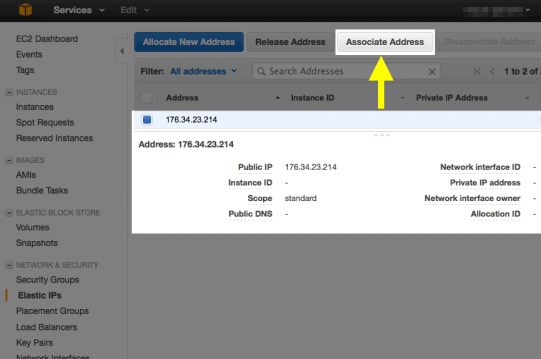
11. On the left side, select Elastic IPs

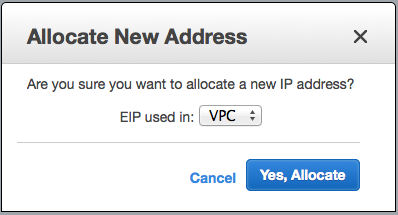
12. Allocate New Address
13. Select VPC
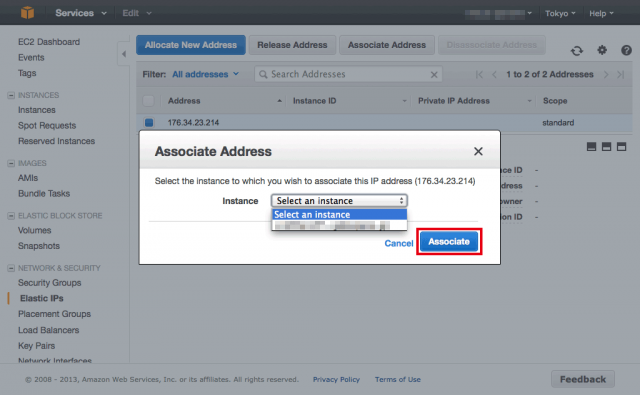
14. Link the EIP to the instance by clicking Associate Address
15. Associate the address to your instance
16. On the left column, select Instances.
Once you see “2/2″ in Status Checks, copy the “Public DNS” and paste to your browser.
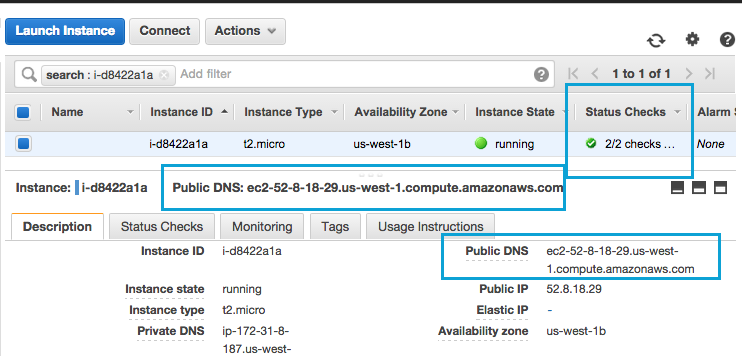
17. Copy Public DNS and paste to your browser.
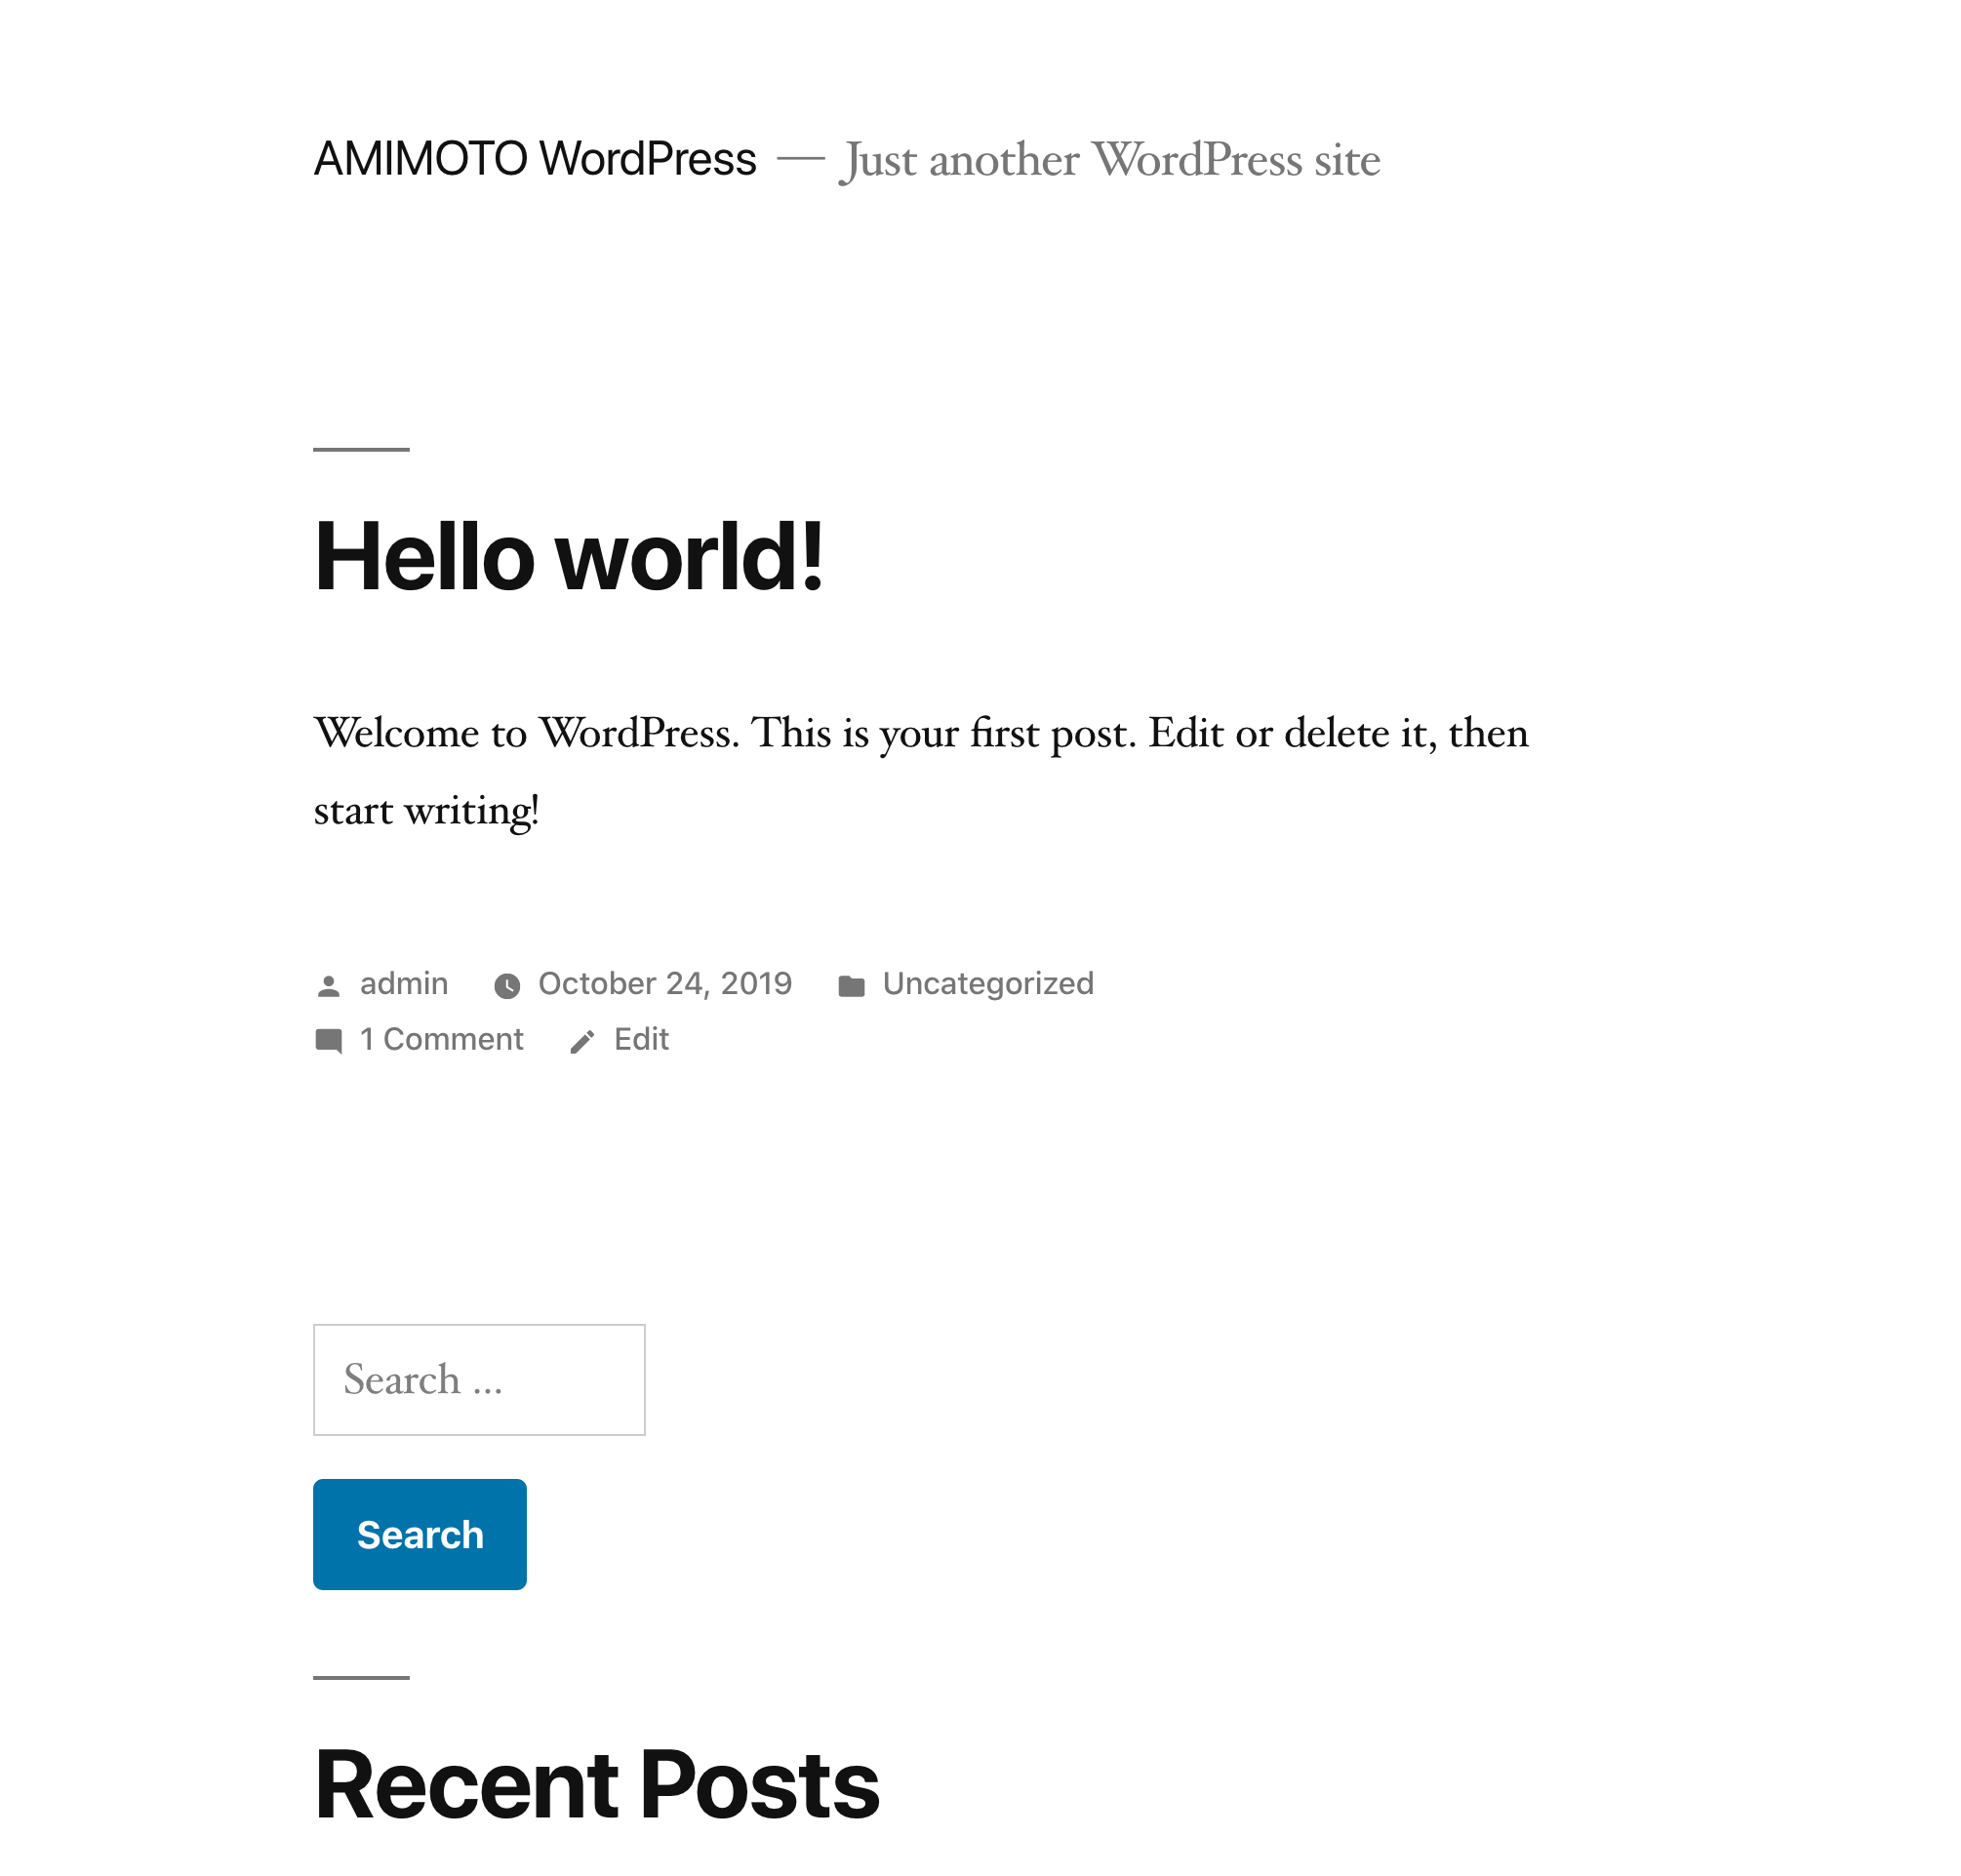
AMIMOTO AMI has finished initial setup, so you will see WordPress sample post page.
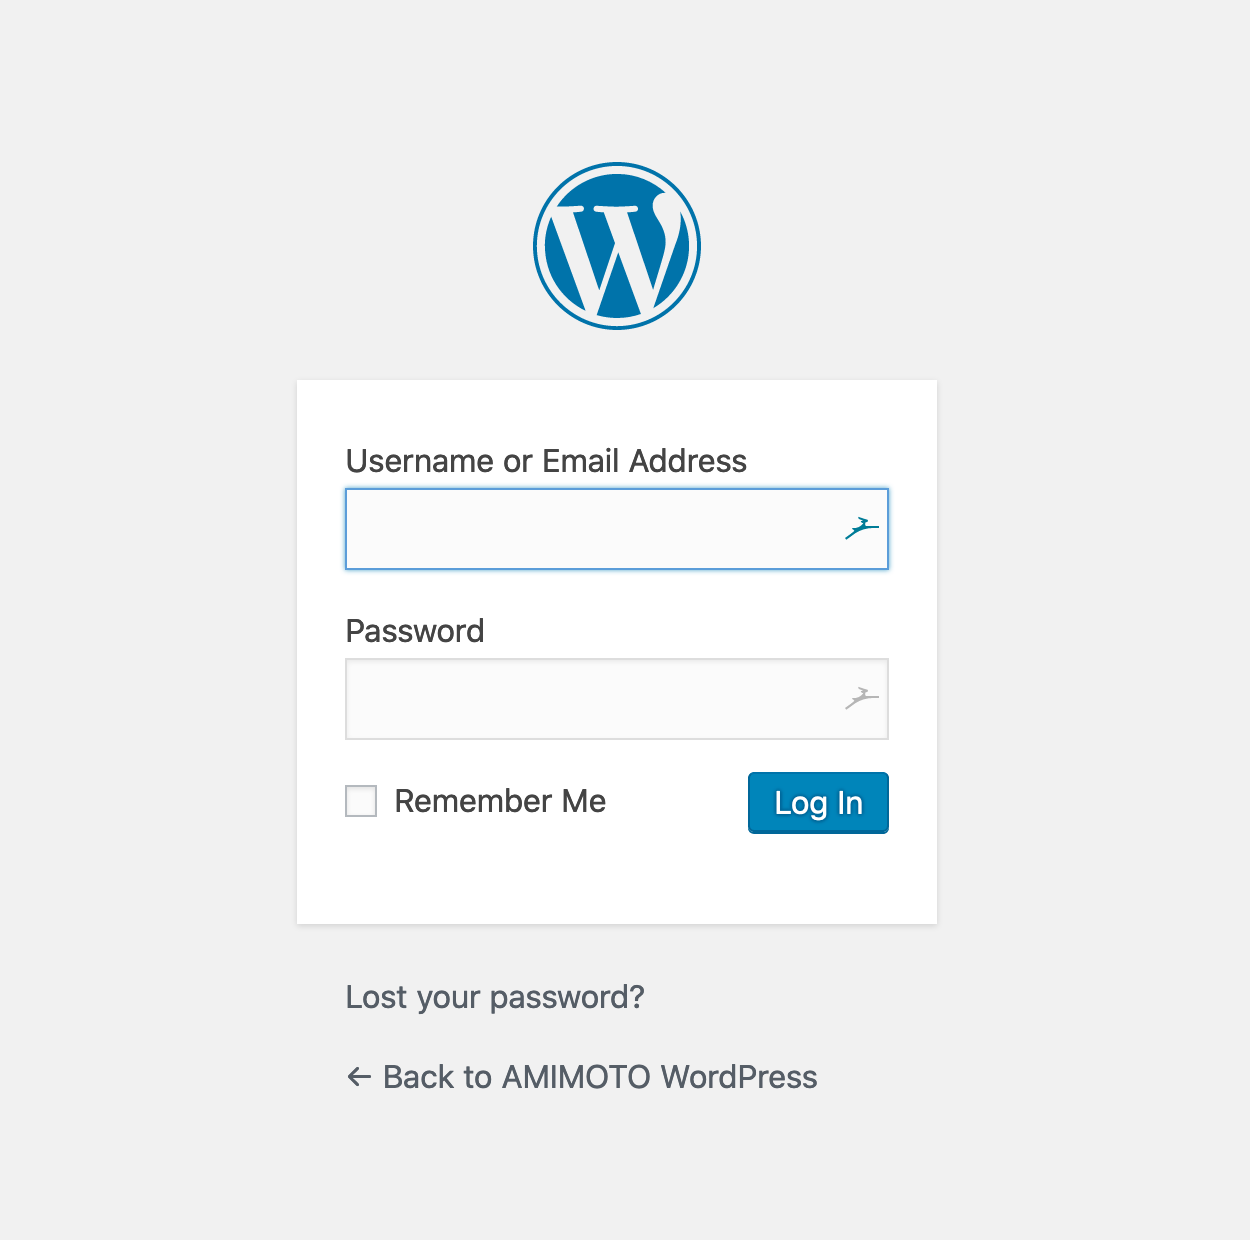
18. Login to WordPress Dashboard (http://{Public-IP-Address}/wp-login.php) to upload your contents.
Username: admin
Password: Instance ID