About the article
This article is a dedicated branch of "AMIMOTO Essential Training
" for GoDaddy's Domains. Before following this instructions, you'll need to follow above guide to register domain name to AMIMOTO and get domain verification records.
Sample domain and DNS records
Sample Domain:
- example.com
- www.example.com
Sample AMIMOTO Managed Domains:
- def456.cloudfront.net.
Sample Validation Records
For example.com
Name: _abcde.example.com
Type: CNAME
Value: _01234.acm-validations.aws.
For www.example.com
Name: _hijkl.www.example.com
Type: CNAME
Value: _56789.acm-validations.aws.
Setting up DNS records on GoDaddy
1. Login to ControlPanel
URL: https://account.godaddy.com/products
2. Click [DNS] of domain name you want to edit.
We use sample domain example.com on this document.

3. Click [ADD] button under Records section to add DNS records
Make sure NS is GoDaddy provided DNS servers

4. Add validation records

Add validation record set for example.com
Type: Choose CNAME
Host: Input _abcde.
Points to: Input _01234.acm-validations.aws.
TTL: Choose 1/2 Hour
Then hit [Save] button to save changes.
Add validation record set for www.example.com
Click [ADD] button again, then select/input the following:
Type: Choose CNAME
Host: Input _hijkl.www.
Points to: Input _56789.acm-validations.aws.
TTL: Choose 1/2 Hour
Then hit [Save] button to save changes.
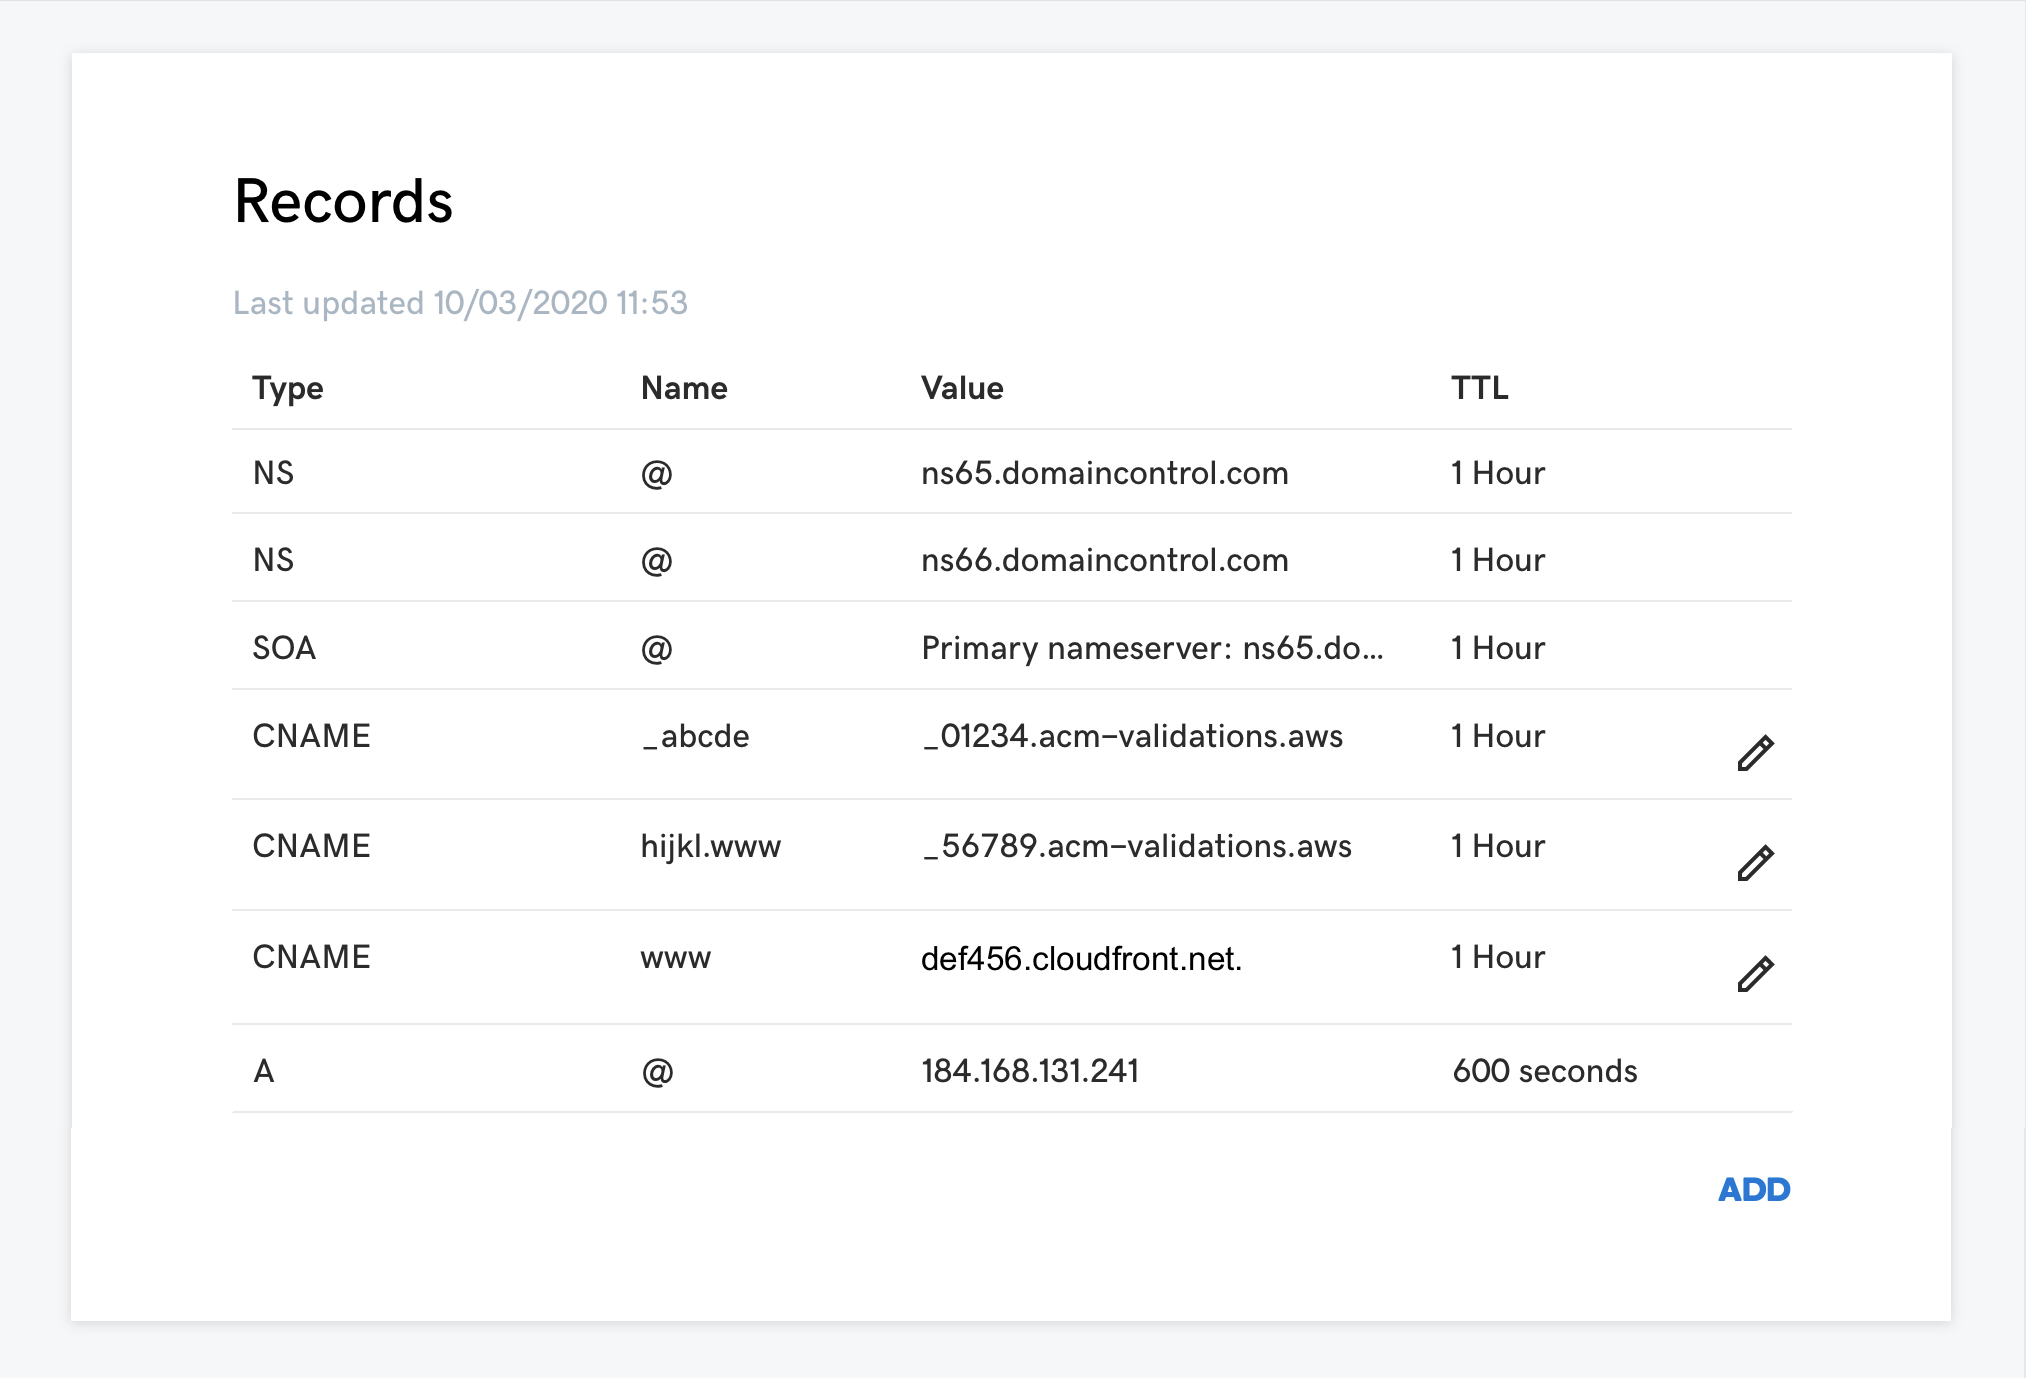
5. Confirm added records

6. Add ALIAS and CNAME.
After completed domain verification, let's set up ALIAS and CNAME record for your domain name.
Click [ADD] button under Records section to add DNS records

For www.example.com (with www-subdomain)
Click [ADD] button, then select/input the following:
Type: Choose CNAME
Host: Input www.
Points to: Input def456.cloudfront.net.
TTL: Choose 1/2 Hour
7. Save changes
Click [Save] button
Domain forwarding
GoDaddy's DNS doesn't support ALIAS record naked or zone apex domain. You may need to set Domain Forwarding to www-prefix or other domains.
It makes redirections visitors to www.example.com when they accessed to example.com .
1. Scroll down to [Forwarding] section then click [ADD] button.

2. Input your domain name with assigned domain (e.g. www.example.com or blog.example.com ) to [FORWARD TO] field.
Check [Update my nameservers and DNS settings to support this change] if necessary .

3. Click [Preview] to check how it works
4. If it works, click [Save]

5. Confirm all record set
6. Access your domain name and check domain forwarding works.
That's all!
Note
If [Update my nameservers and DNS settings to support this change] is checked, Forwarded or 184.168.131.241 will be displayed in the value field.


That's all!