Add flexibility to your AMIMOTO WordPress Instances with Elastic IPs
Servers on AWS are called Instances. These are virtual machines running within AWS and they all have unique IP addresses.
Each time a new server is created such as one running AMIMOTO AMI it's assigned a new IP address. This is also the case for existing servers once they stop and restart.
Since the IP address for that server changes everytime the state of your server changes, AWS created Elastic IPs.
Elastic IPs are addressed that you can provision and assign to Instances so during state changes like restarting, the servers address does not change.
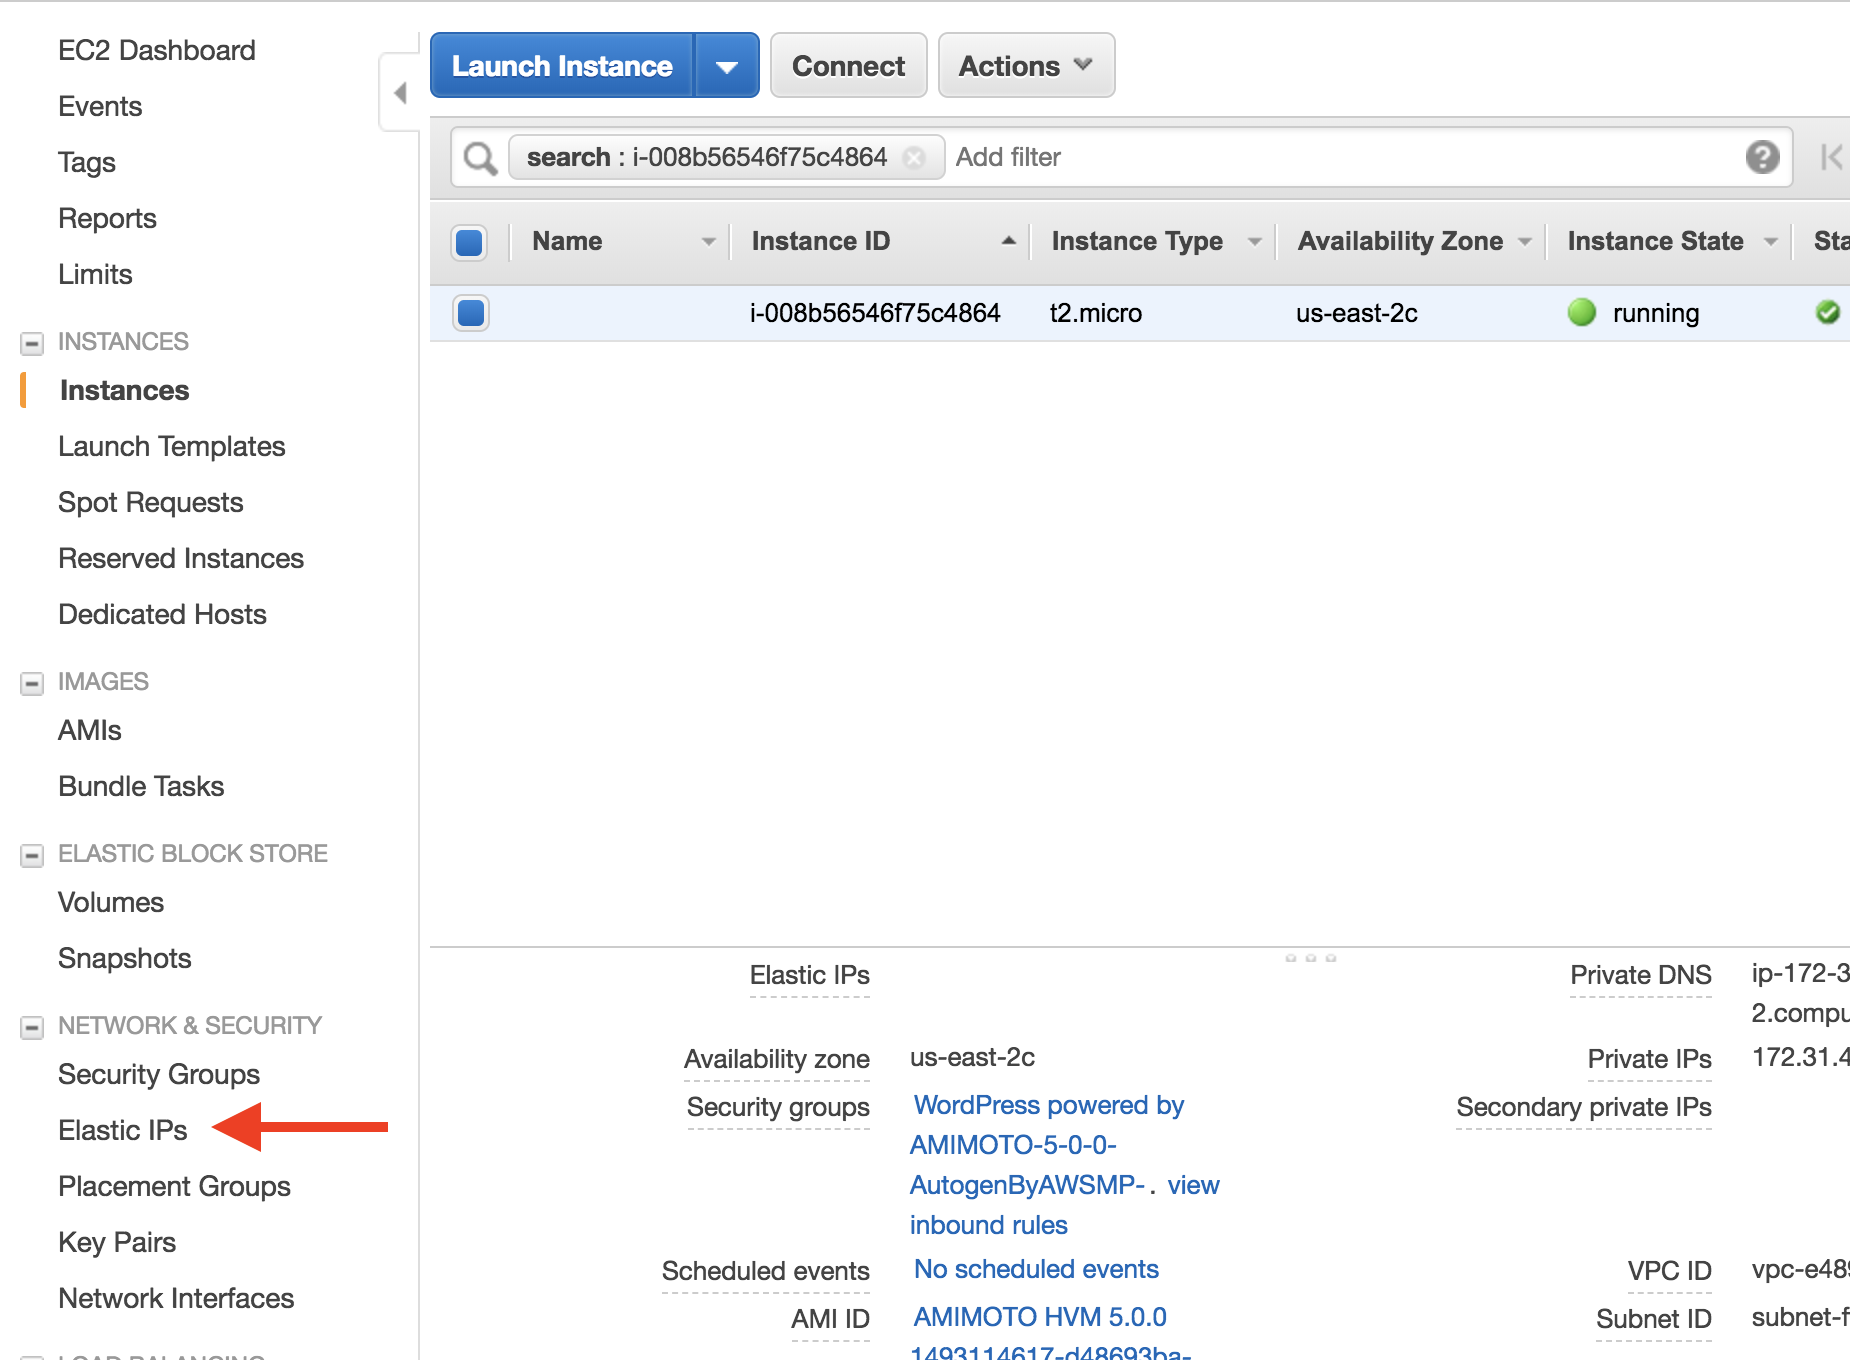
To assign a new Elastic IP (EIP) navigate to the EIP page from the EC2 main page.
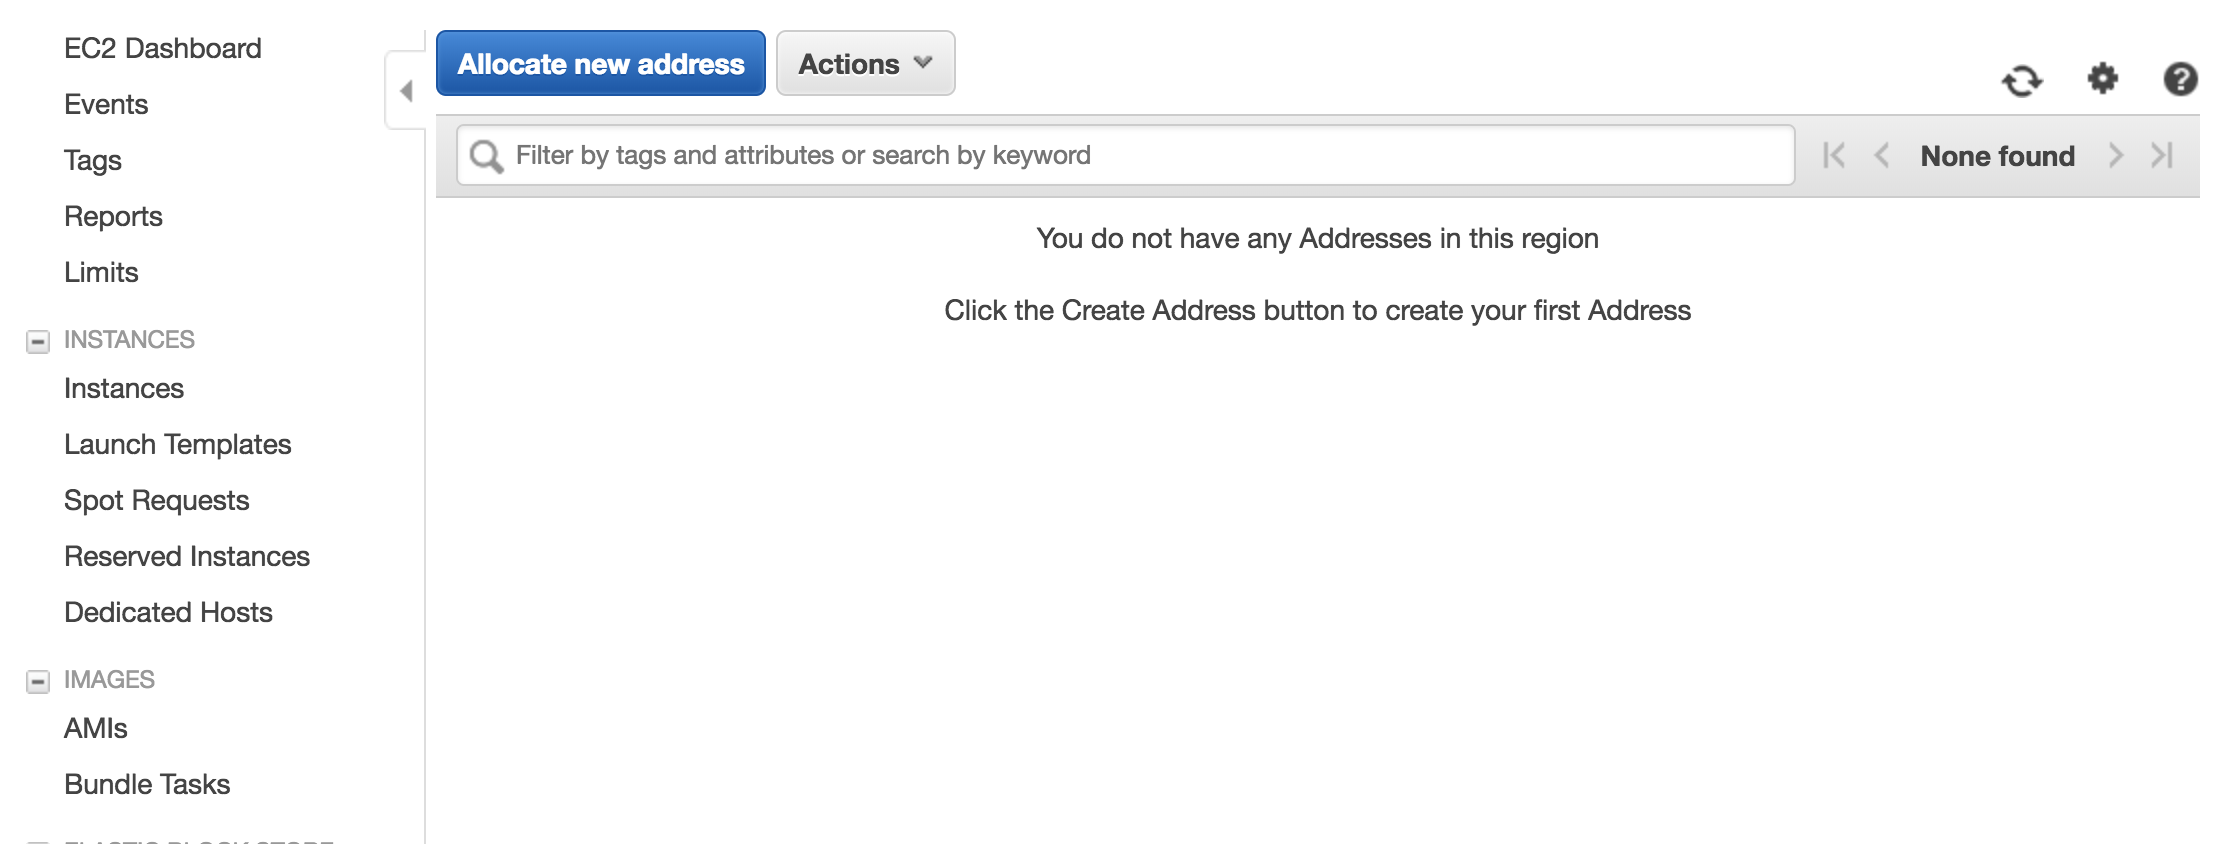
On the EIP page, you'll see a button to Associate New Address. Select that option and create a new Elastic IP address.
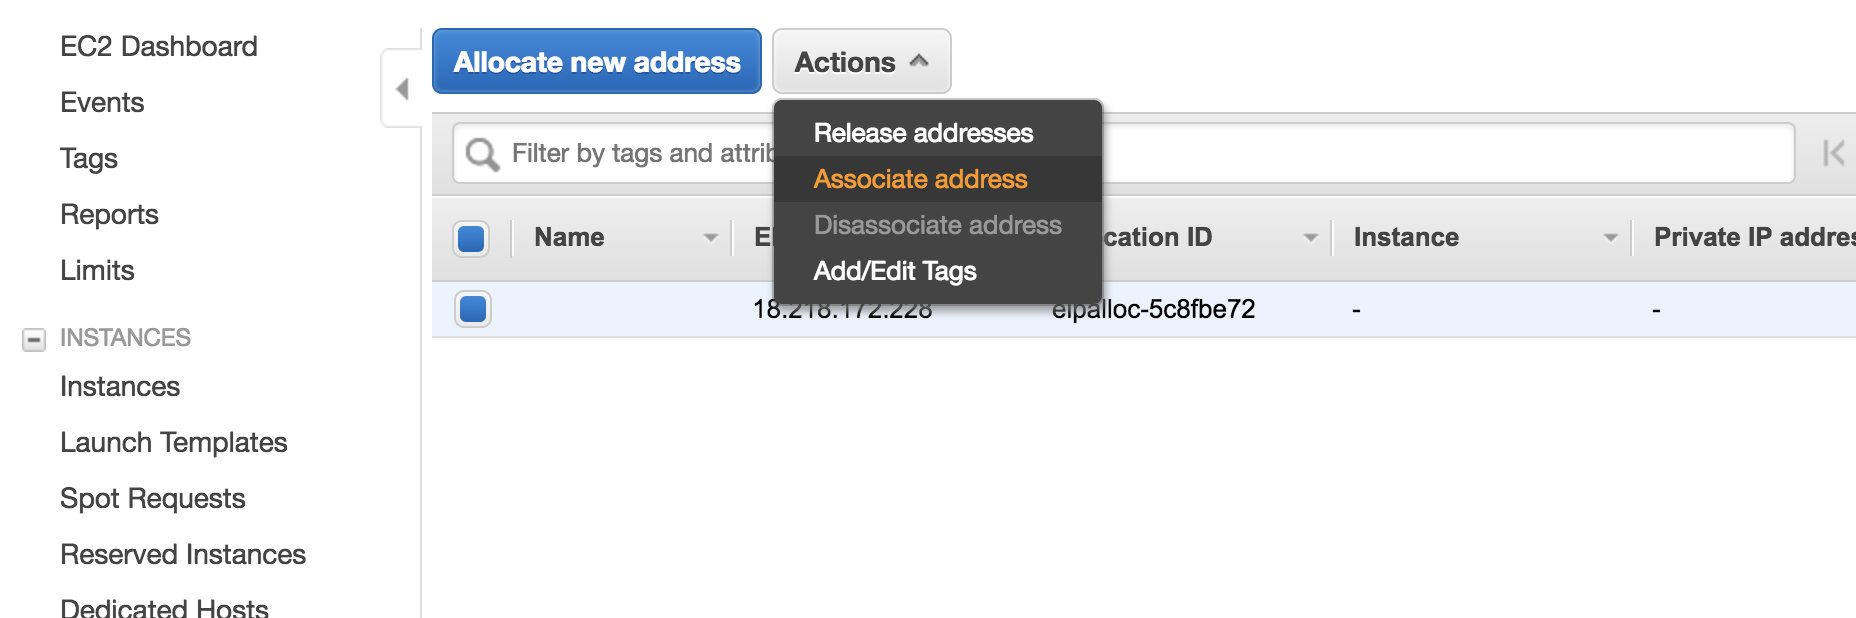
You can now assign that EIP address to your server. From the Actions drop-down choose Associate Address.
From the next menu select your newly created AMIMOTO AMI Instance from the list of running servers.
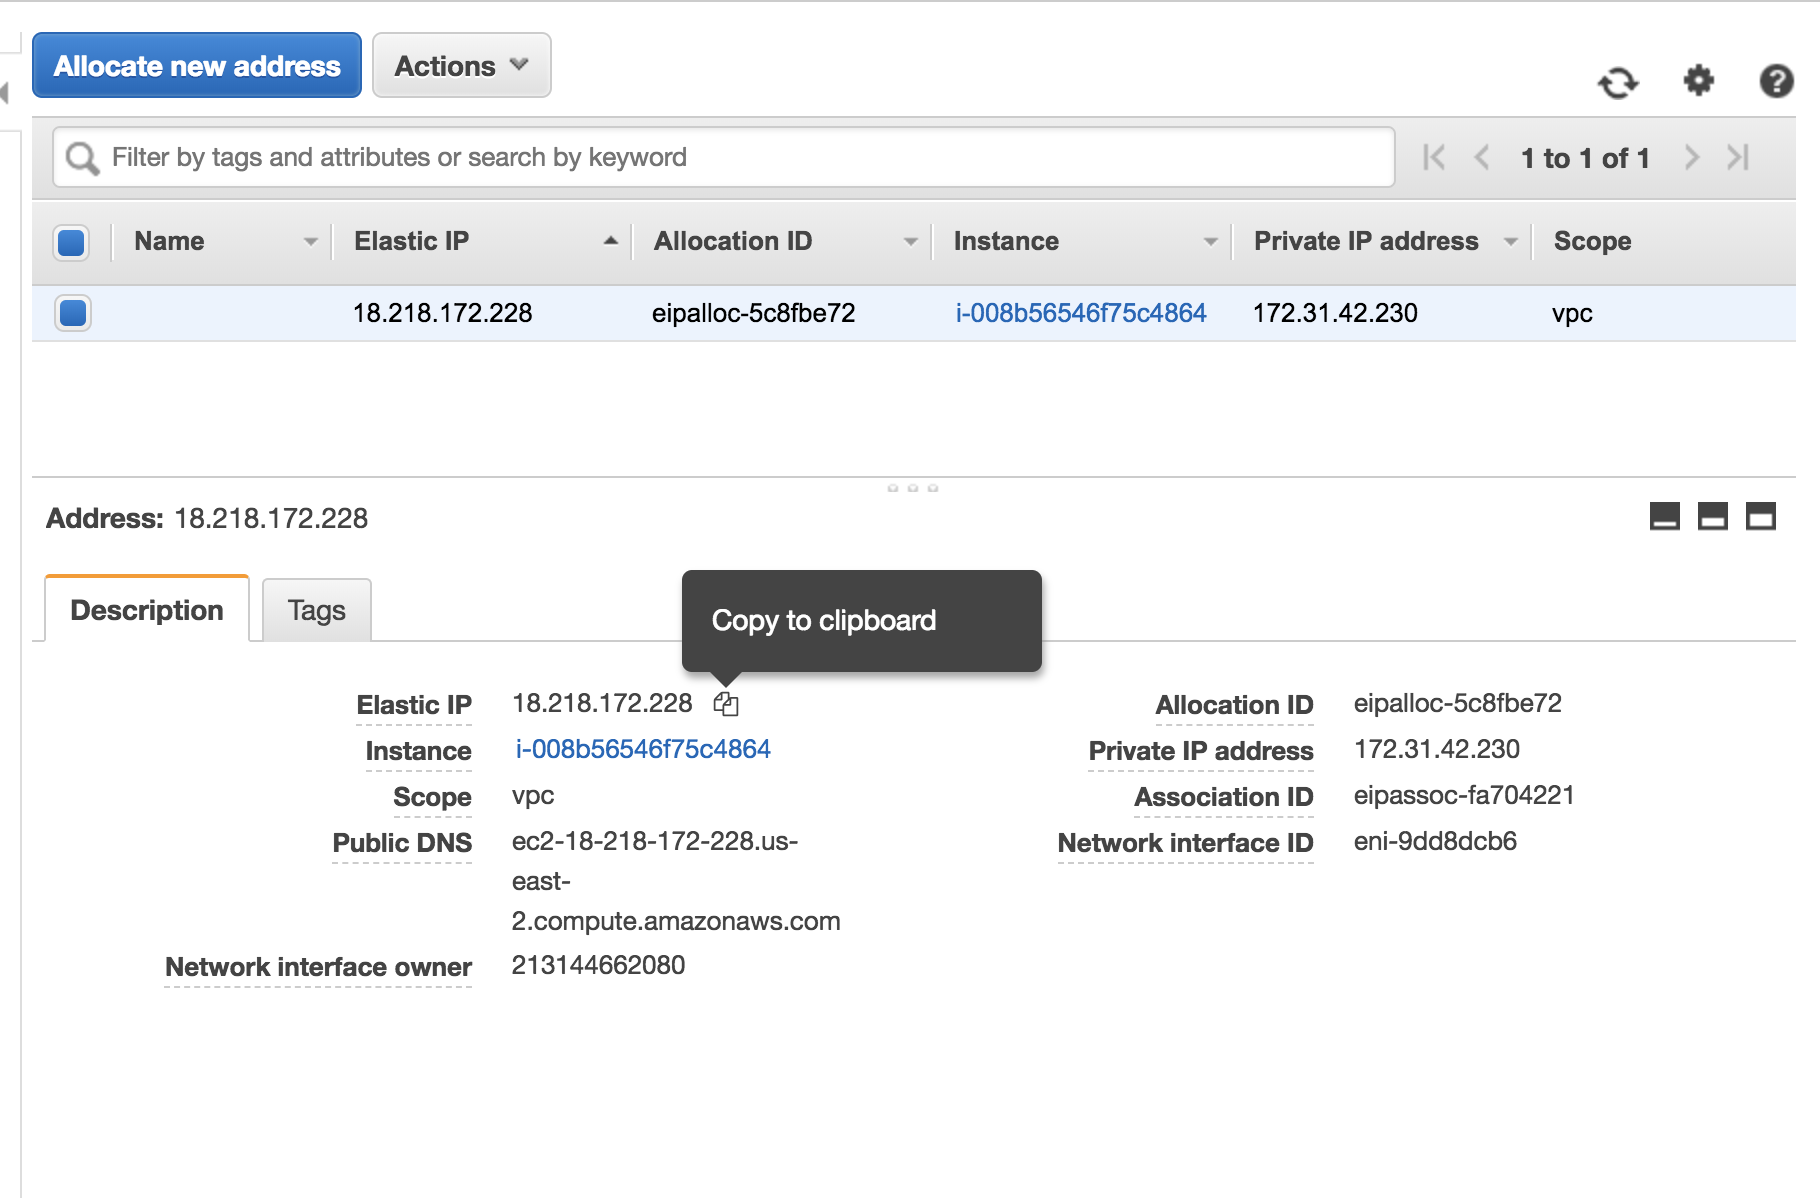
This will assign that Elastic IP to the Instance that we launch in Step 2 of this tutorial.

This takes effect almost immediately so you can click to copy and paste the new IP address from the AWS dashboard into the browser to complete your WordPress setup.
To login WordPress Dashboard, access http: //{IP address}/wp-login.php
Then input admin to username, instance ID to password.